Instructions for Direct Database Integration
Availability: Isolated Database / dedicated Realm onlyDirect Database Integration is only available to teams on Mosaic's Isolated Database offering, where your data lives in a dedicated database (realm). It is not available on Mosaic's standard Multi-Tenant offering.
To request DDI access, contact your Mosaic Customer Success Manager or email [email protected]. If your team is not yet on an Isolated Database, they can walk you through what's involved in moving to one.
Prerequisites:
- SSH Client: Install the PuTTY SSH client on your PC.
- Postgres ODBC Driver: Download and install the Postgres ODBC Driver on your PC. Use a version greater than or equal to
REL-16_00_0004. - Static IP: Ensure you have a static IP or static IP range from which you will access the database.
Provided by Mosaic:
- SSH Key: A private SSH key for PuTTY, corresponding to a public key on Mosaic's bastion host.
- Connection Details: Database hostname, port, username, and password, along with the IP Address of the Mosaic bastion.
Part 1: Setting Up the SSH Tunnel Using PuTTY
-
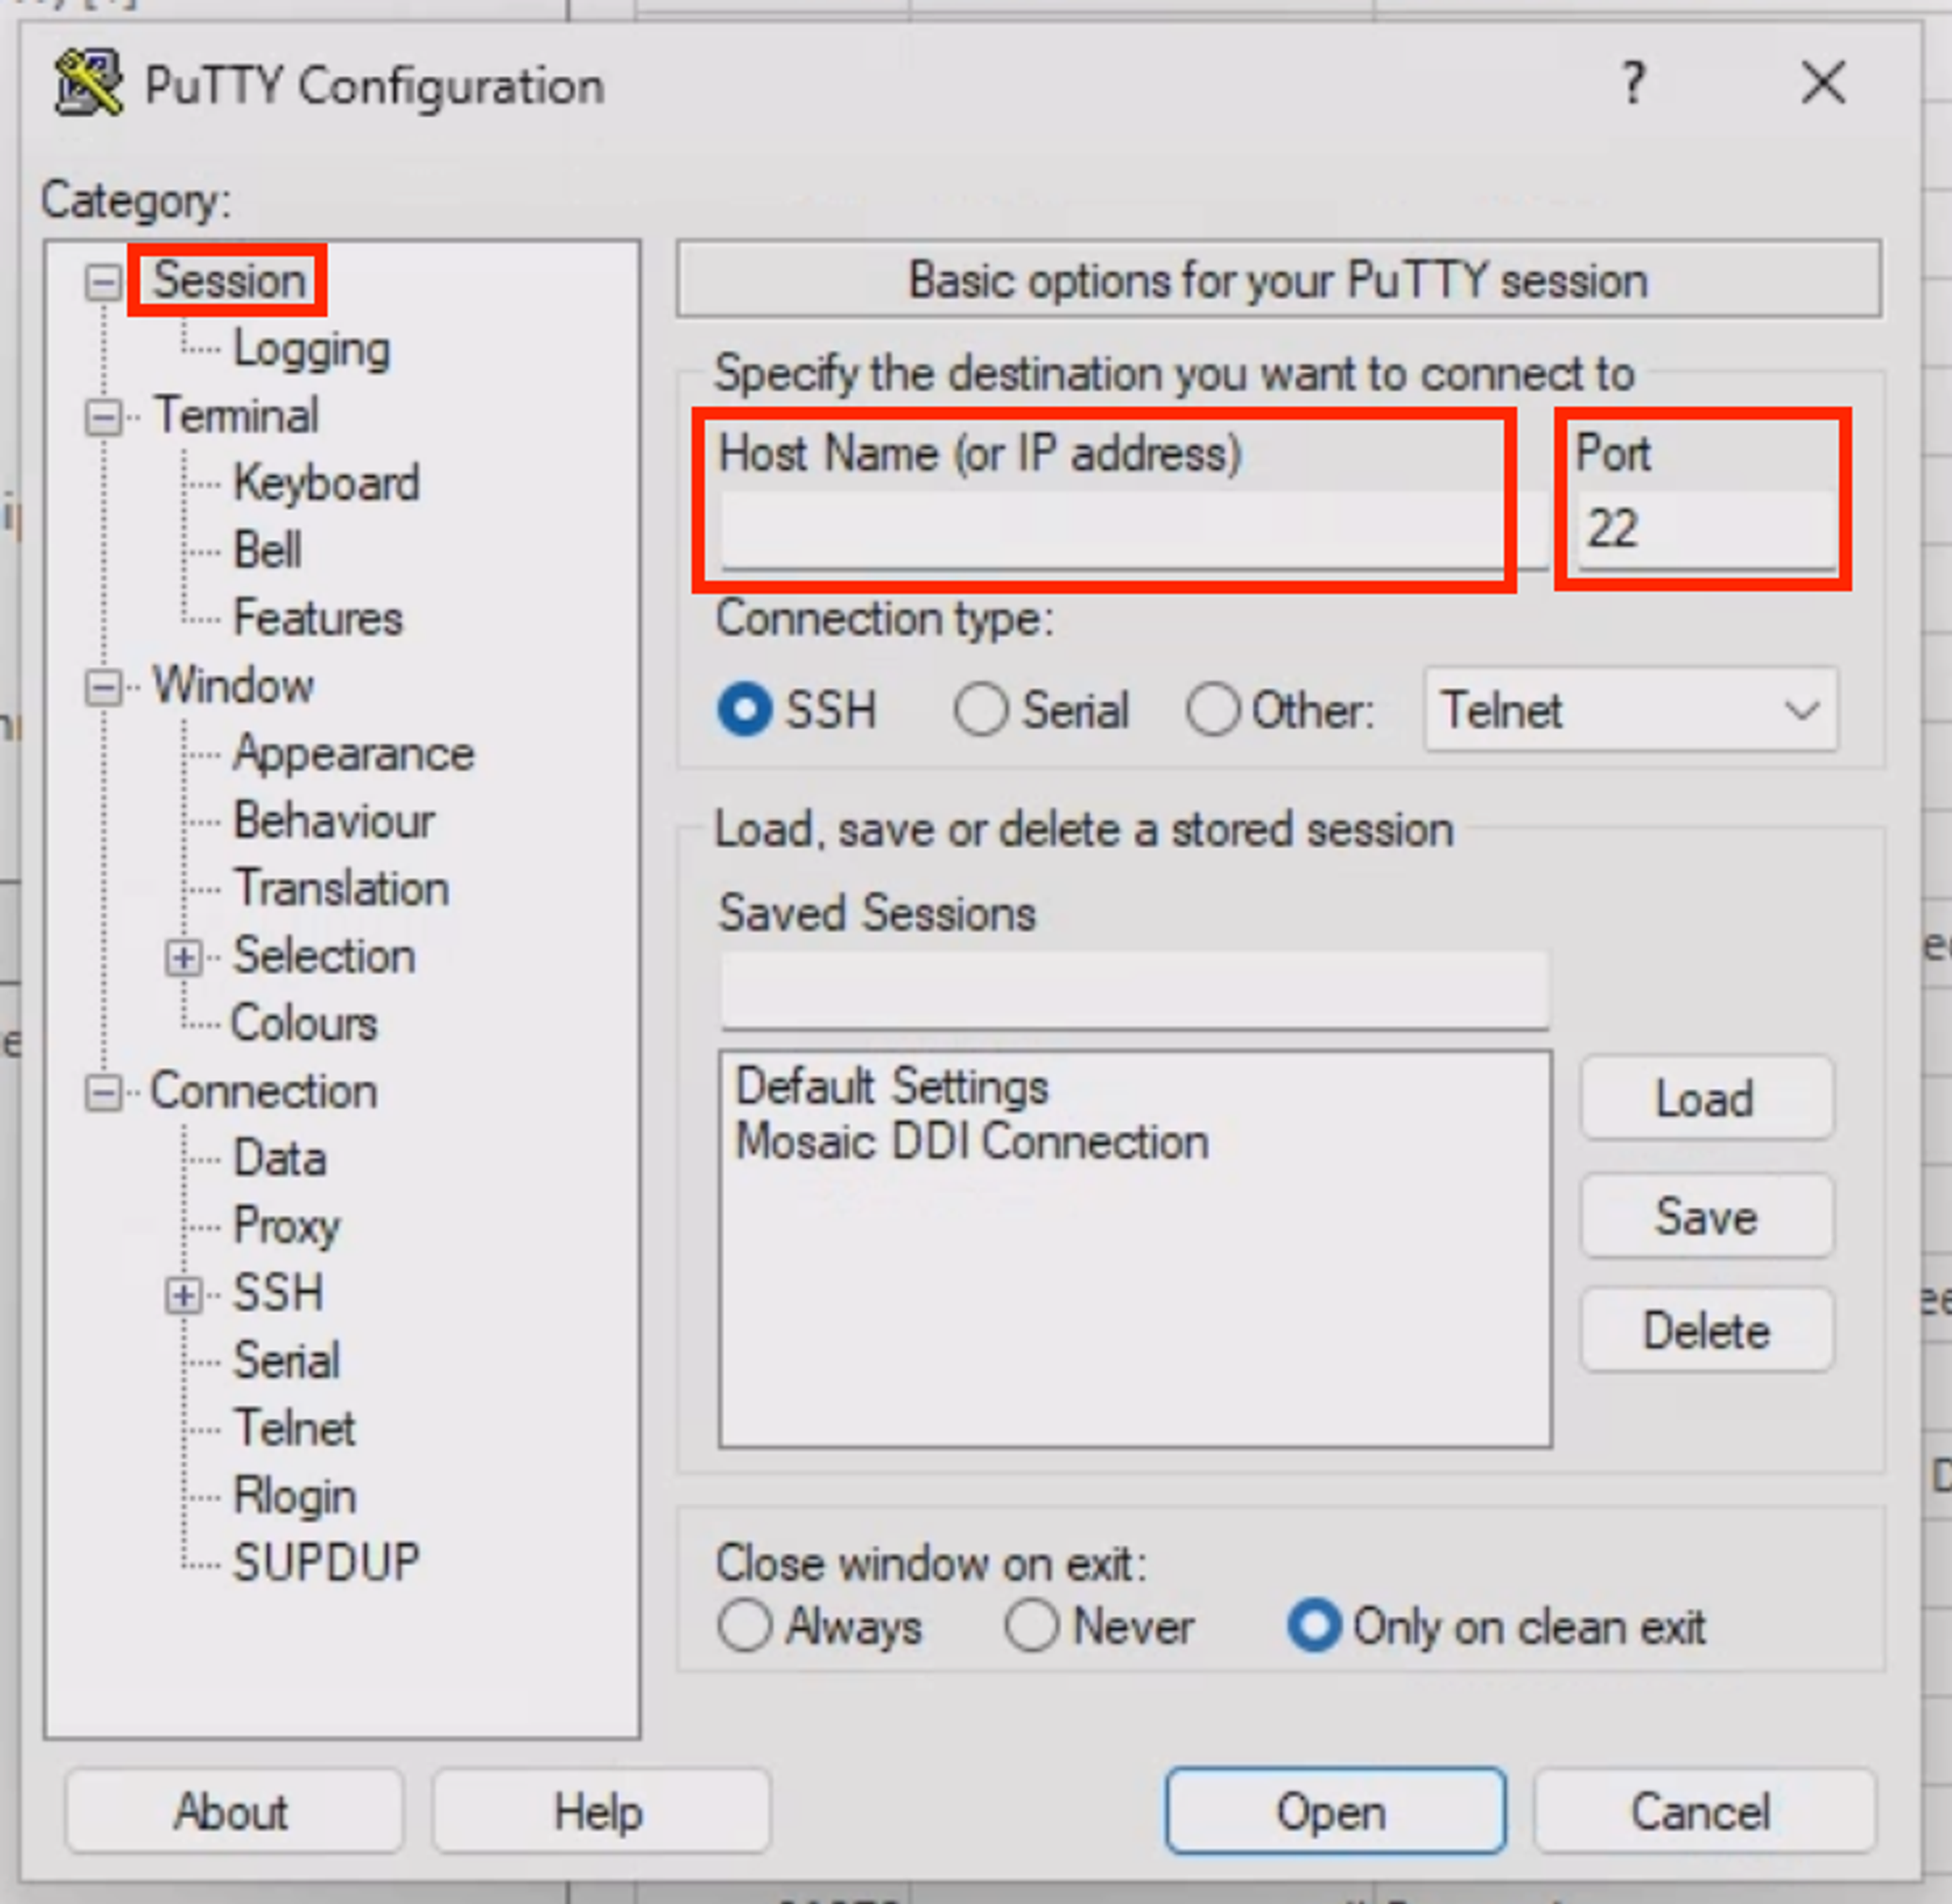
Launch PuTTY:
- In the "Session" section, enter the public IP address of the Mosaic bastion.
- Set the port to 22 (default for SSH).
-
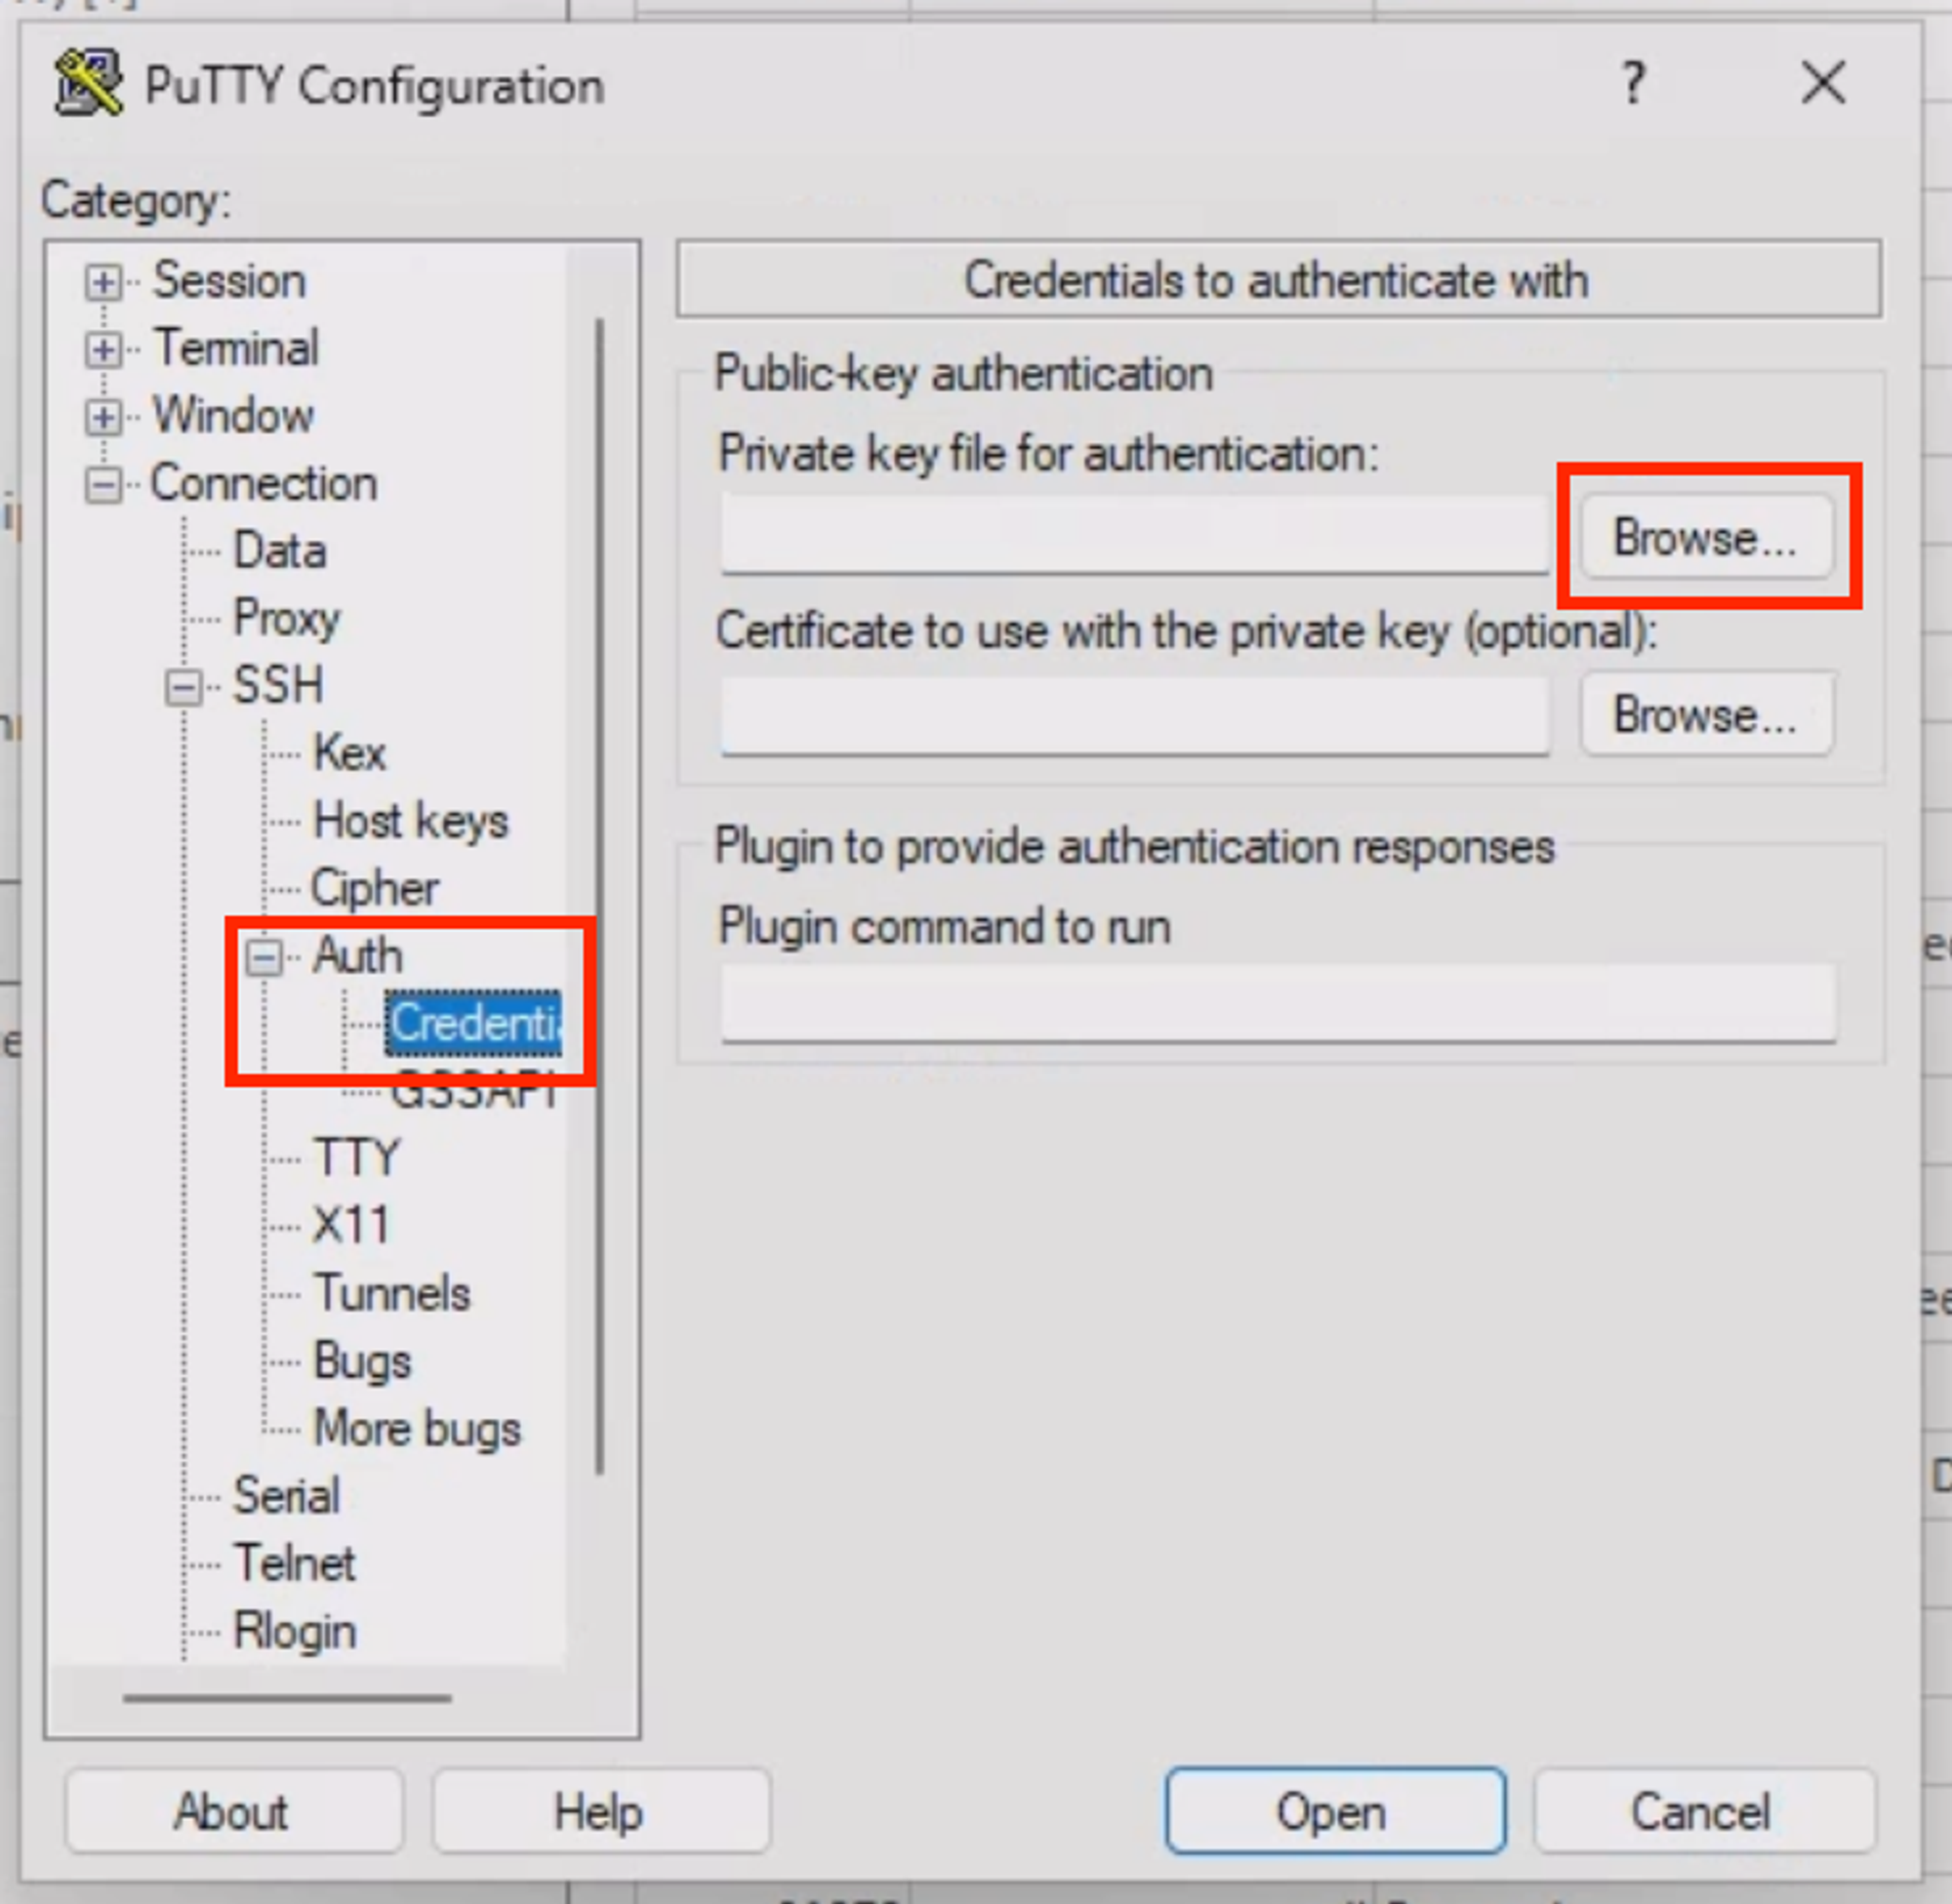
Configure SSH Key for Authentication:
- Navigate to Connection > SSH > Auth > Credentials.
- Click "Browse" to select the provided private key file.
-
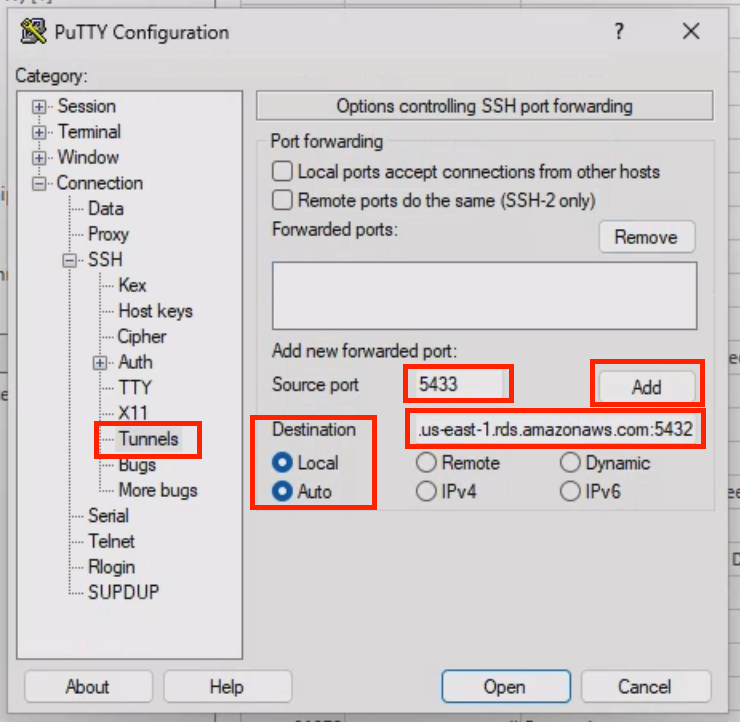
Set Up Port Forwarding:
- Go to Connection > SSH > Tunnels.
- Enter 5433 in the "Source port" field.
- In the "Destination" field, type the database hostname followed by
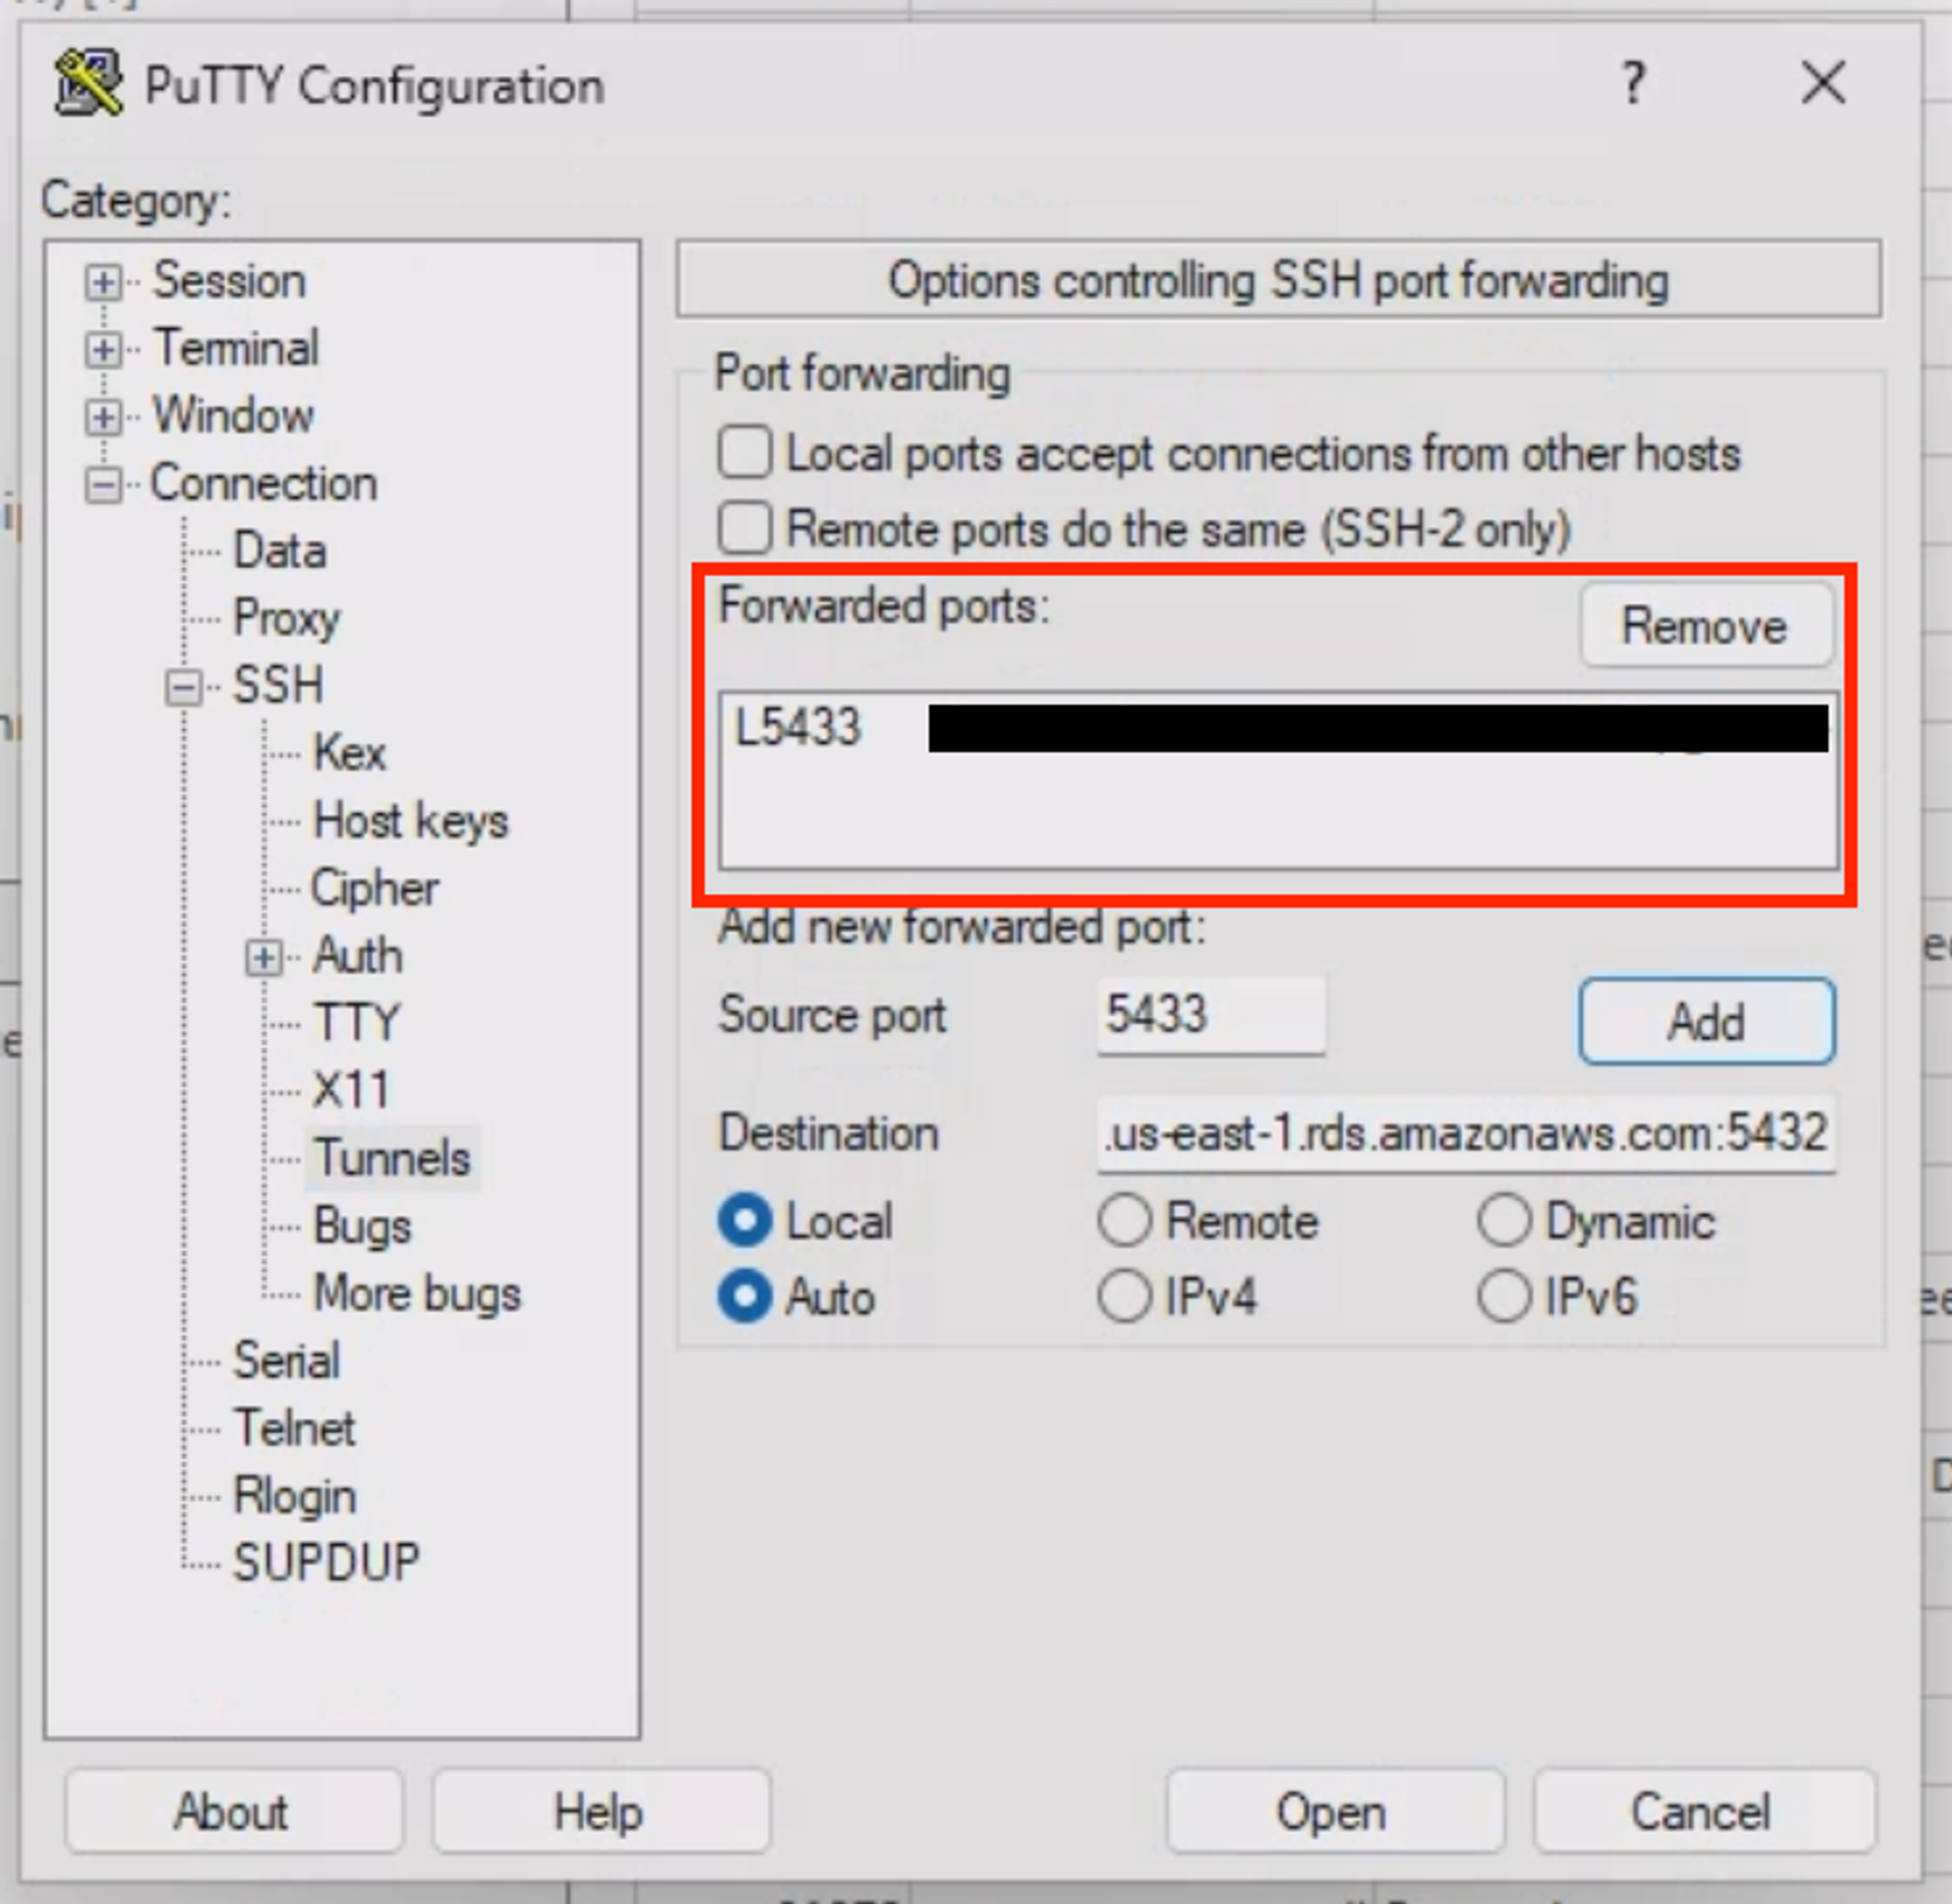
:5432. - Select "Local" and "Auto", then click "Add".
- You should see your newly added port forwarding in the “Forwarded ports” section, after clicking “Add”.
-
Start the SSH Session:
- Return to the "Session" page, save the session as “Mosaic DDI Connection”.
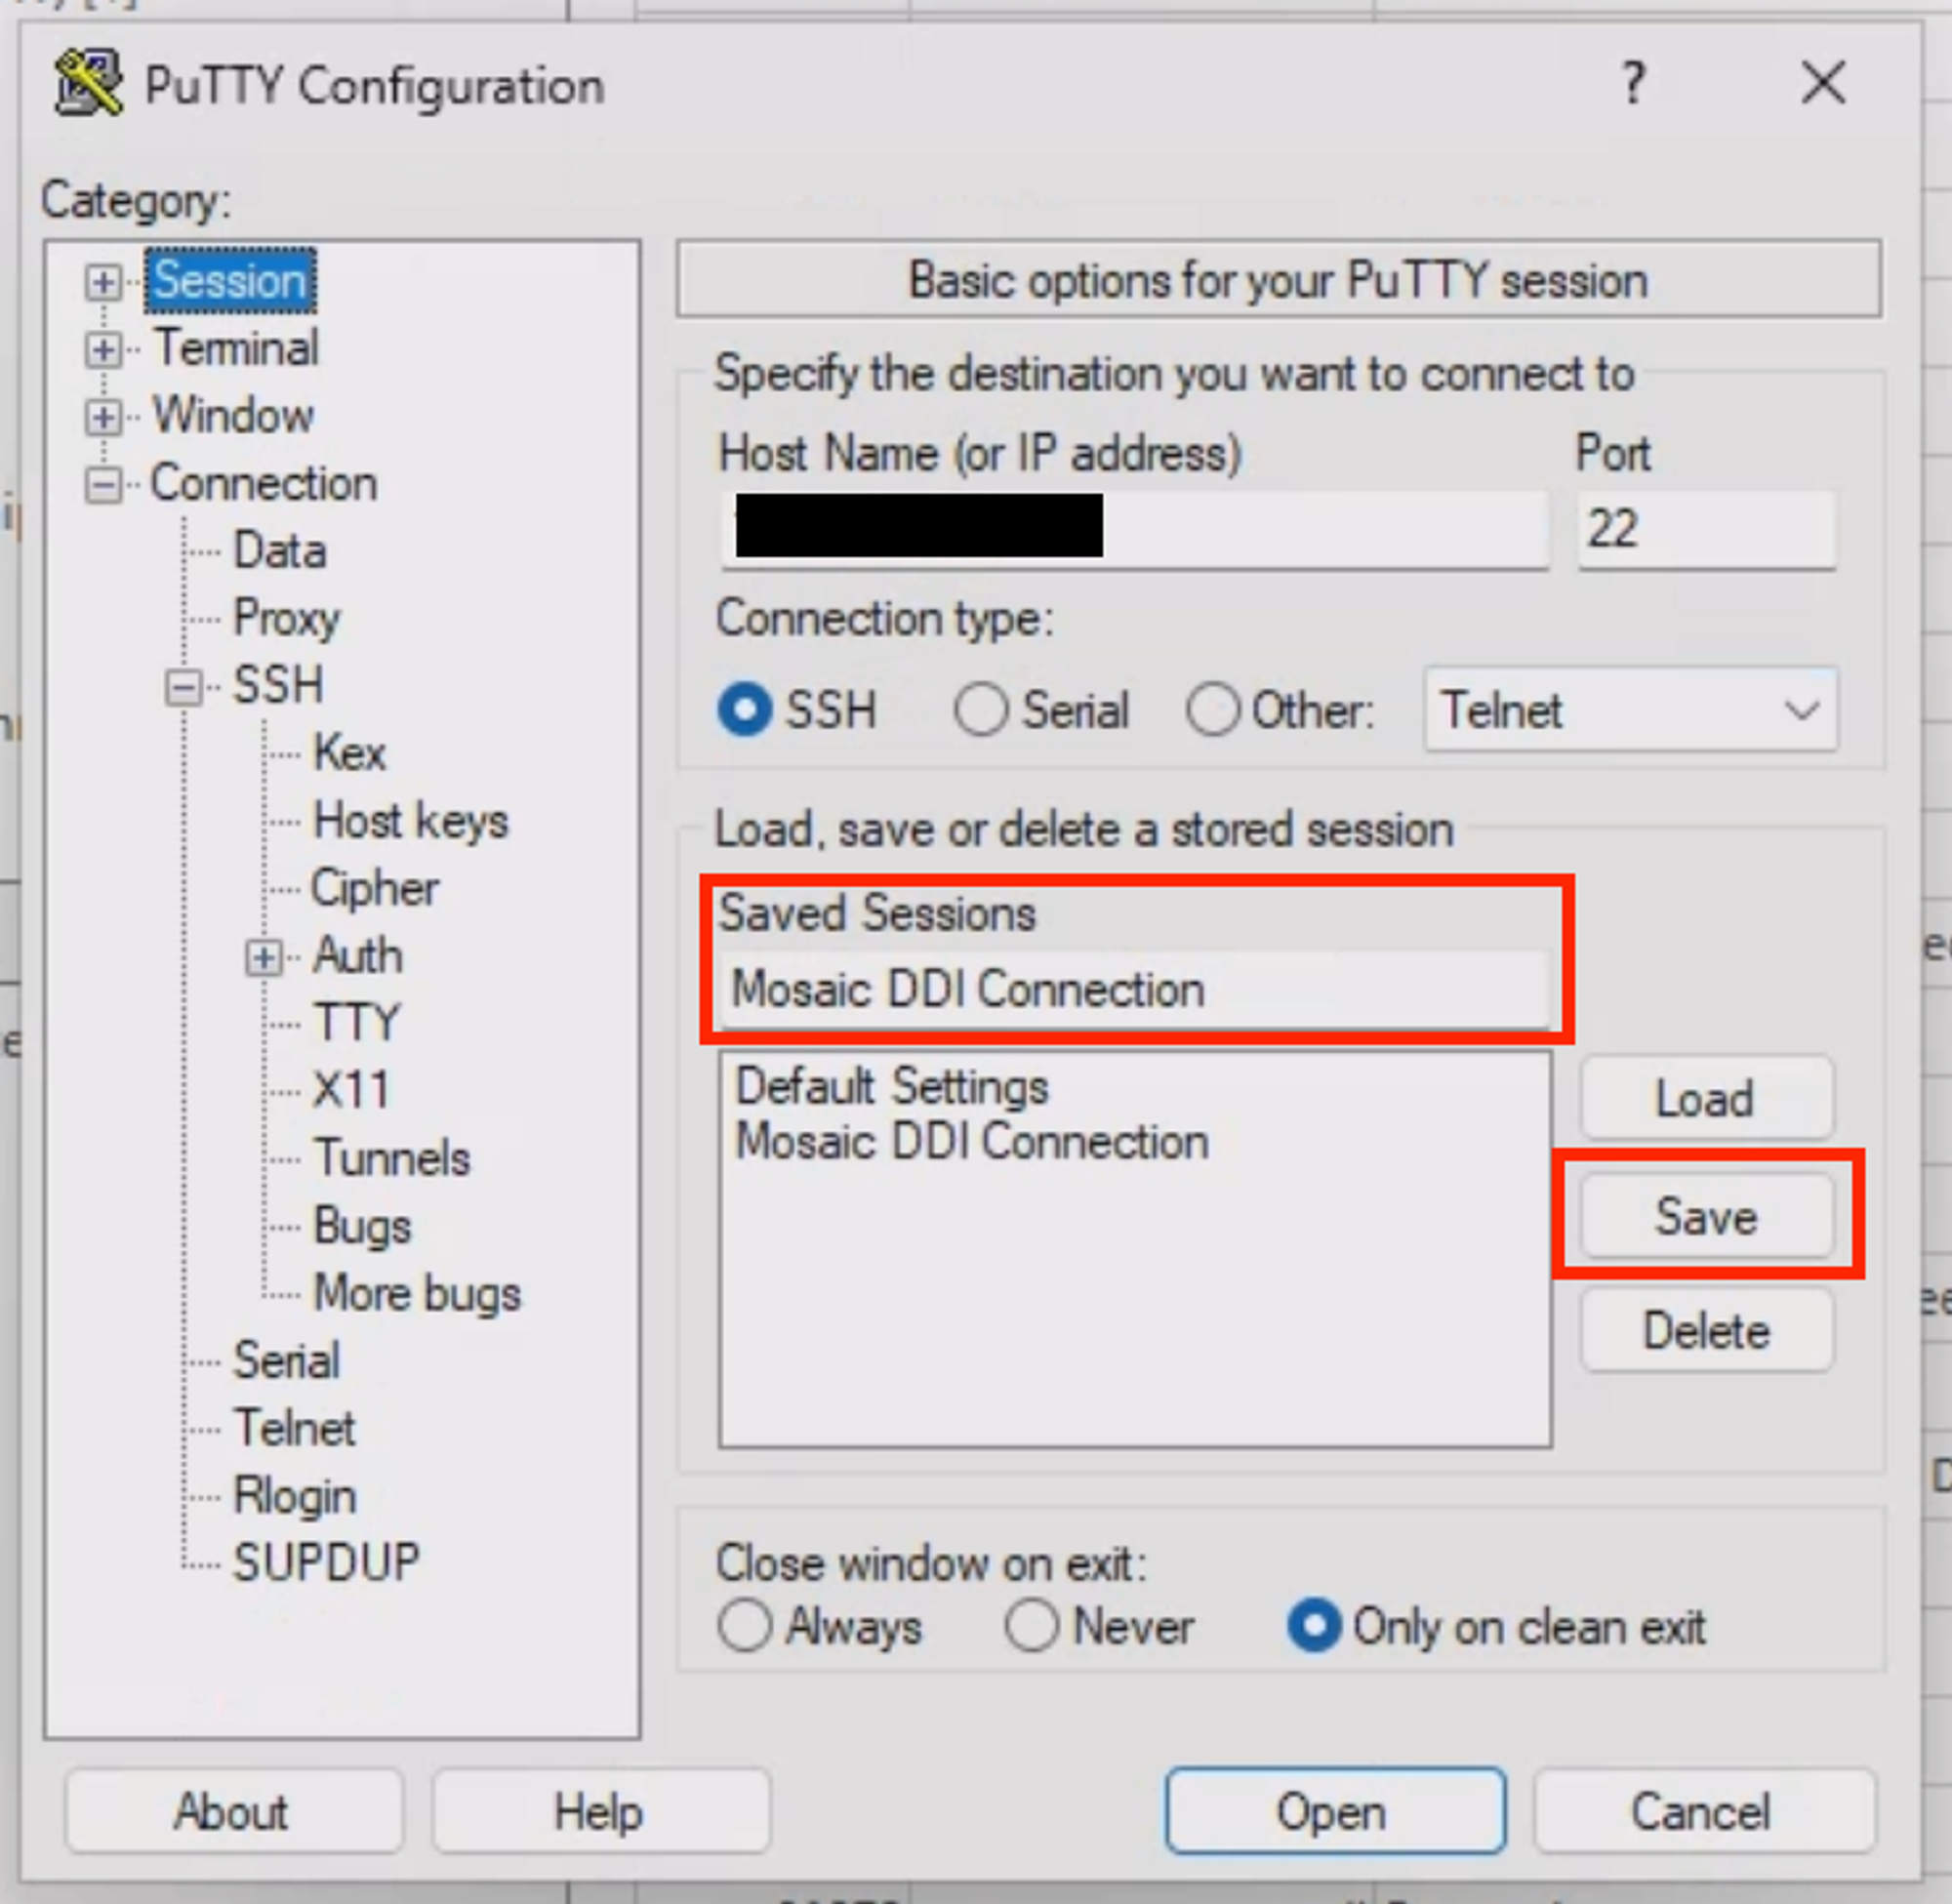
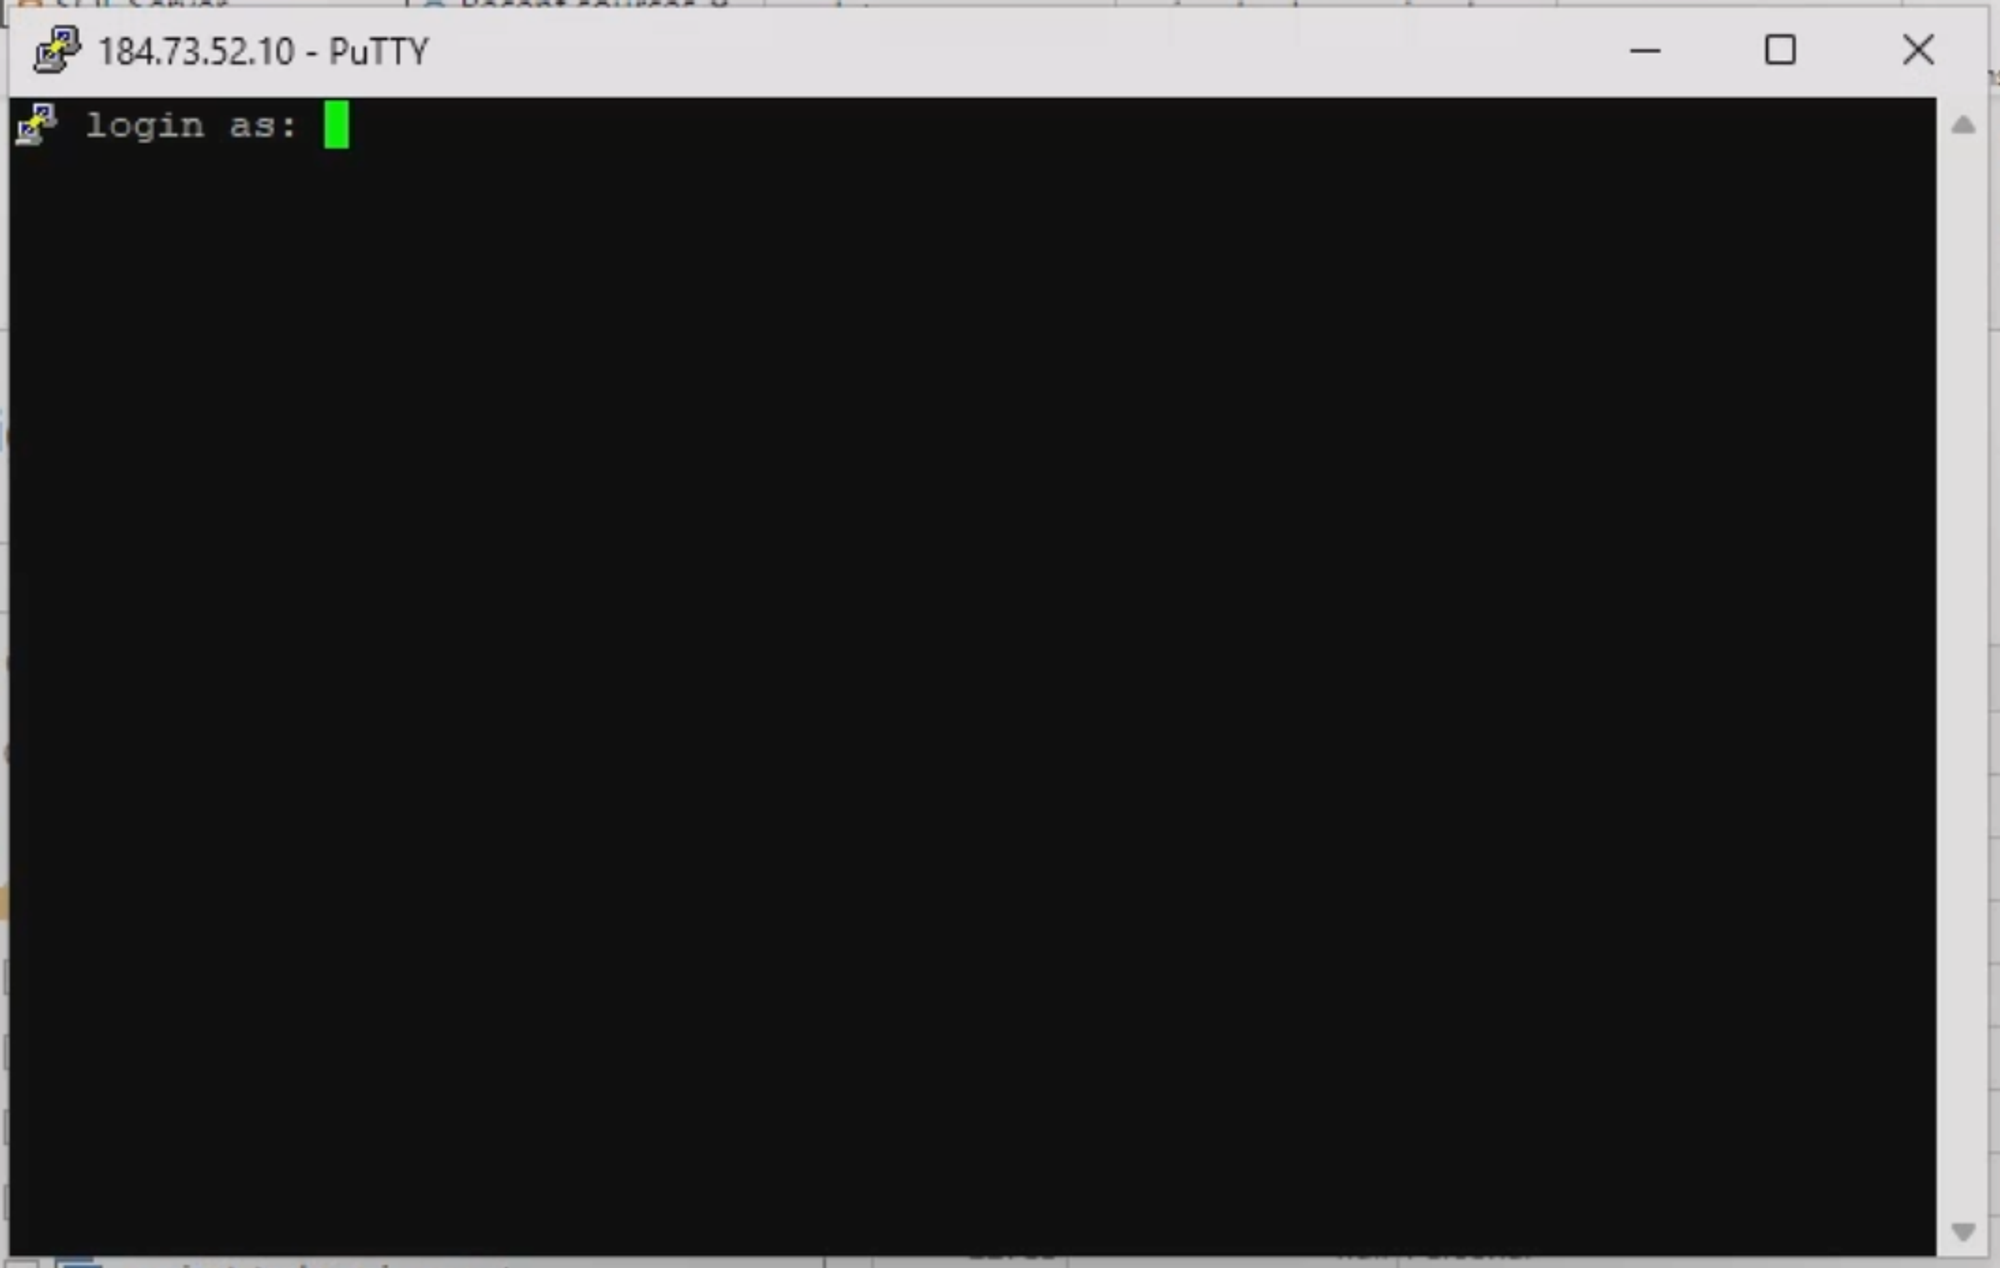
- Click "Open" to initiate the session. Enter
ec2-userwhen prompted for a username.
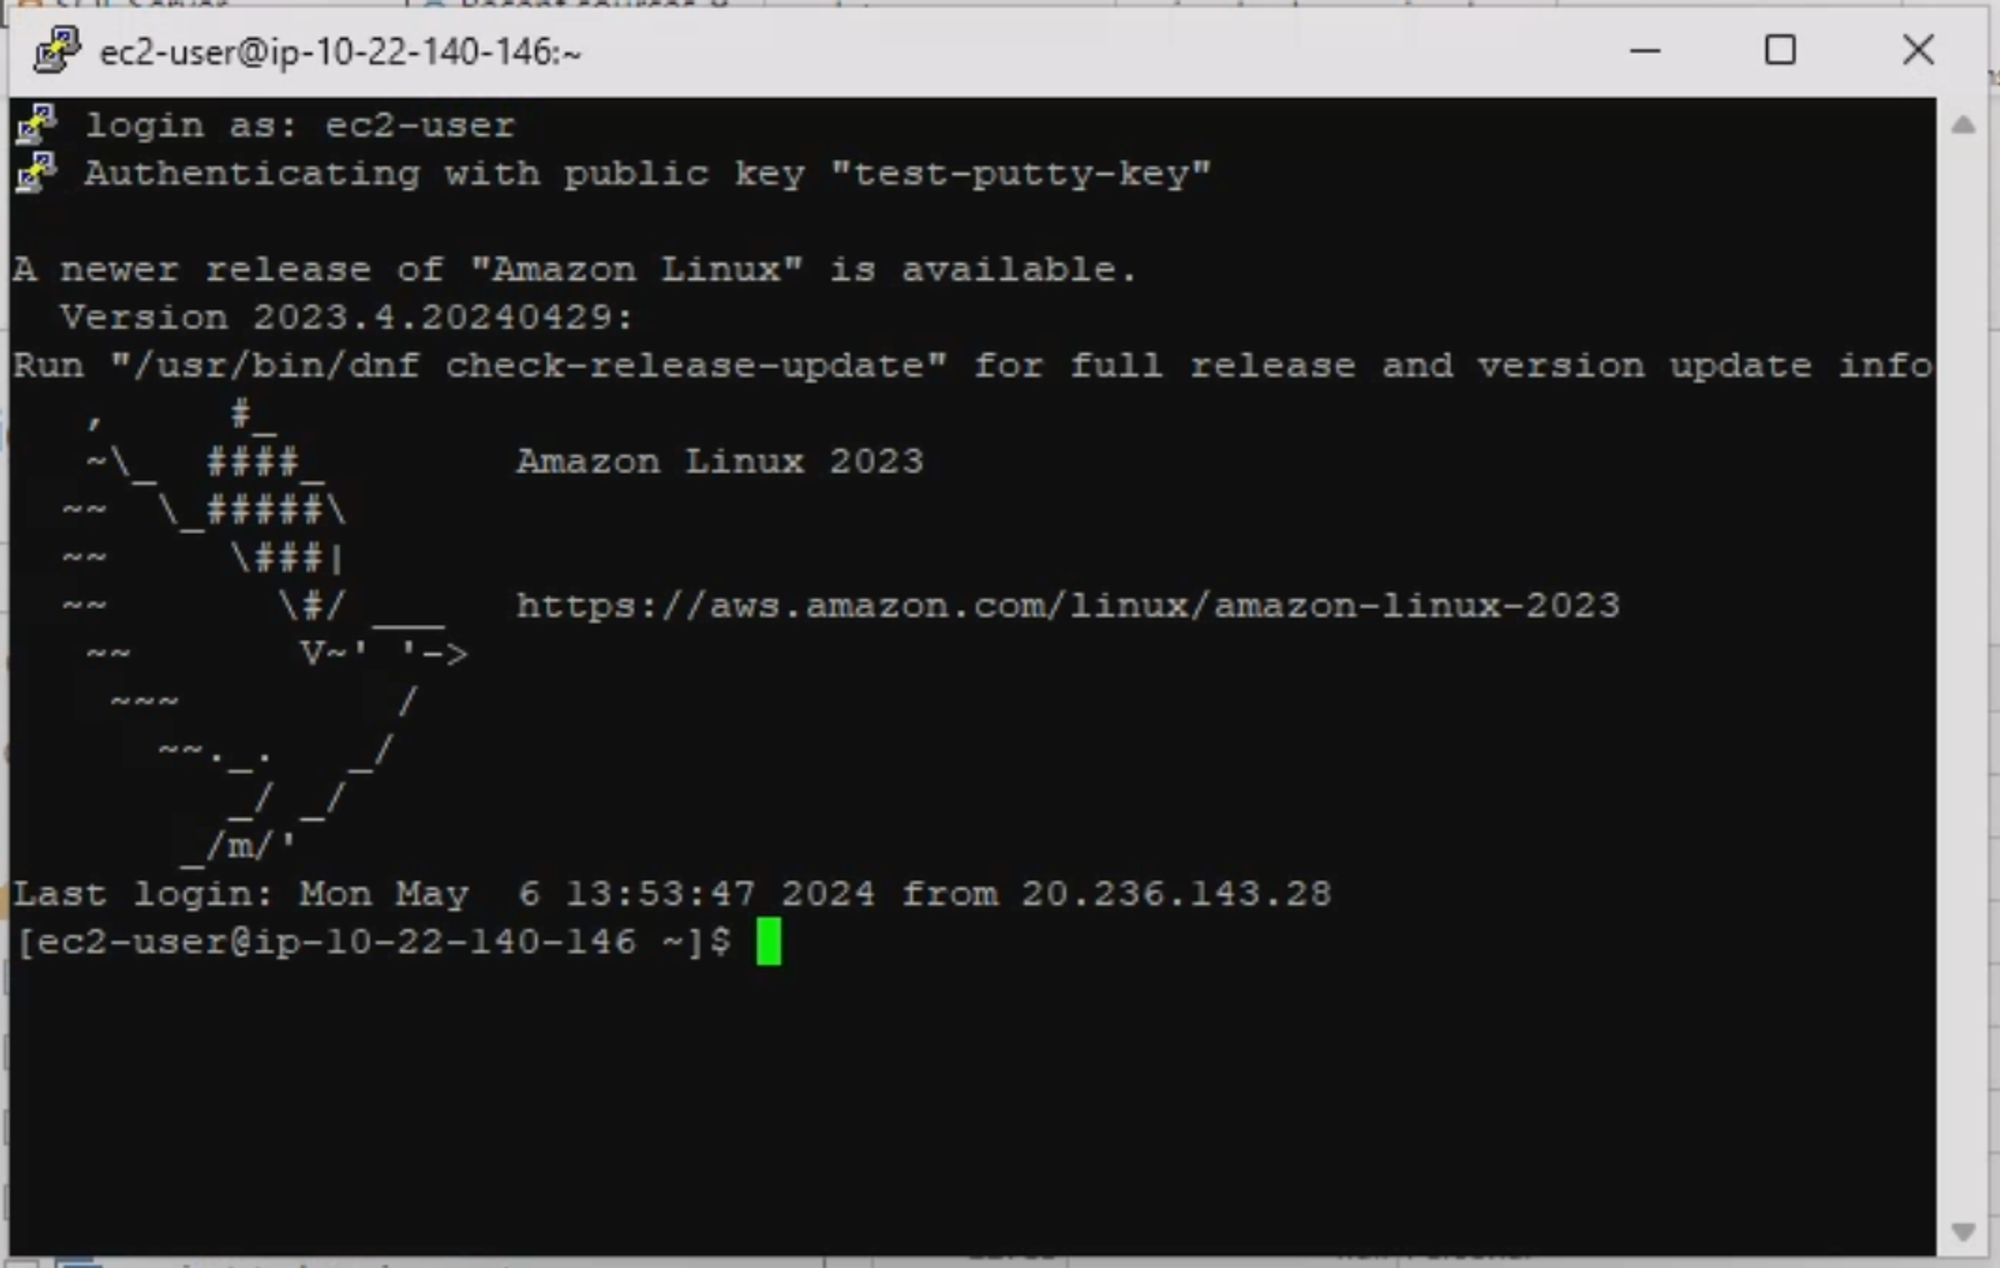
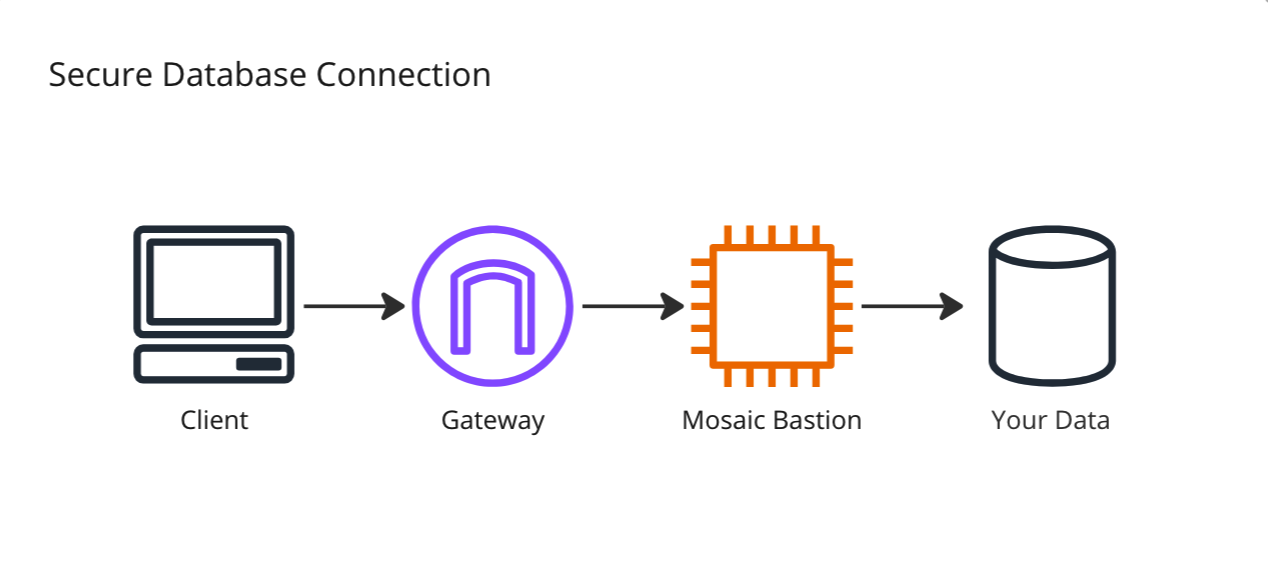
Note:Keep the PuTTY session open to maintain database access through the secure connection.
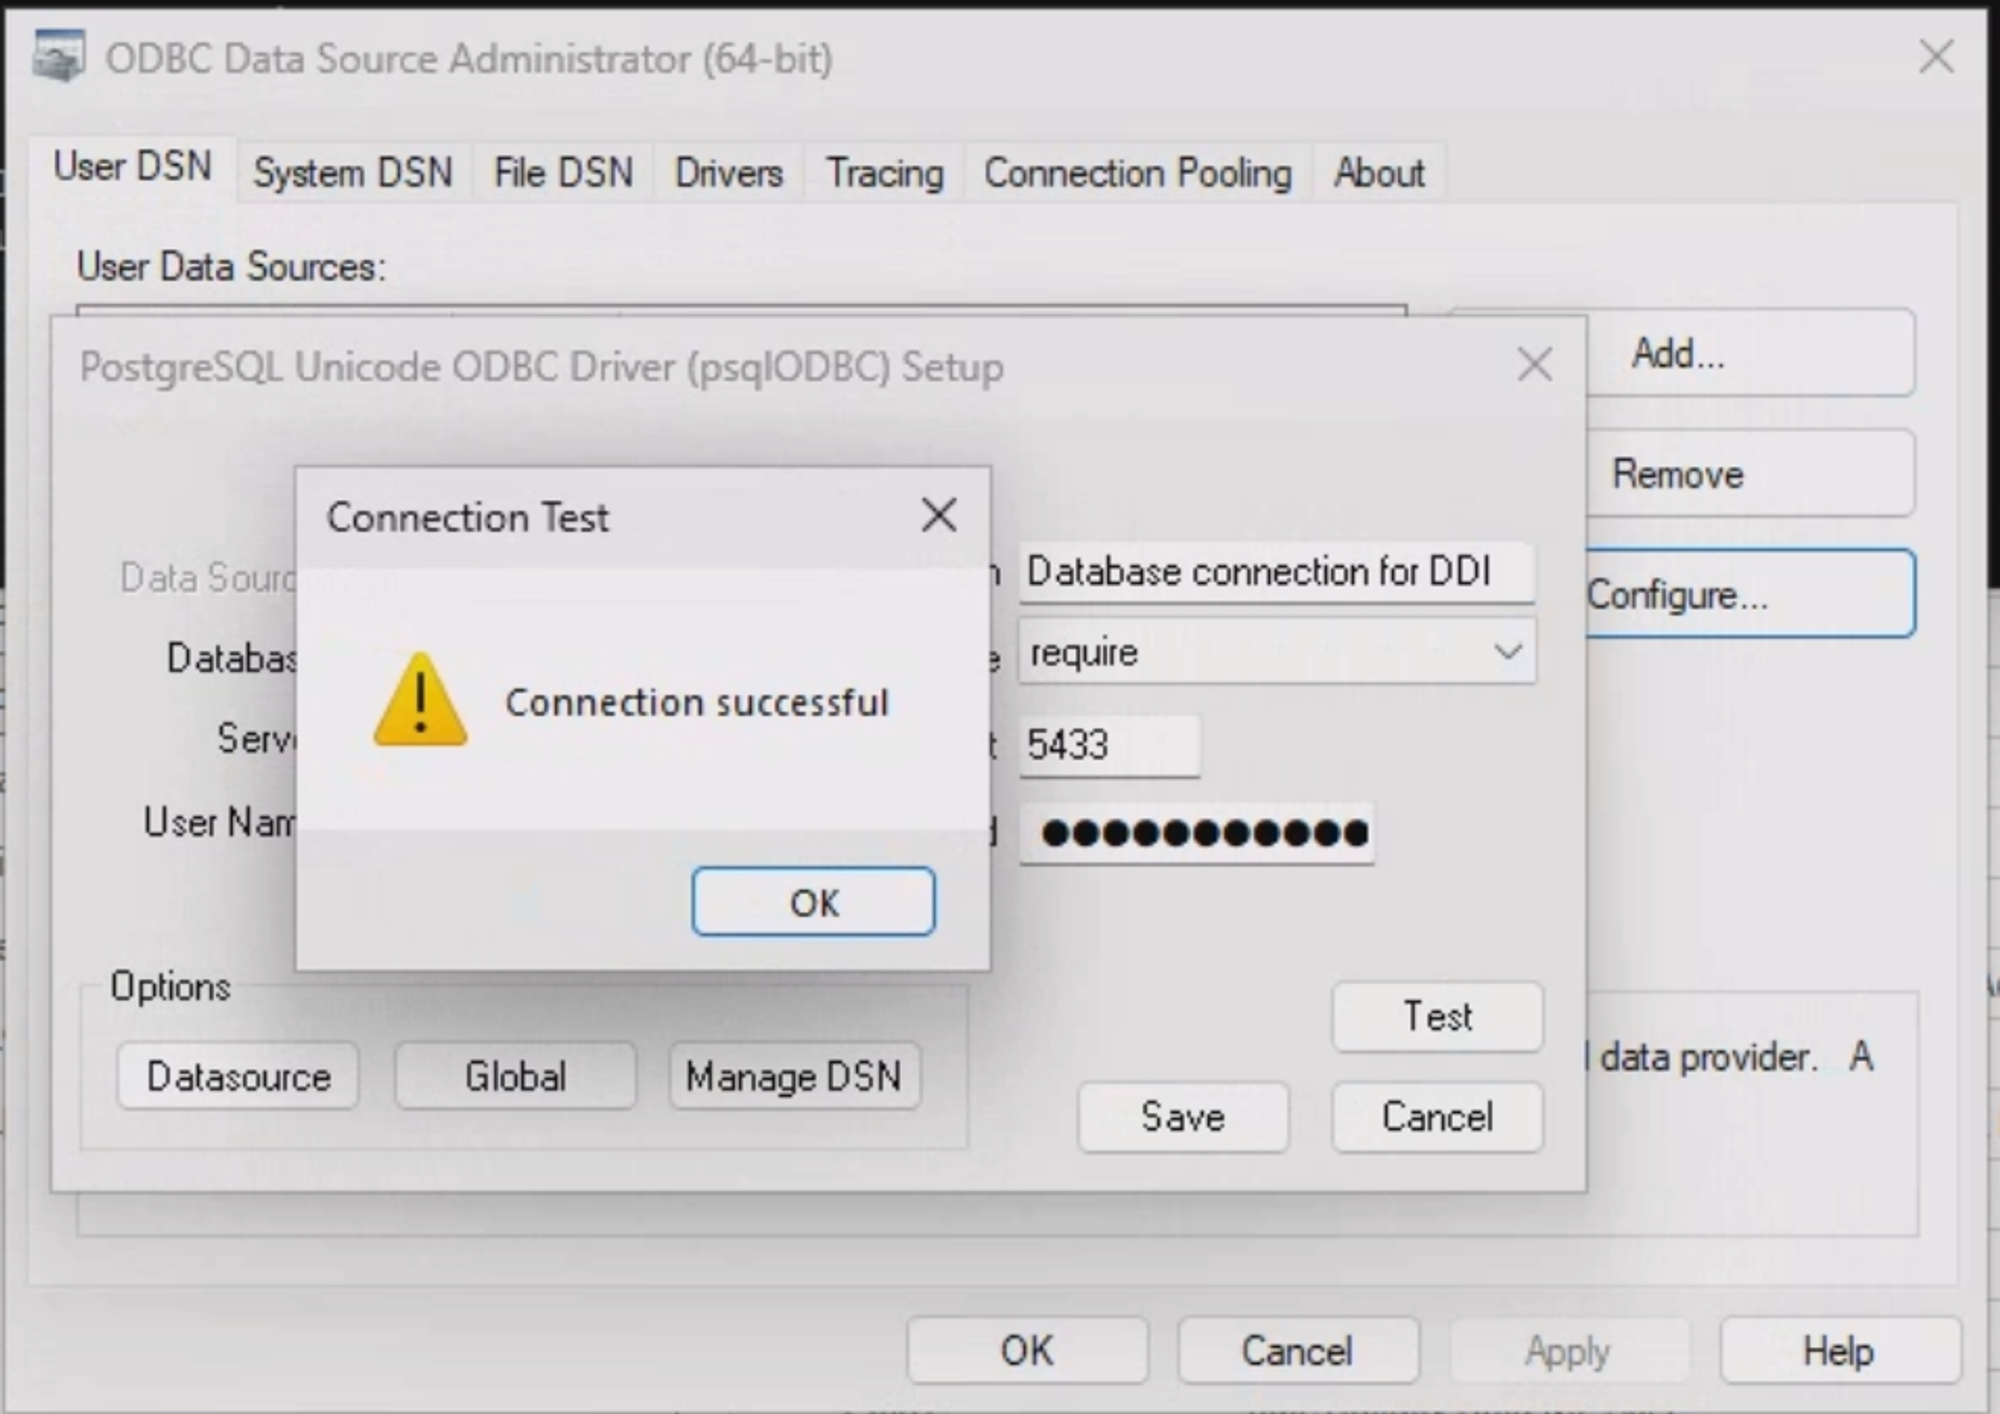
Part 2: Configuring PostgreSQL ODBC Driver
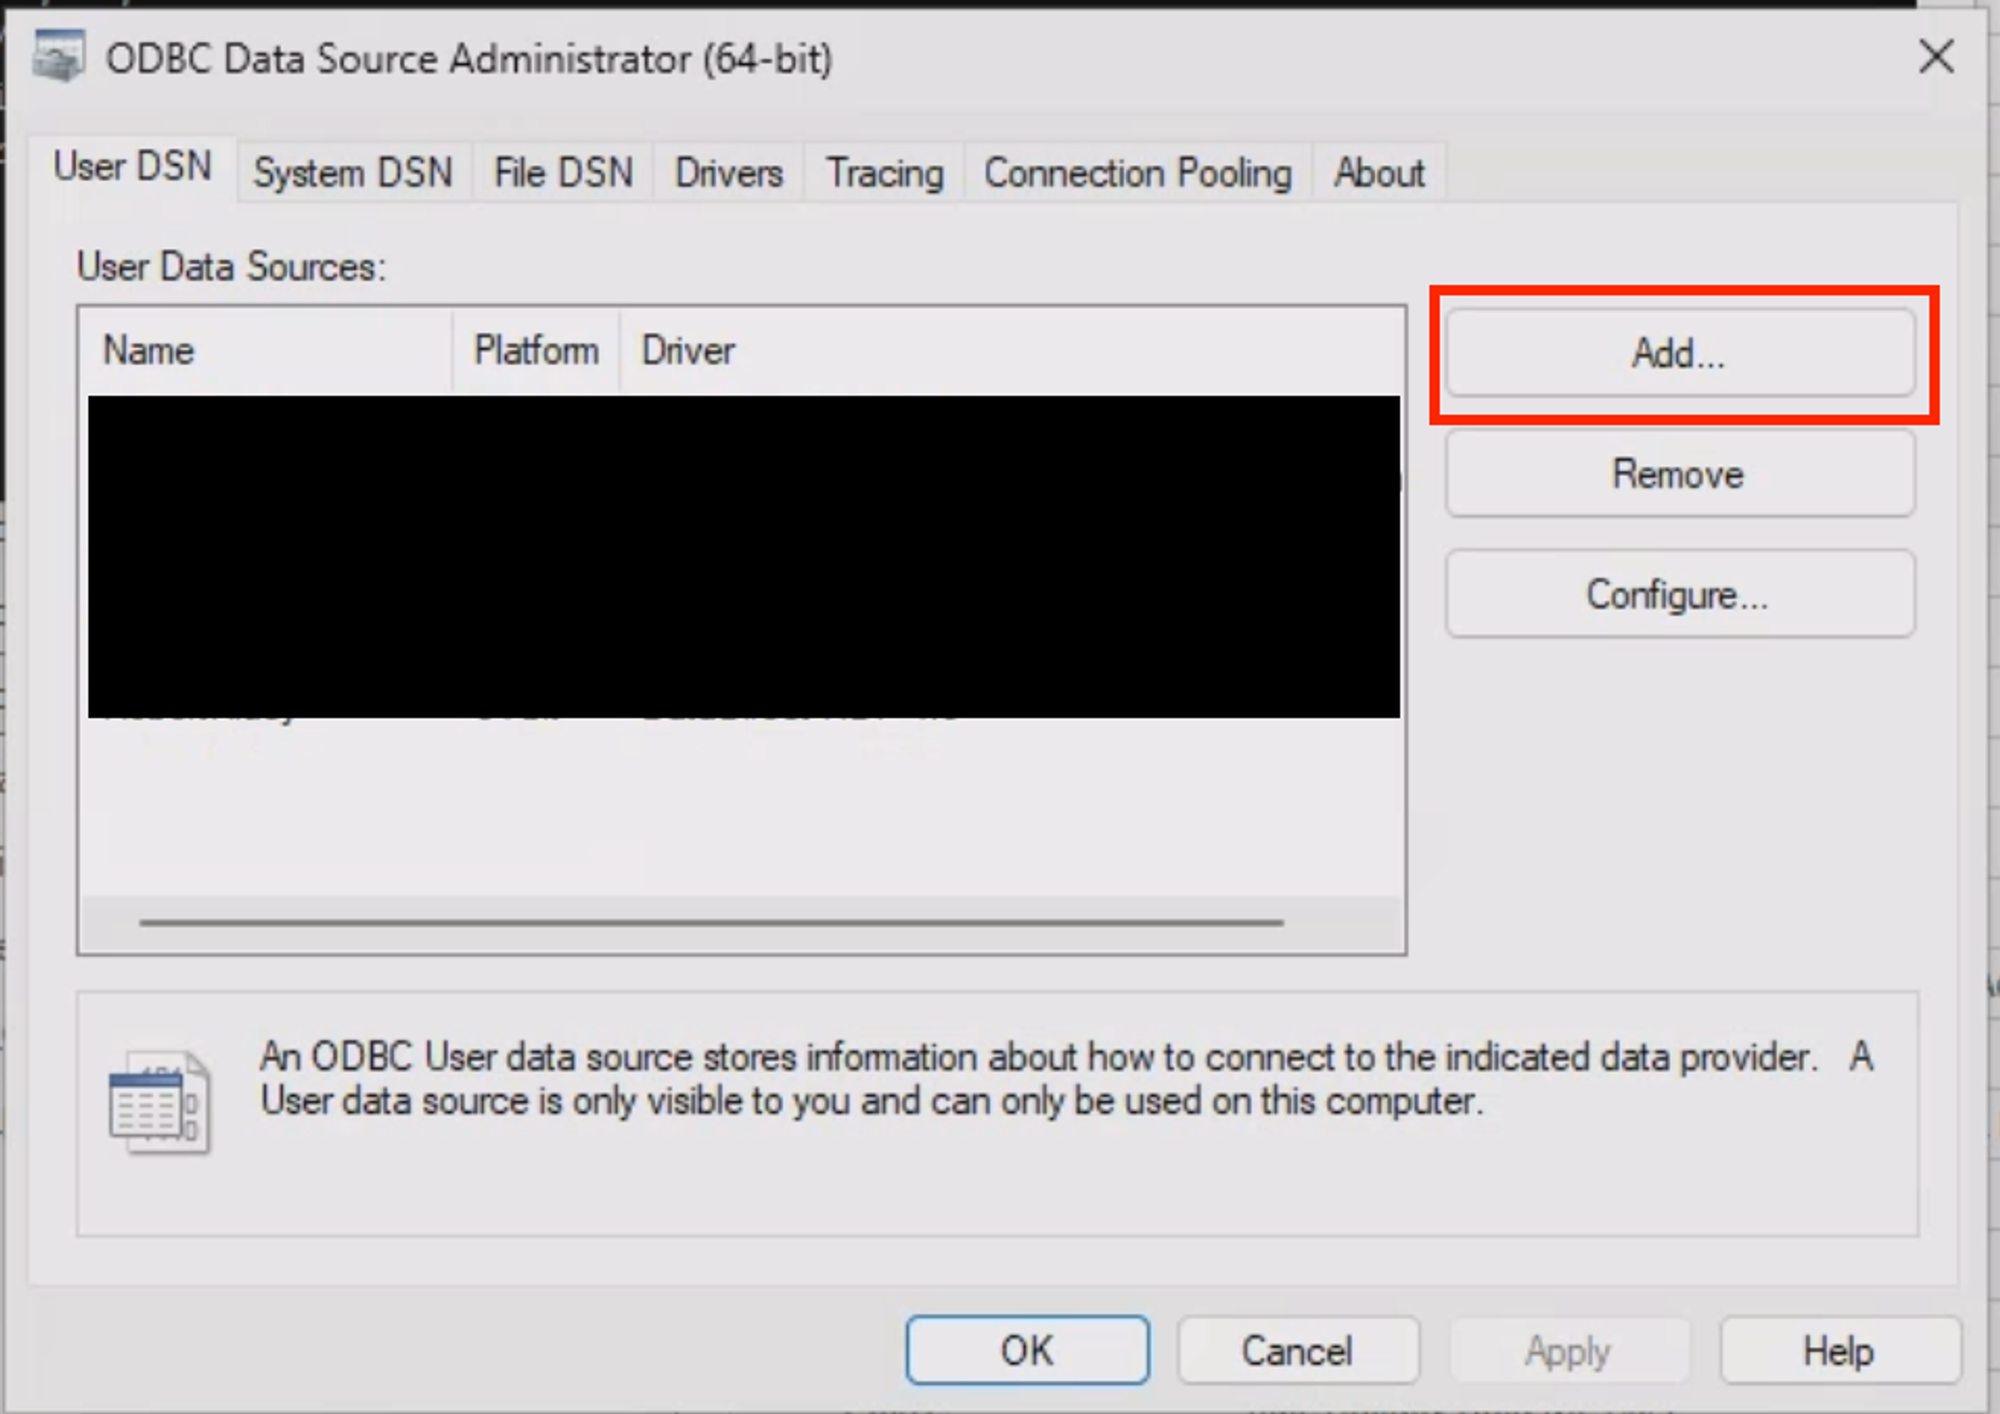
- Open ODBC Data Source Administrator and click “Add”.
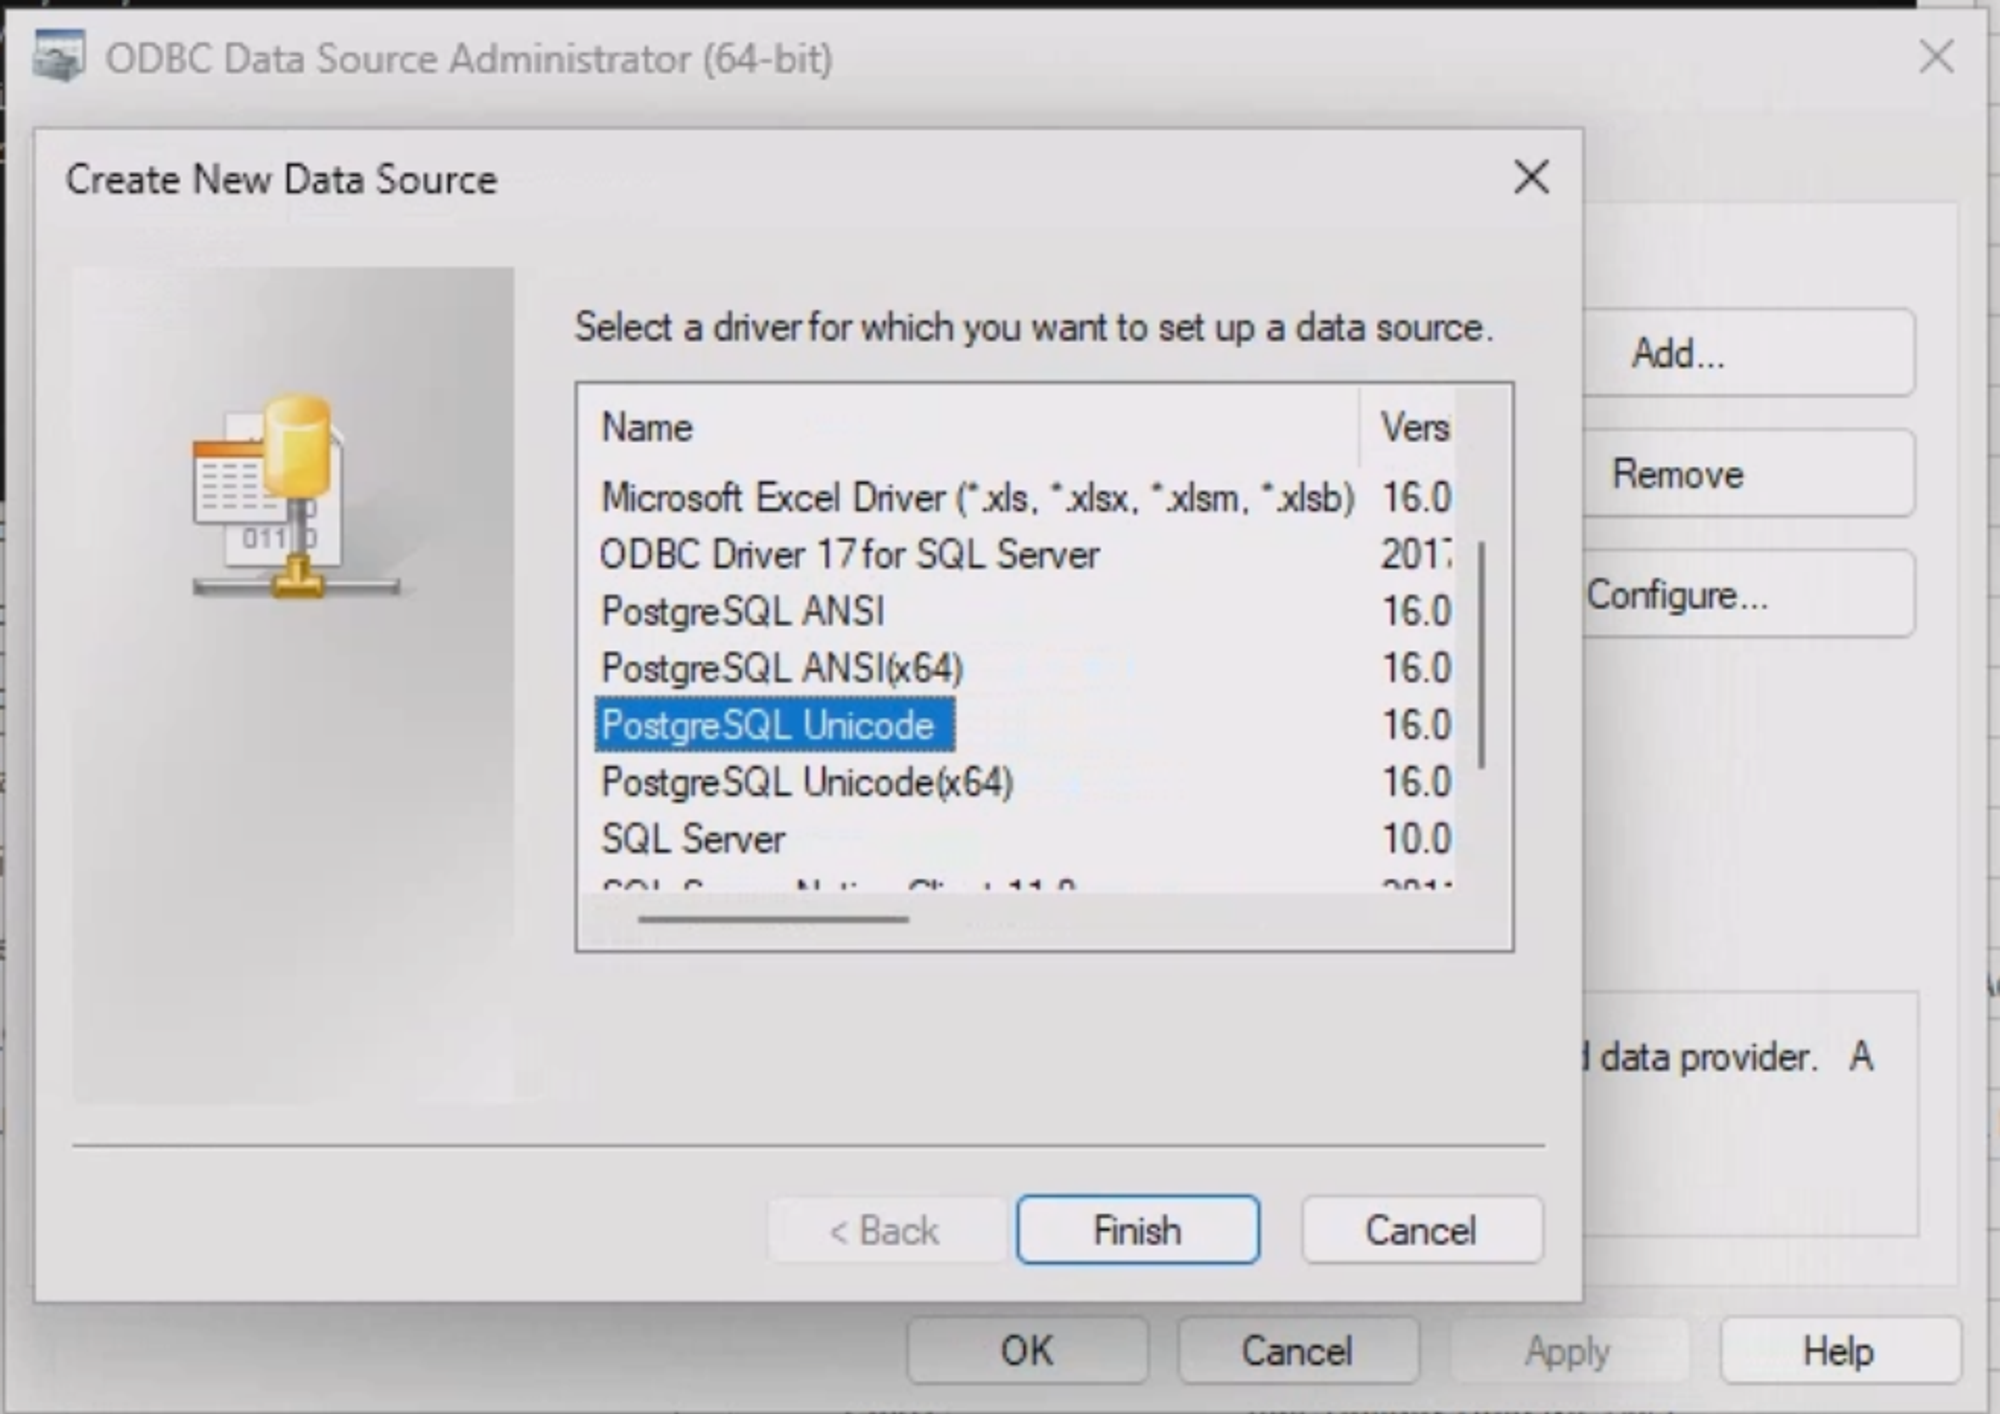
- Select “PostgreSQL Unicode” from the list and click “Finish”.
- Configure the connection:
- Data Source Name:
Mosaic - Description:
Database connection for Mosaic - Database: Provided by Mosaic
- SSL Mode:
require - Server:
localhost - Port:
5433 - Username and Password: Provided by Mosaic
- Data Source Name:
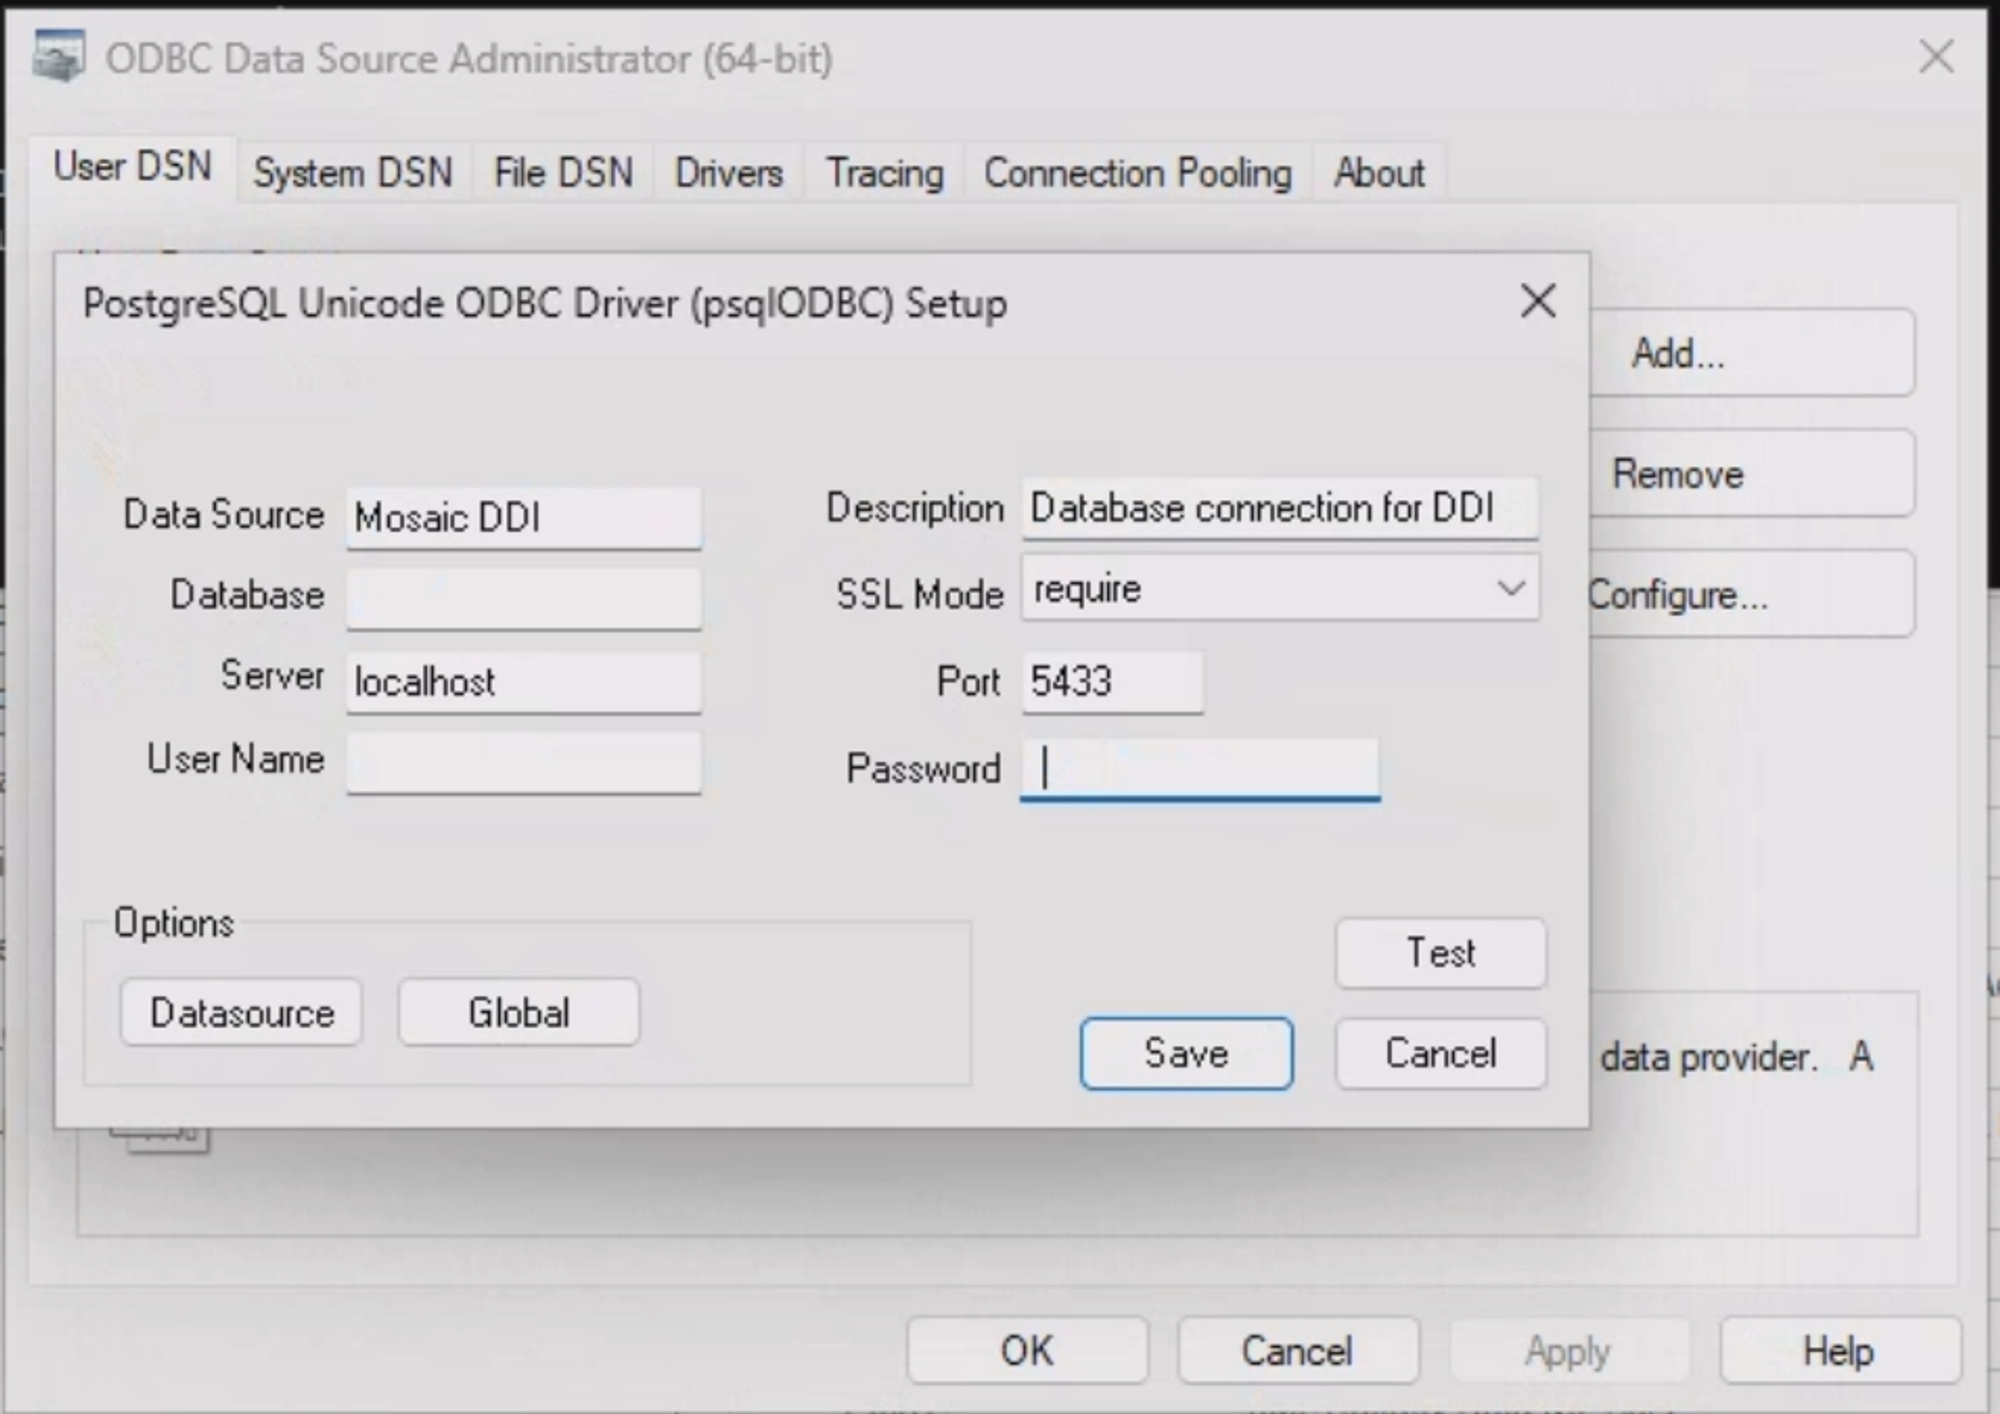
- Click “Test” to verify the connection (ensure your PuTTY SSH session is active).