MS Dynamics 365 Project Operations Integration
| Direction | Est. Data Transfer Time | Vendor | Vendor Docs |
|---|---|---|---|
| 1-way from MS Dynamics 365 to Mosaic. | Up to 4 hours. | MS Dynamics 365 Project Operations Product Website | MS Dynamics 365 Project Operations Resources |
Integration Setup
Part 1: Create a Role
Step 1: Navigate to the PowerApps Settings > Admin center


Step 2: Navigate to the Environments tab, select the Environment you want to integrate with, then select Settings > Security Roles

Step 3: Select New role and give the Role an appropriate name, such as "Mosaic Integration"
Step 4: Grant Access to the Role
Please Note:We need both Read and Append permissions.
Append permissions are required for retrieving related objects (link).
Please note that some entities may not possess related objects, and thus, they will not have an "Append" permission. This is acceptable.
- Select the Core Records tab and grant Read and Append access to:
- Account
- Opportunity
- Select the Sales tab and grant Read and Append access to:
- Product
- Order
- Select the Service tab and grant Read and Append access to:
- Bookable Resource
- Bookable Resource Category
- Select the Business Management tab and grant Read and Append access to:
- Currency
- User
- Select the Customization tab and grant Read and Append access to:
- Attribute Map
- Option Set
- Relationship
- Select the Custom Entities tab and grant Read and Append access to:
- Opportunity Classification
- Project
- Project Contract Line Detail
- Project Contract Line Classification
- Project Task
- Project Team Member
- Time Entry

Part 2: Create a New App User
Step 1: Navigate to the PowerApps Settings > Admin center

Step 2: Navigate to the Environments tab, select the Environment you want to integrate with, then select Settings > Users + permissions > Application Users

Step 3: Click on + New app user
- Click on + Add an app and search for "Mosaic Project Operations Integration" Application (or by App ID: 5d3d81f8-e582-478a-88d1-d77c49716da1) and select the app
- Select your Business unit
- Click on the edit icon next to Security Roles, and add the Role you just created in Part 1, then click Create

- Once you have created the new Application user, you should see it added to the environment under Application users

Part 3: Provide the Web API Endpoint to Mosaic
Step 1: In Microsoft 365, navigate to Apps > Power Apps

Step 2: Select your Environment next to Notifications
Step 3: Click on the Gear icon and select Developer resources

Step 4: Copy the Web API endpoint and provide it to Mosaic

Part 4: Install the Mosaic Project Operations Integration Application
Setting Up Mosaic Project Operations Integration with Microsoft Entra ID:
- Navigate to the Microsoft Entra admin center. Ensure you're signed in with a Role that has at least 'Cloud Application Administrator' privileges.
- Follow this path:
Identity > Applications > Enterprise applications > New application. - Under the 'Add from the gallery' section, enter "Mosaic Project Operations" in the search box.
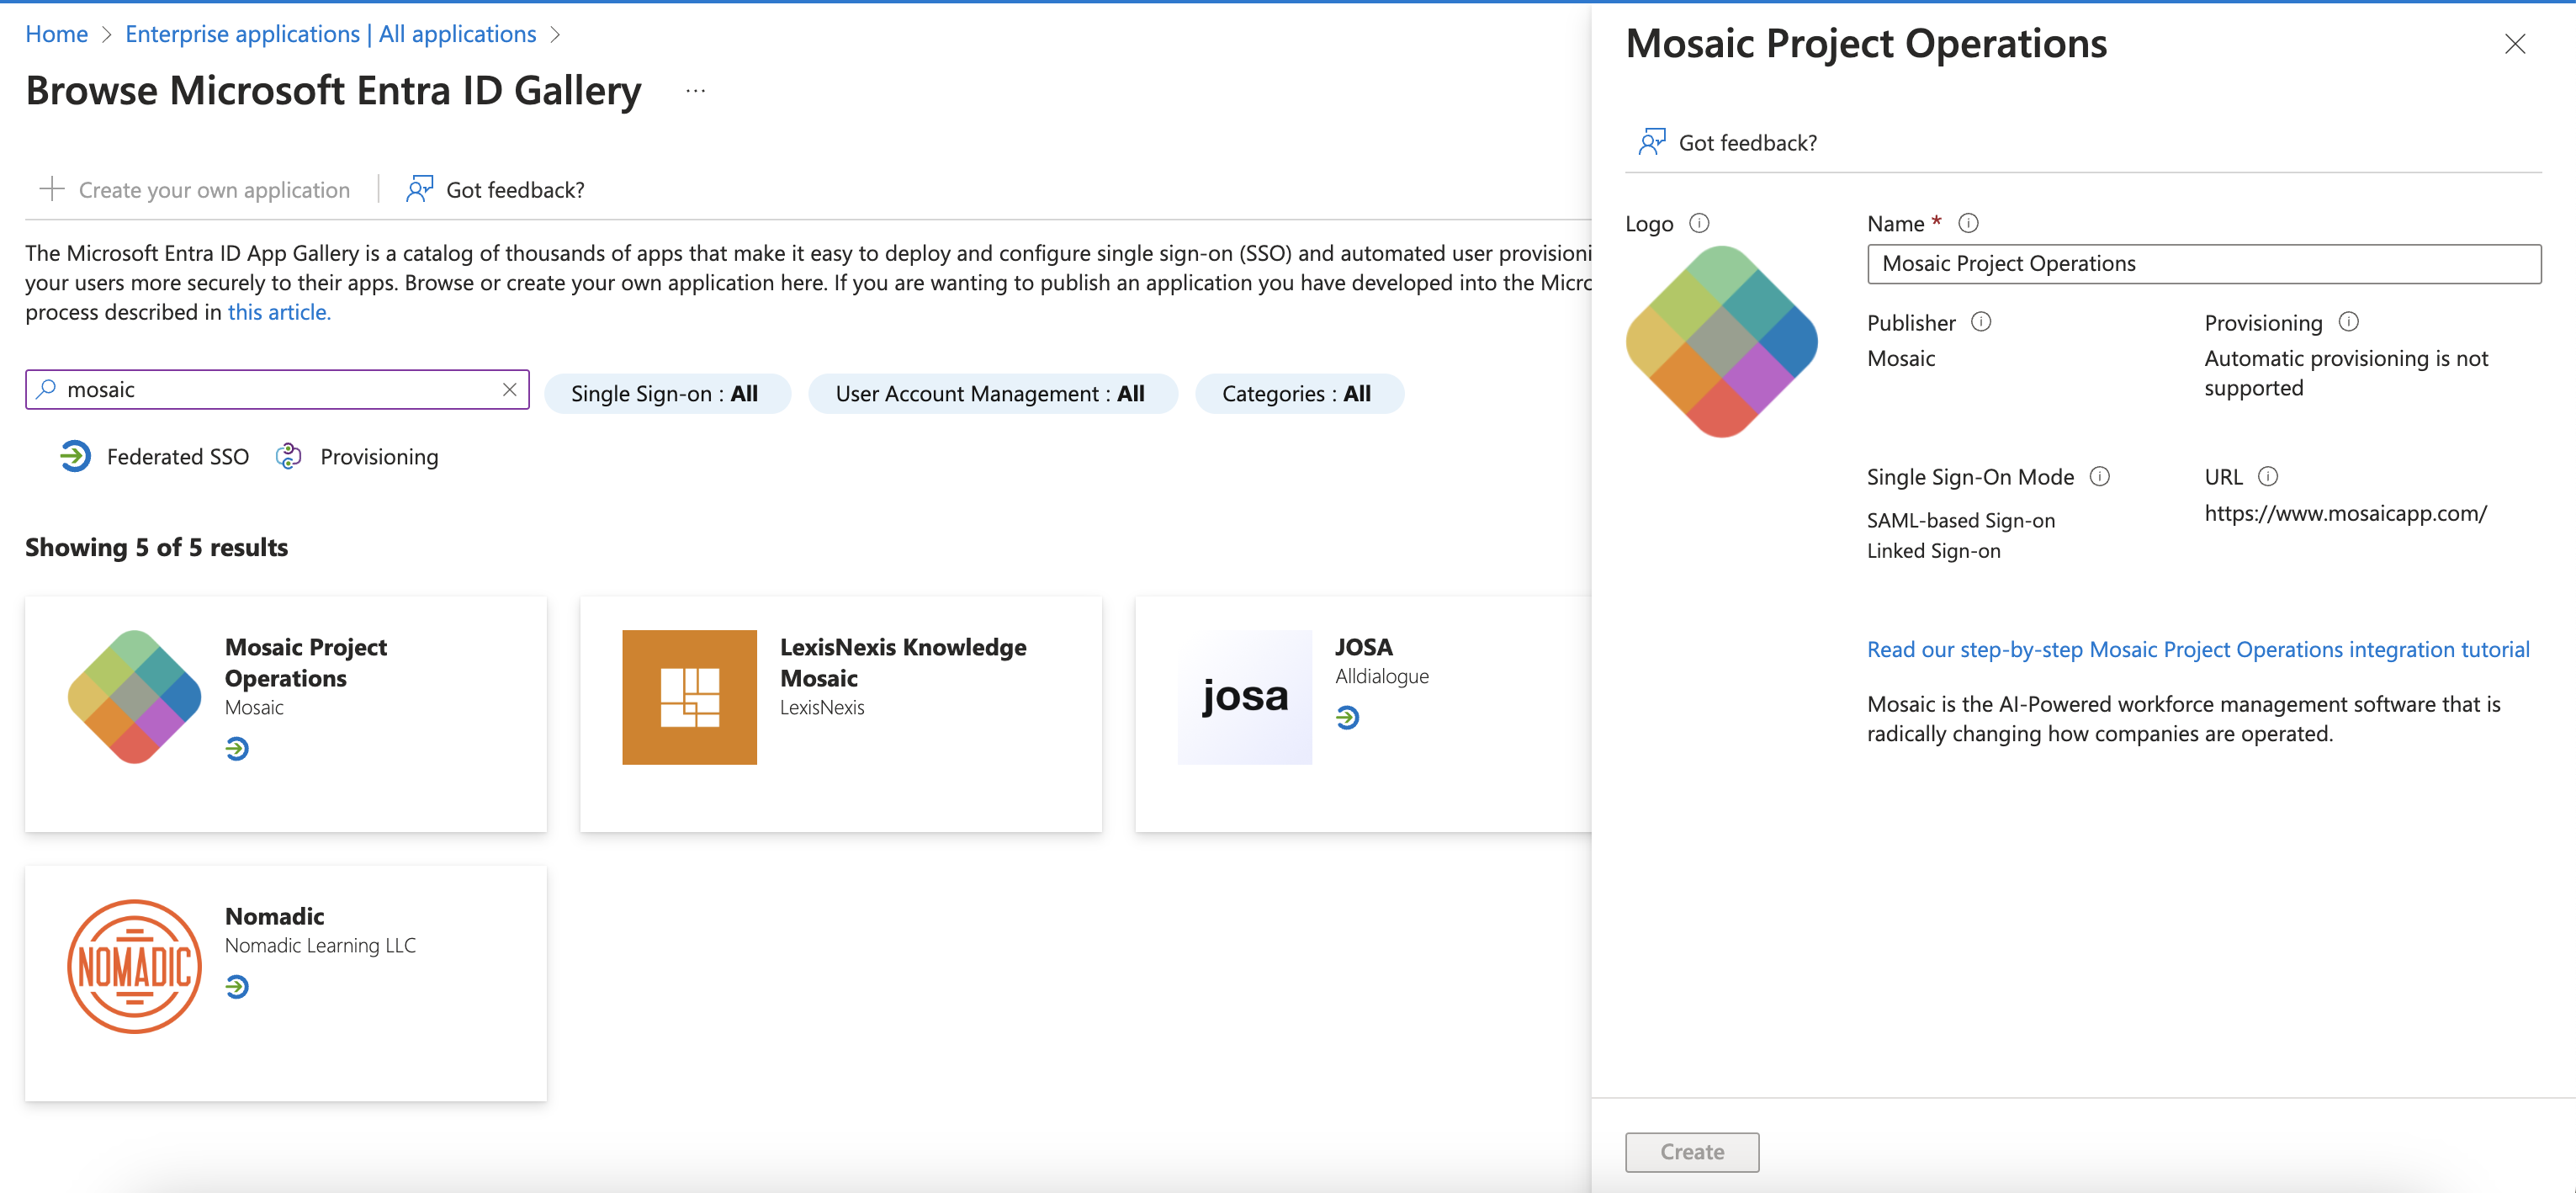
- From the search results, click on 'Mosaic Project Operations' and then select 'Add app'.
- Allow a few moments for the application to be integrated into your tenant.