Connecting Mosaic with Okta
Add and Verify Domain on Mosaic
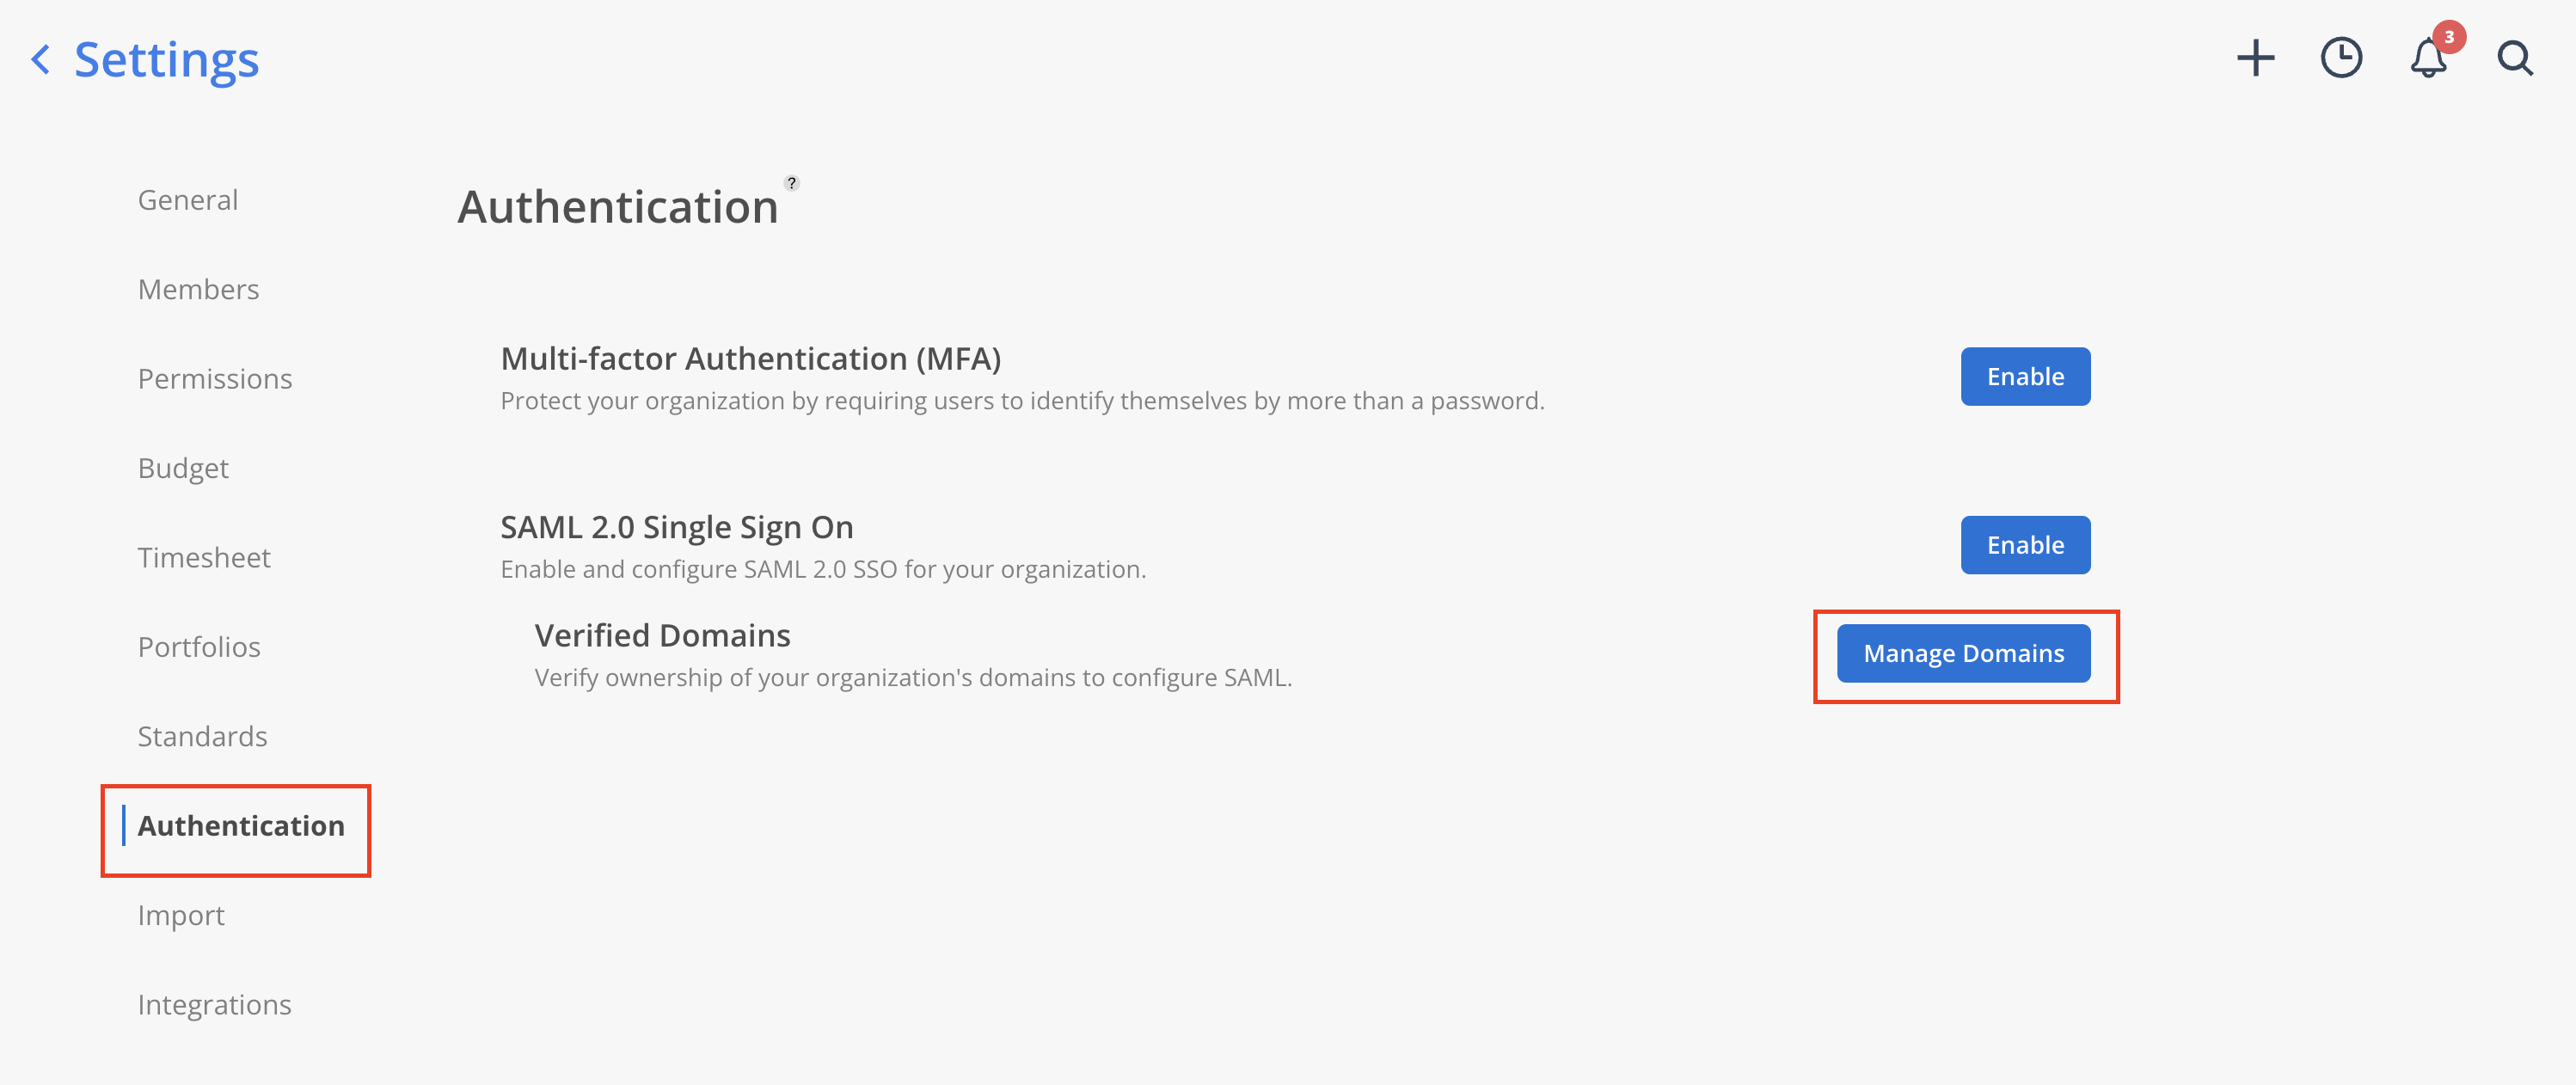
- Go to Mosaic Settings → Authentication page. Under SAML 2.0 Single Sign On, click
Manage Domains.
Please Note:
Only admins are able to access the Authentication tab on Mosaic settings.
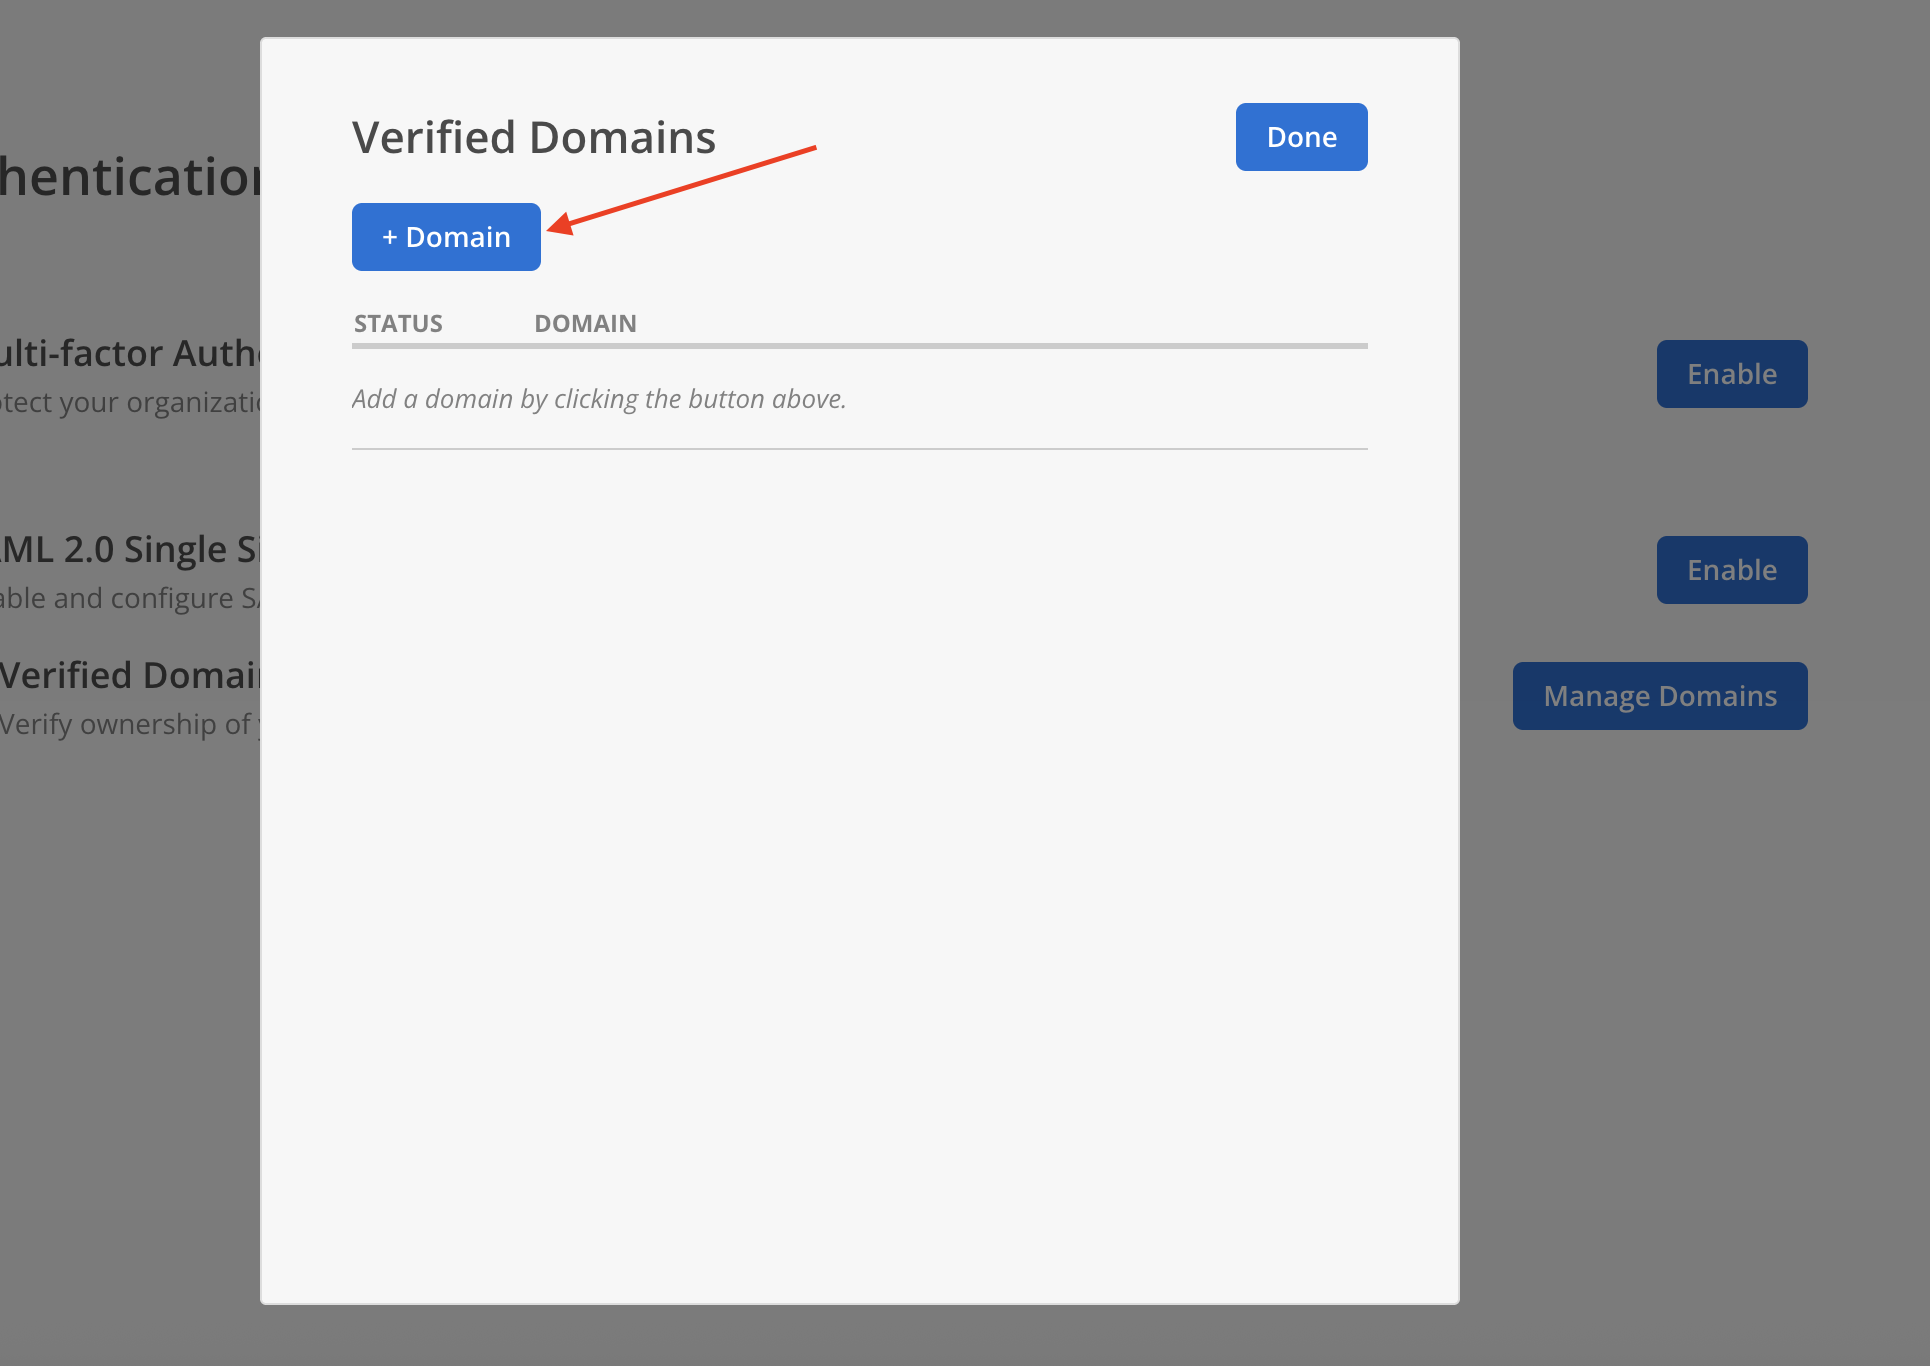
- Select
+ Domainon the Verified Domains Modal.
- Enter a your email domain in the host name field. Click
Add Domain.
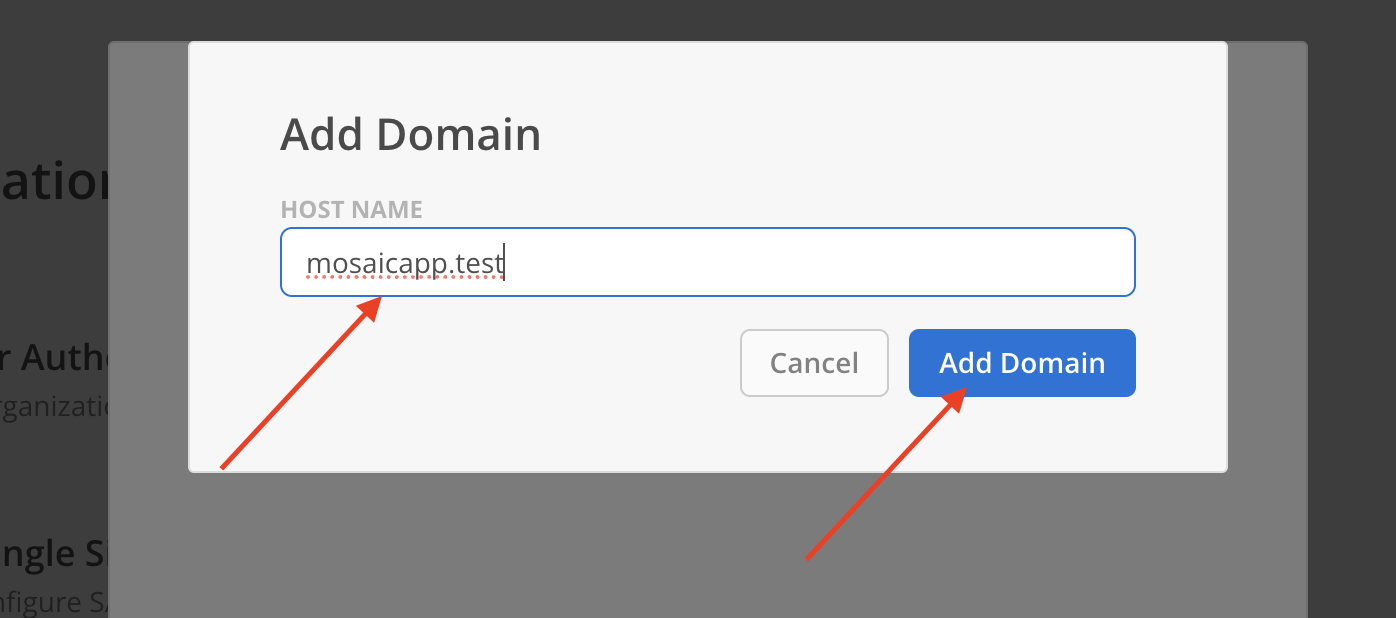
- Newly added domain will appear on the modal with status Not Verified.
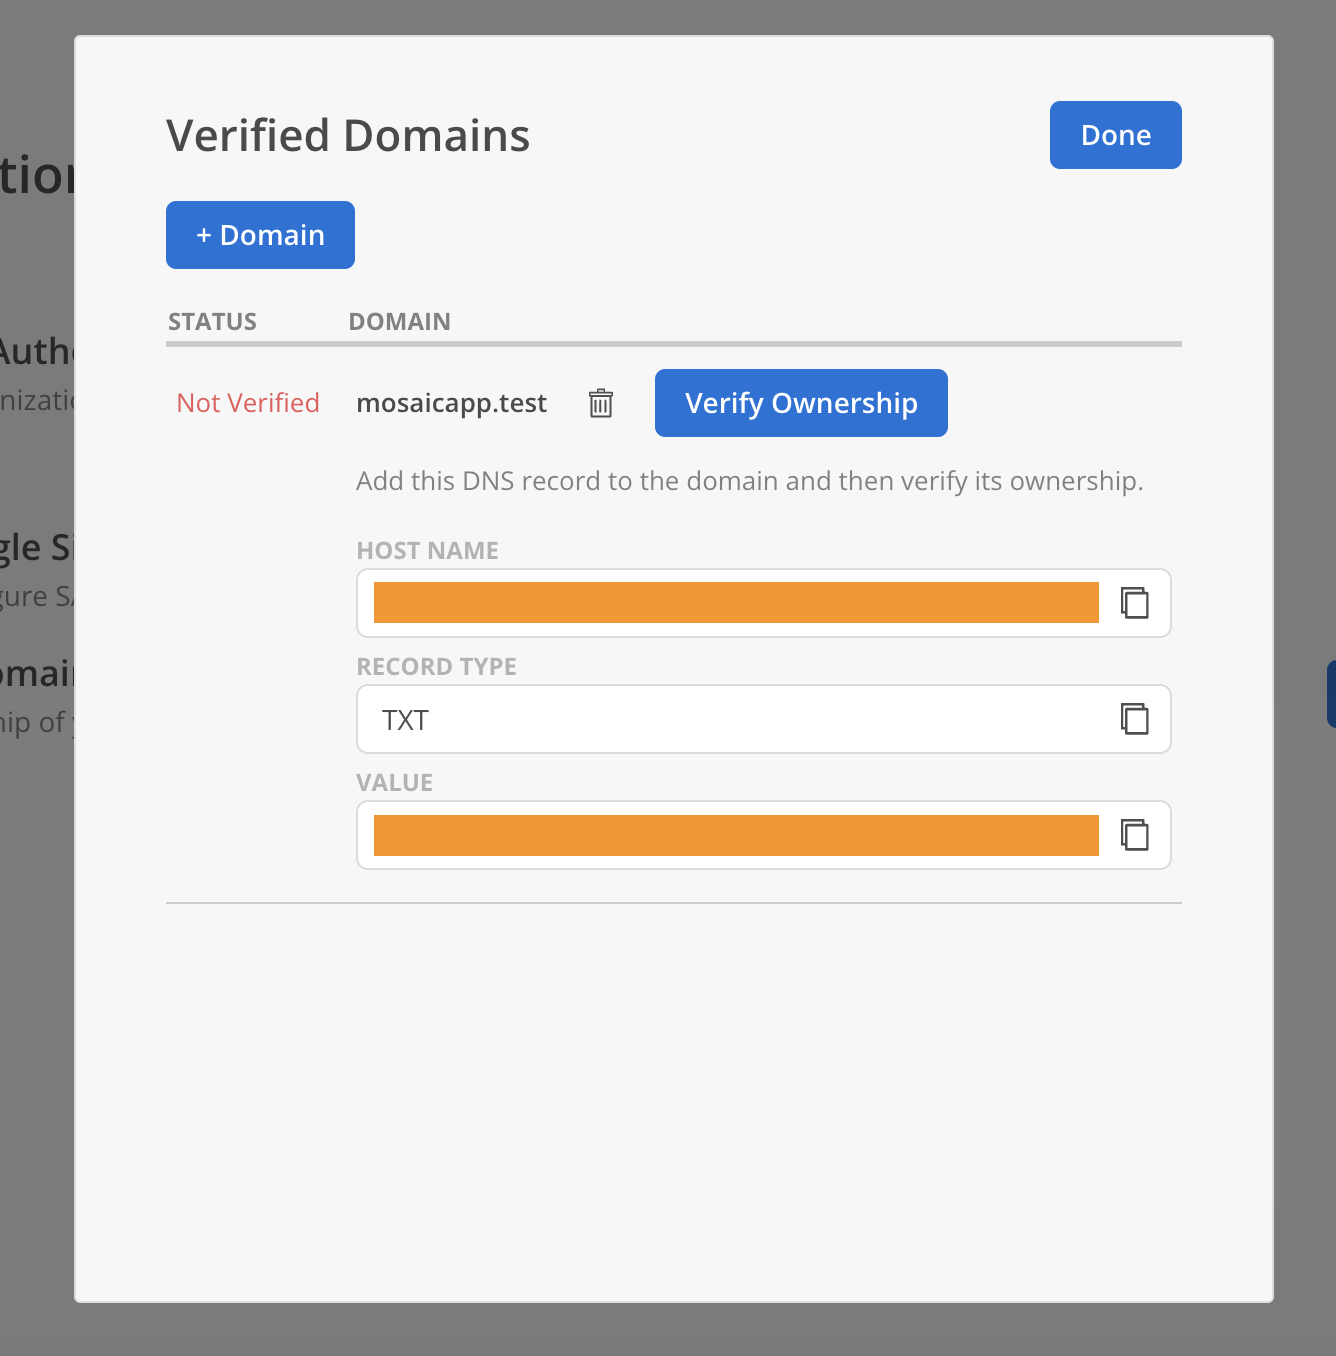
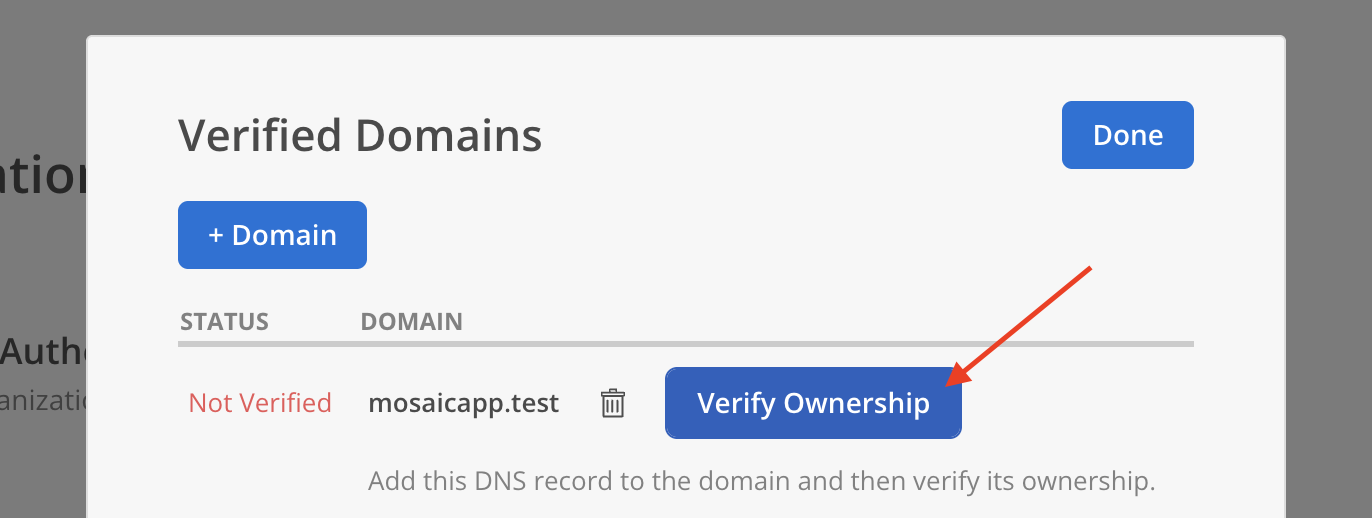
- Share the Hostname, Record Type (TXT), and Record Value with your DevOps team to update the domain’s DNS settings. Click
Verify Ownershipafter completing the DNS configuration.
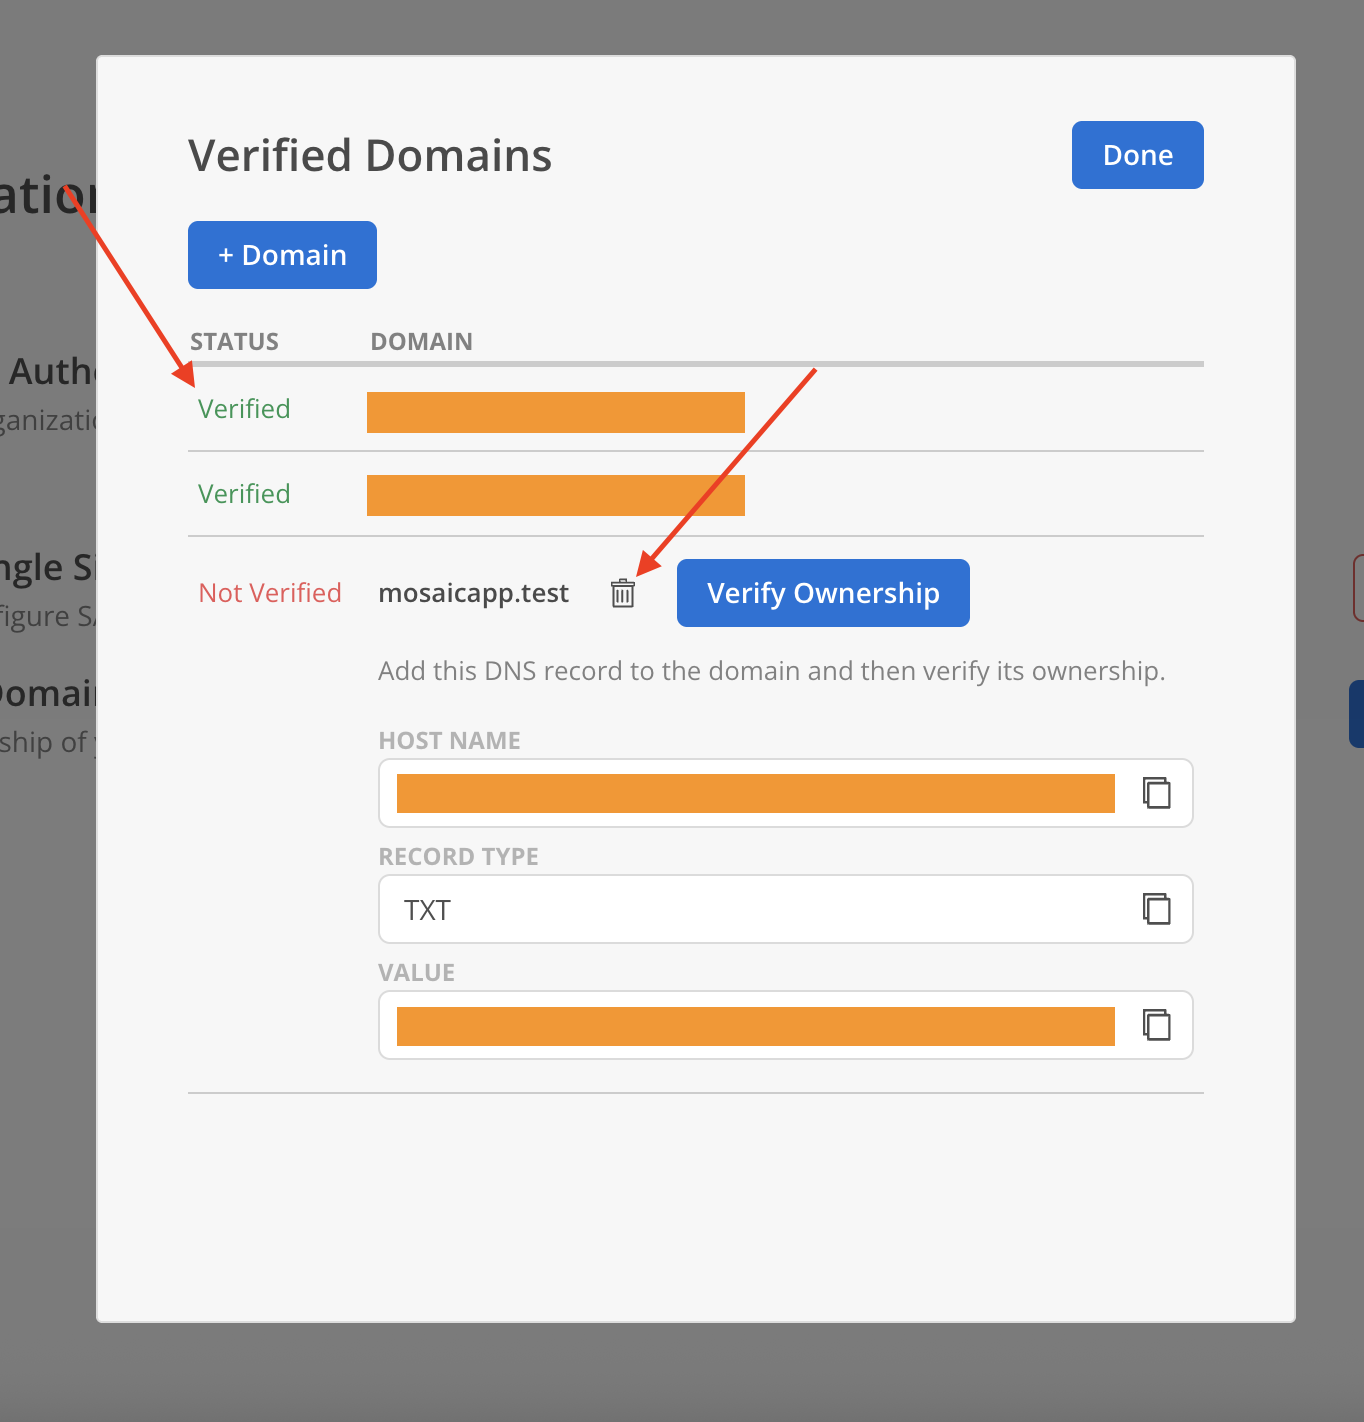
- The domain’s status will update to Verified.
Domains with status Not Verified display a Delete option and can be removed. Once a domain is marked as Verified, the Delete option is no longer available.
Initial Setup with Mosaic SAML
- Go to Mosaic settings → Authentication → SAML 2.0 Single Sign On and click Enable.
Please Note:
Only admins are able to access the Security tab on Mosaic settings.

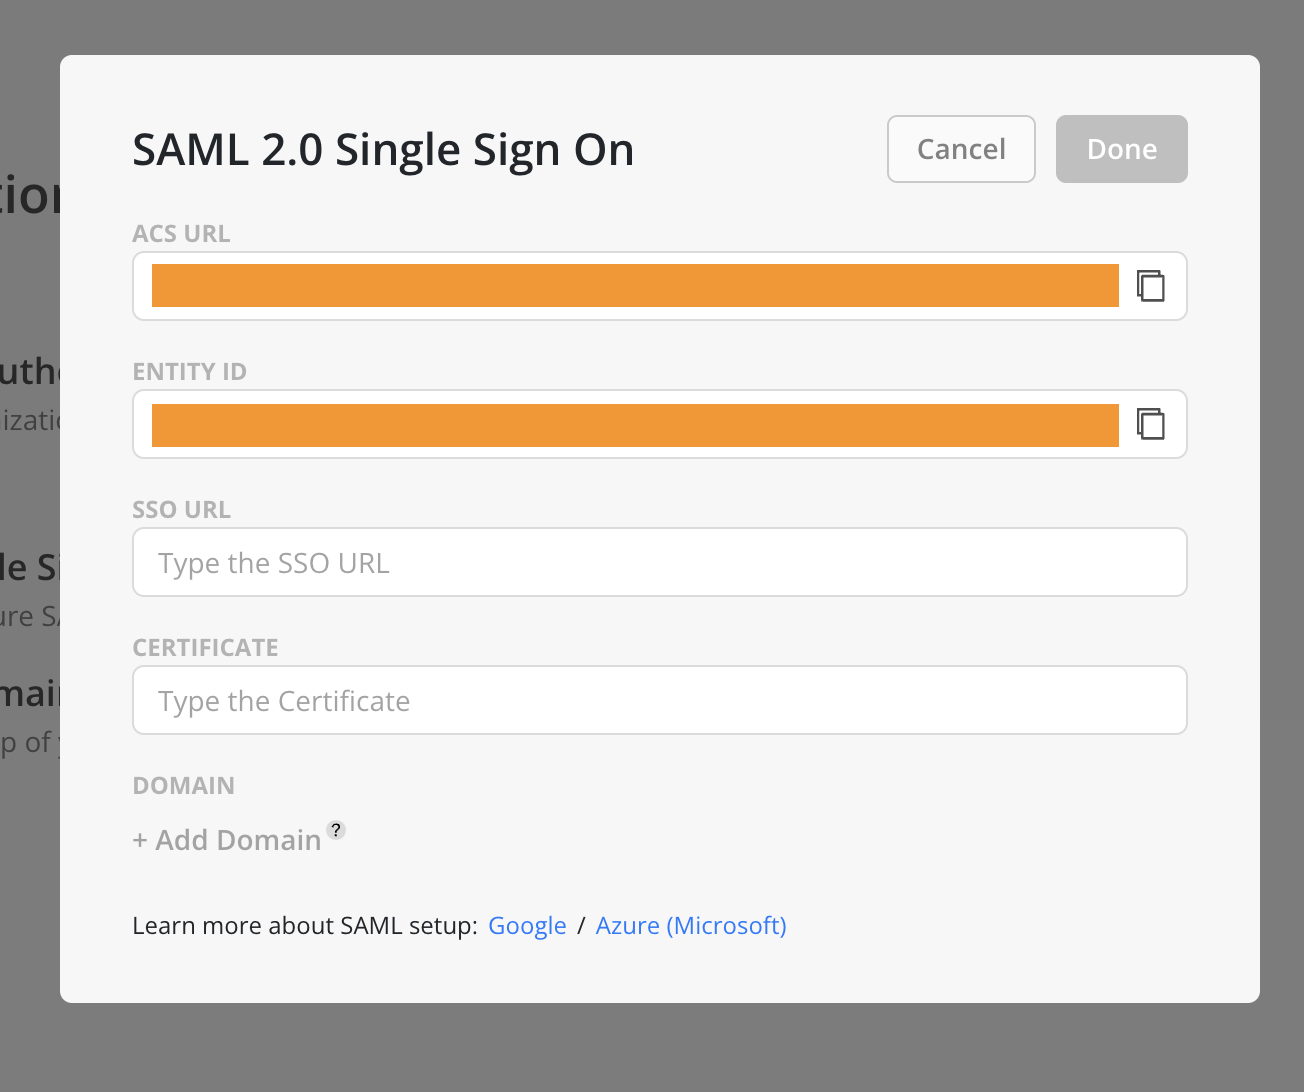
- From the Mosaic SAML 2.0 Single Sign-On modal, take note of the
ACS URL. This will be required when configuring Okta. - Similarly, record the
Entity IDfrom the same modal, as it will be used in a subsequent Okta configuration step.

Setup SAML on Okta
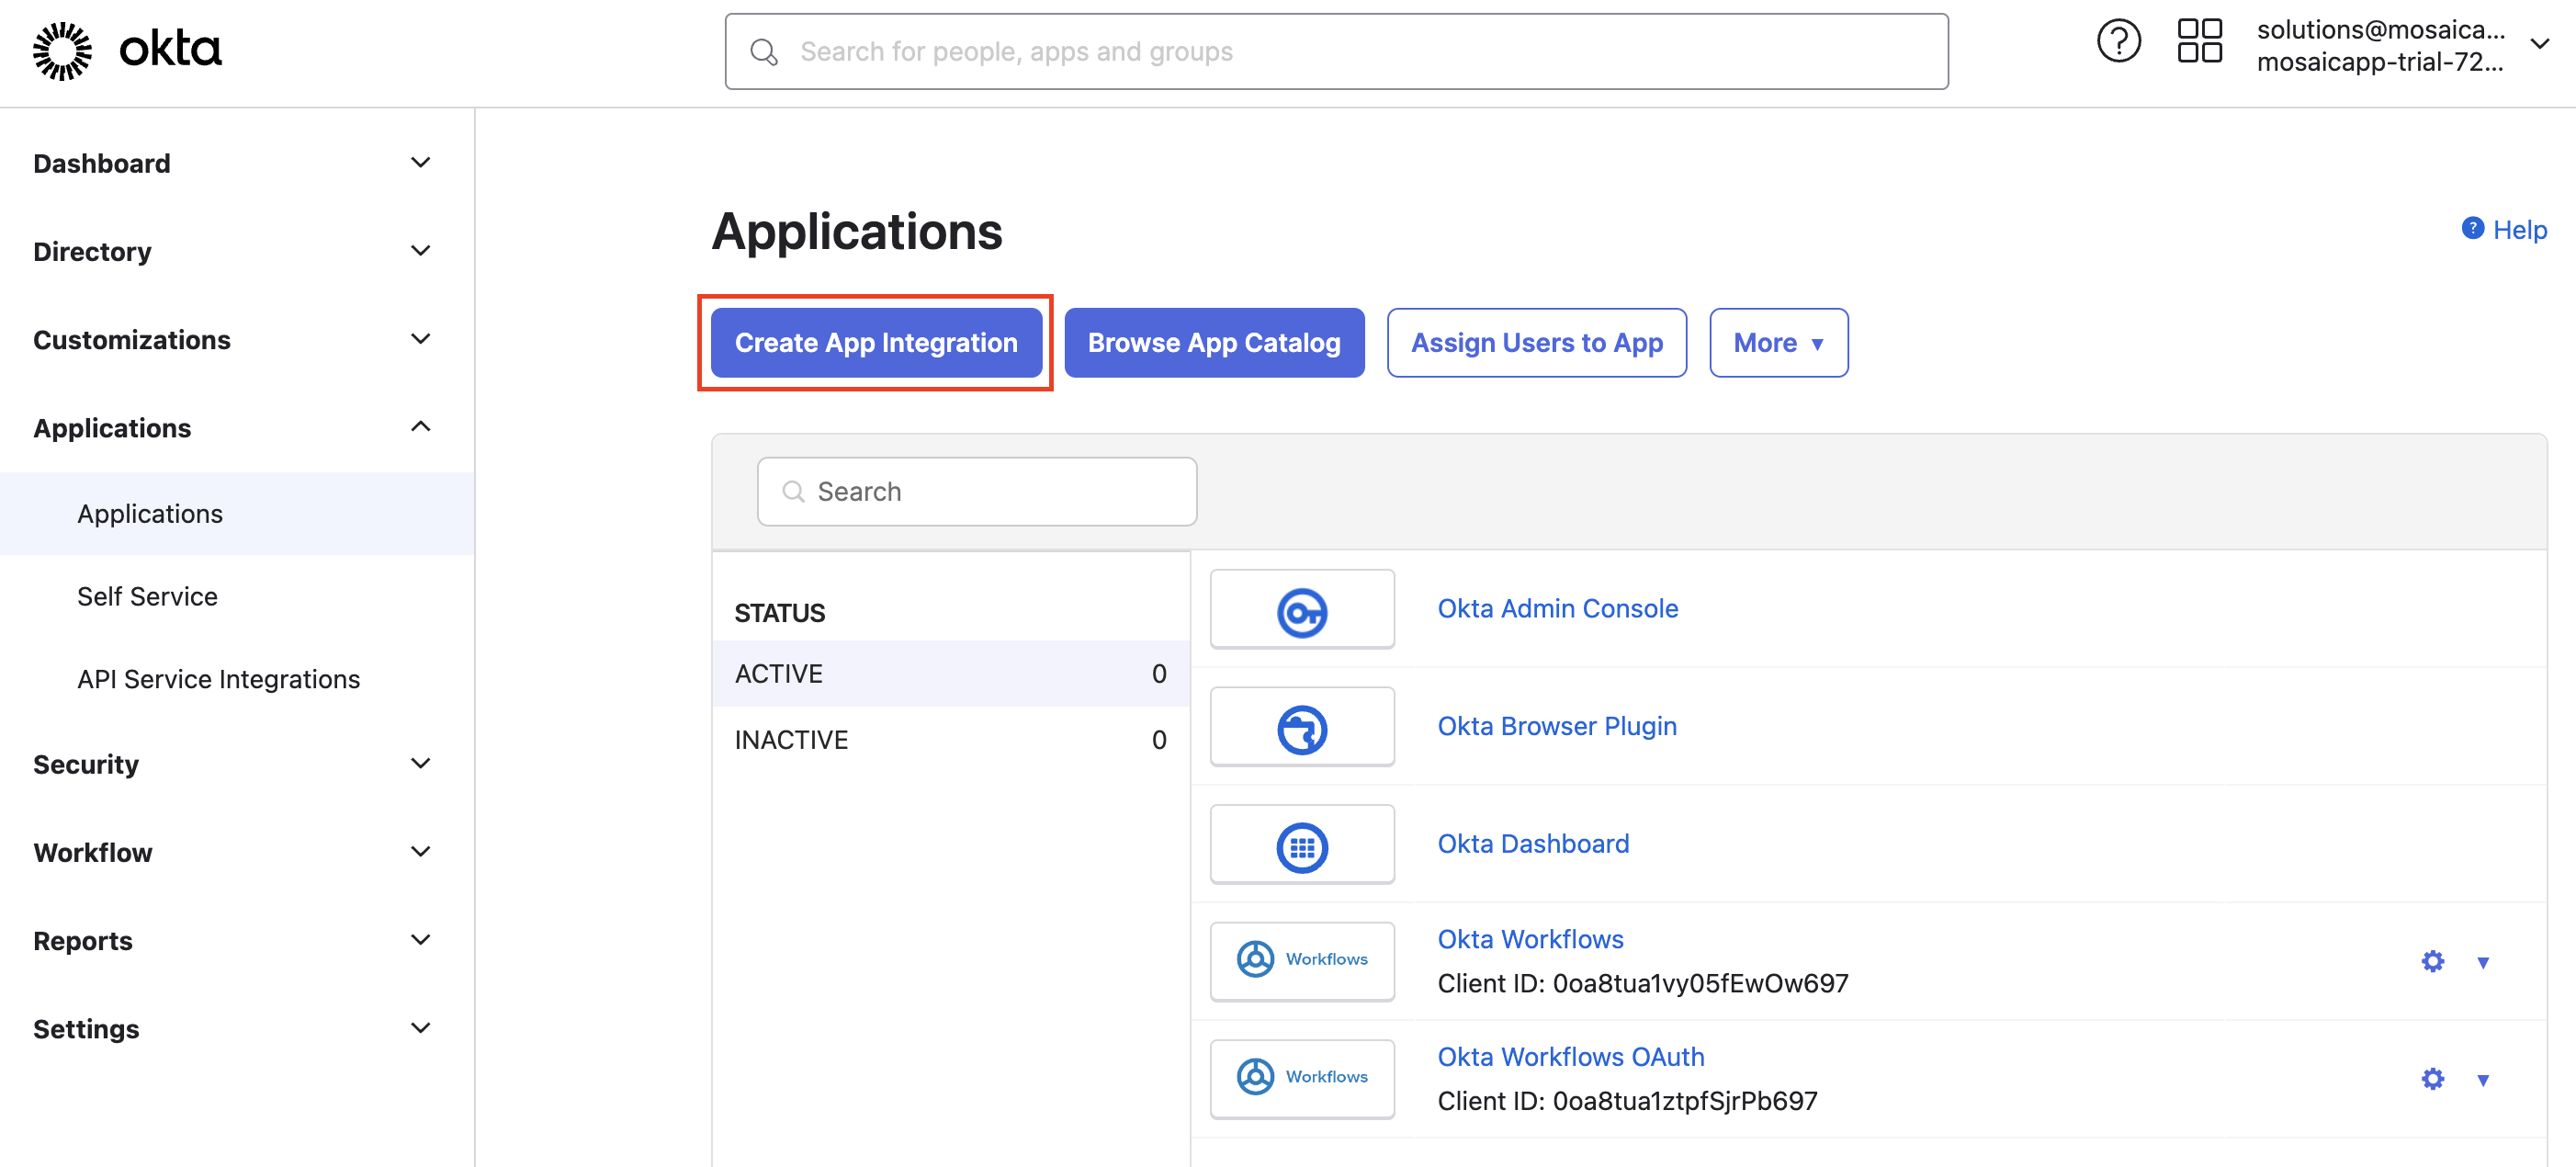
- Log in to your Okta Admin Dashboard.
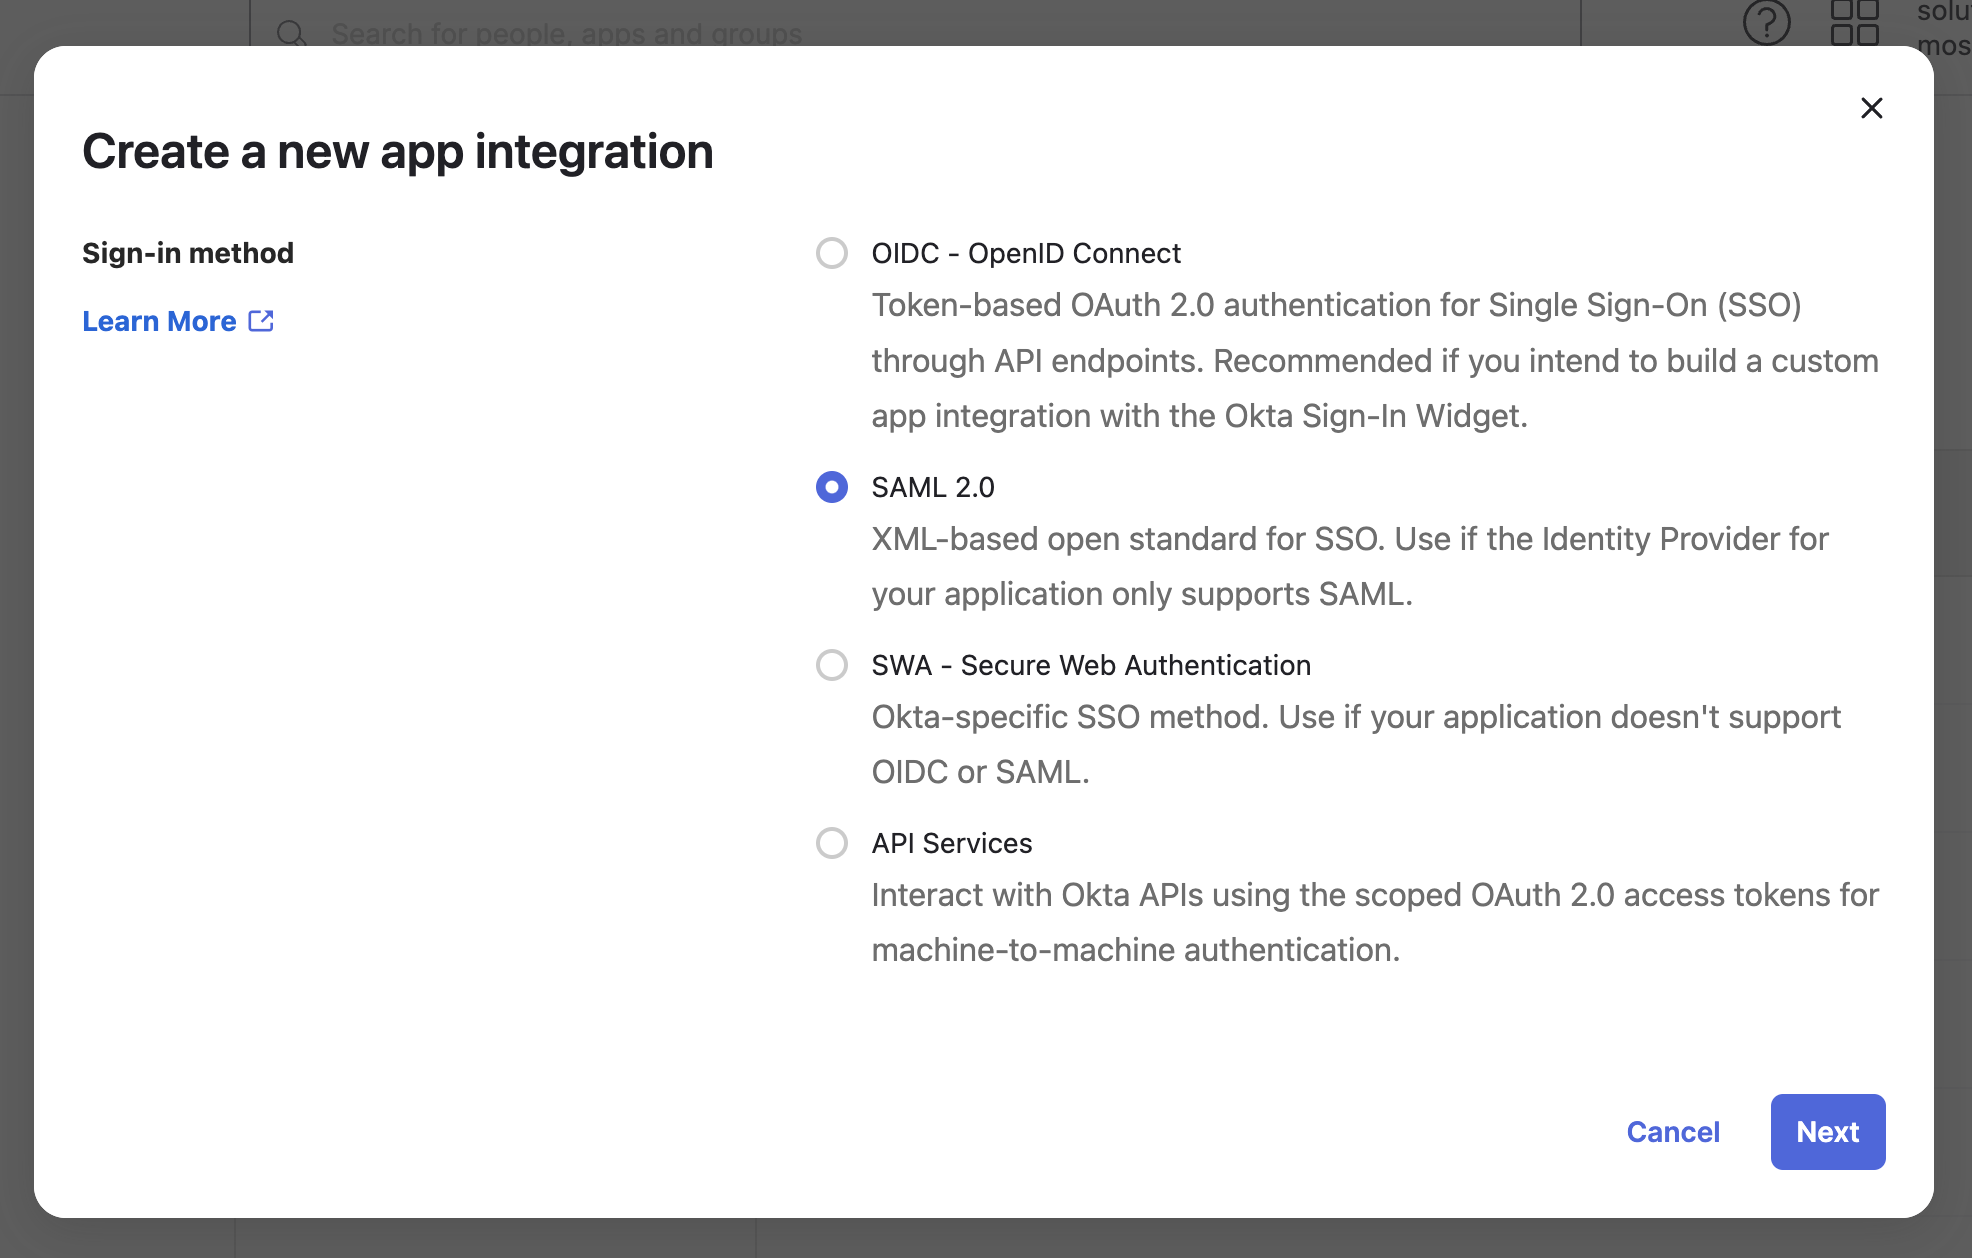
- Navigate to Applications and click on Create App Integration.
- Choose
SAML 2.0as the Sign-in method and click Next.
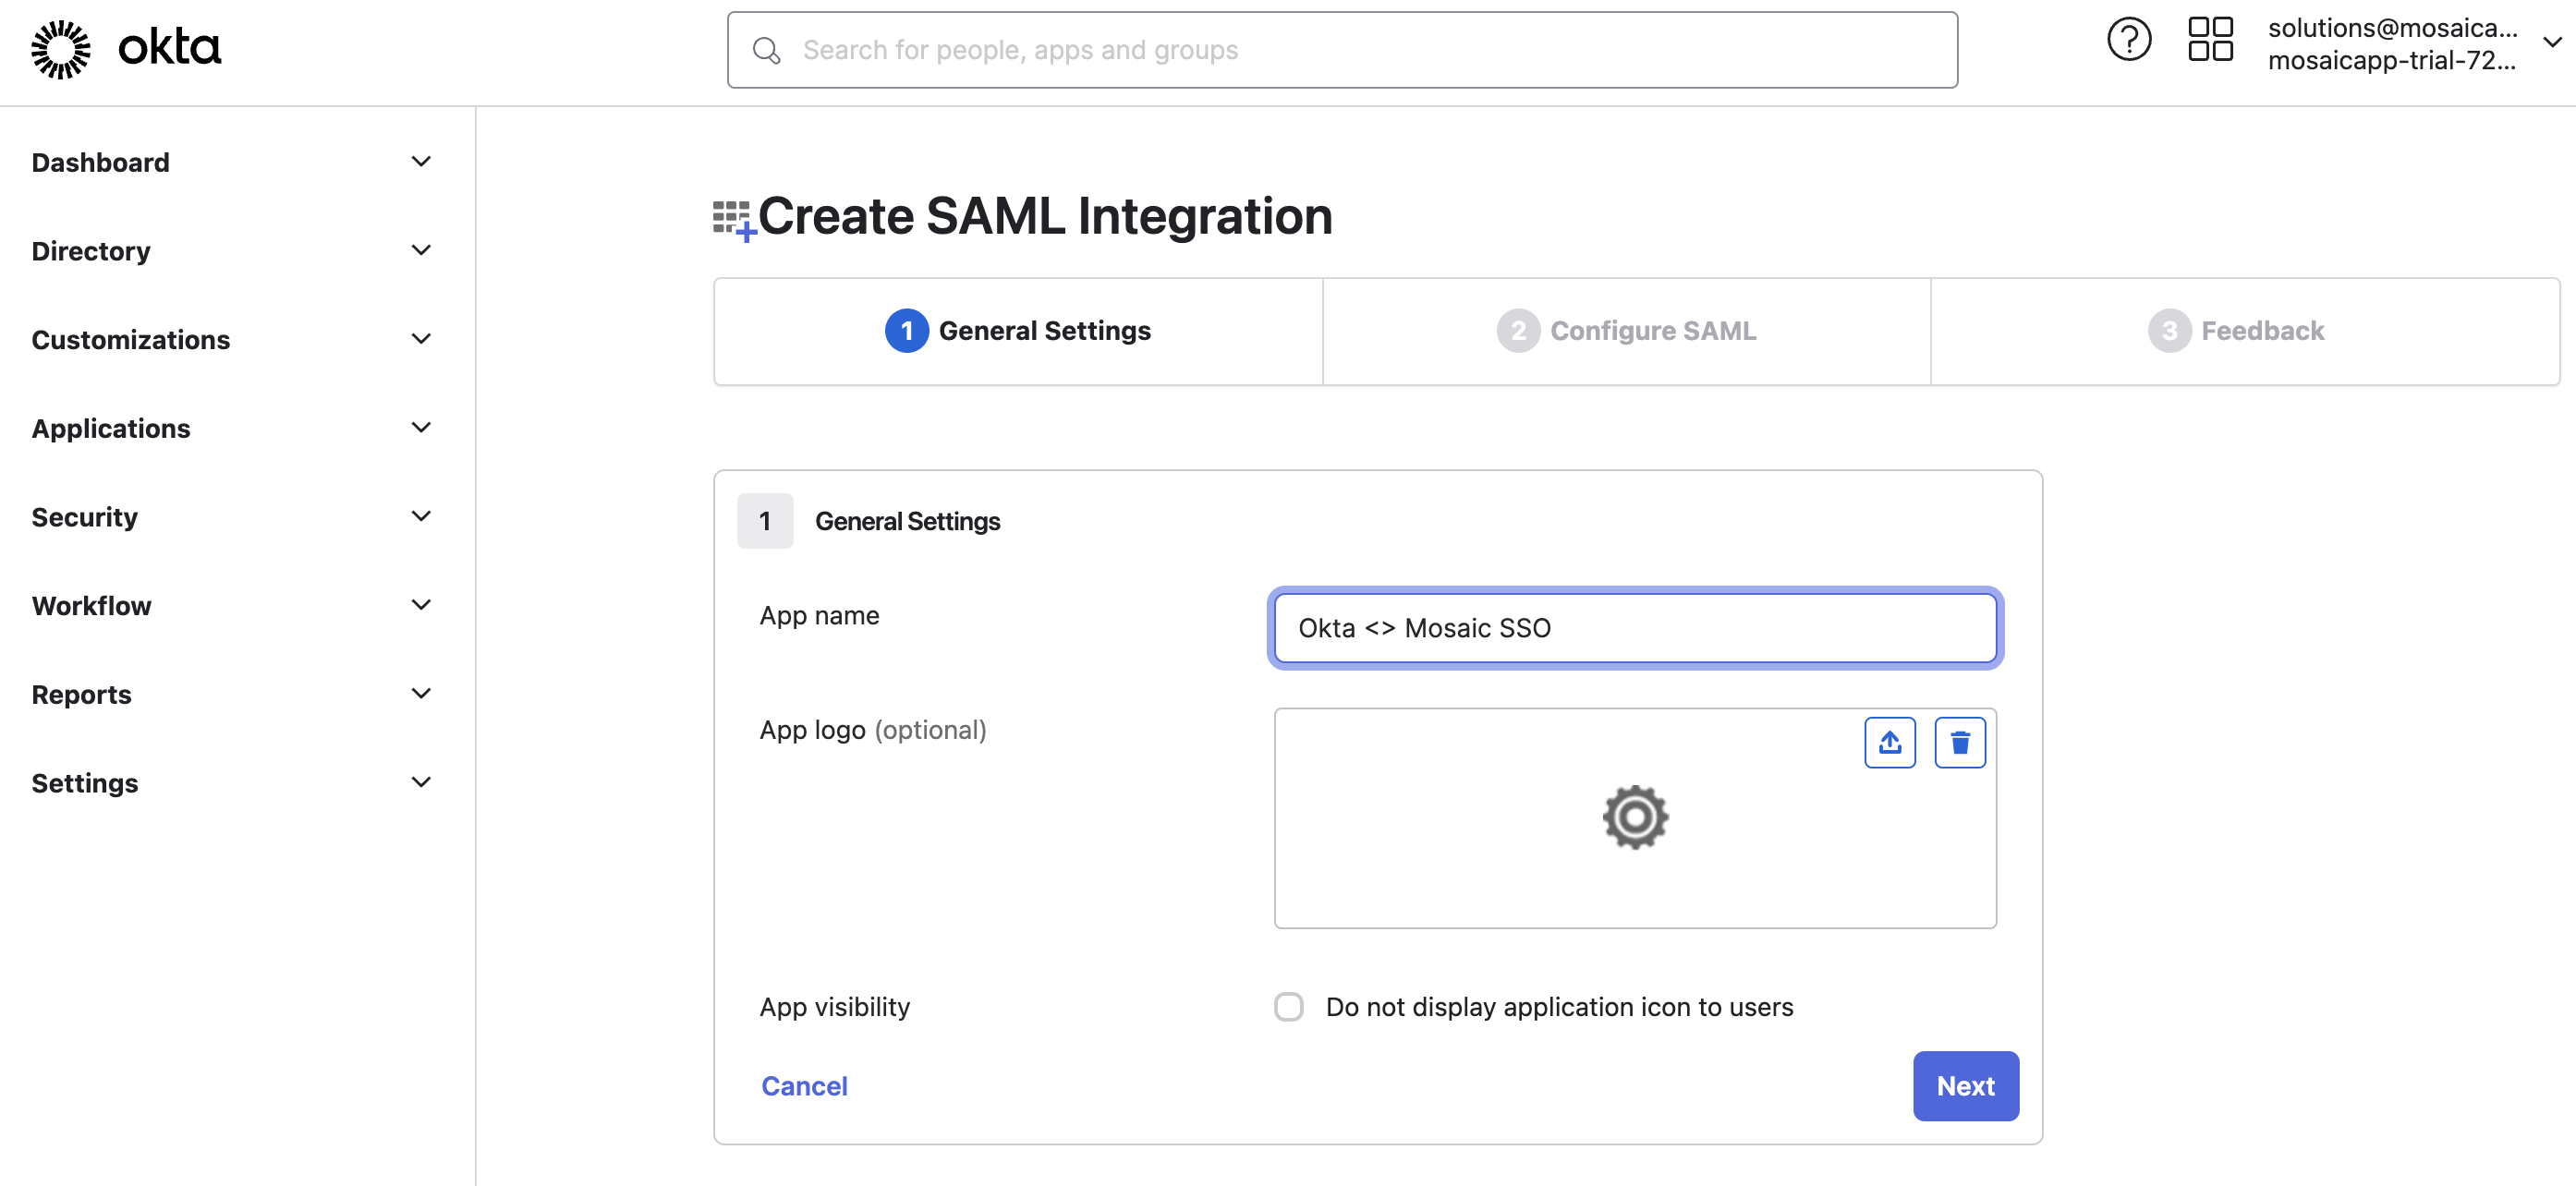
- Under the General Settings tab, give your app a name and optional logo and click Next.
- Navigate to the Configure SAML tab:
- Copy the ACS URL from Mosaic (refer to Step #2) and input it into Okta's
Single sign-on URLfield. - Copy the Entity ID from Mosaic (refer to Step #3) and input it into Okta's
Audience URI (SP Entity ID)field. - Leave the default values for the remaining fields and click Next.
- Copy the ACS URL from Mosaic (refer to Step #2) and input it into Okta's

- Navigate to the Application's main page and select the Sign On tab.
- Under Sign on methods > SAML 2.0 > More details > Sign on URL, take note of the Sign on URL, as it will be required for Mosaic setup in the subsequent steps.
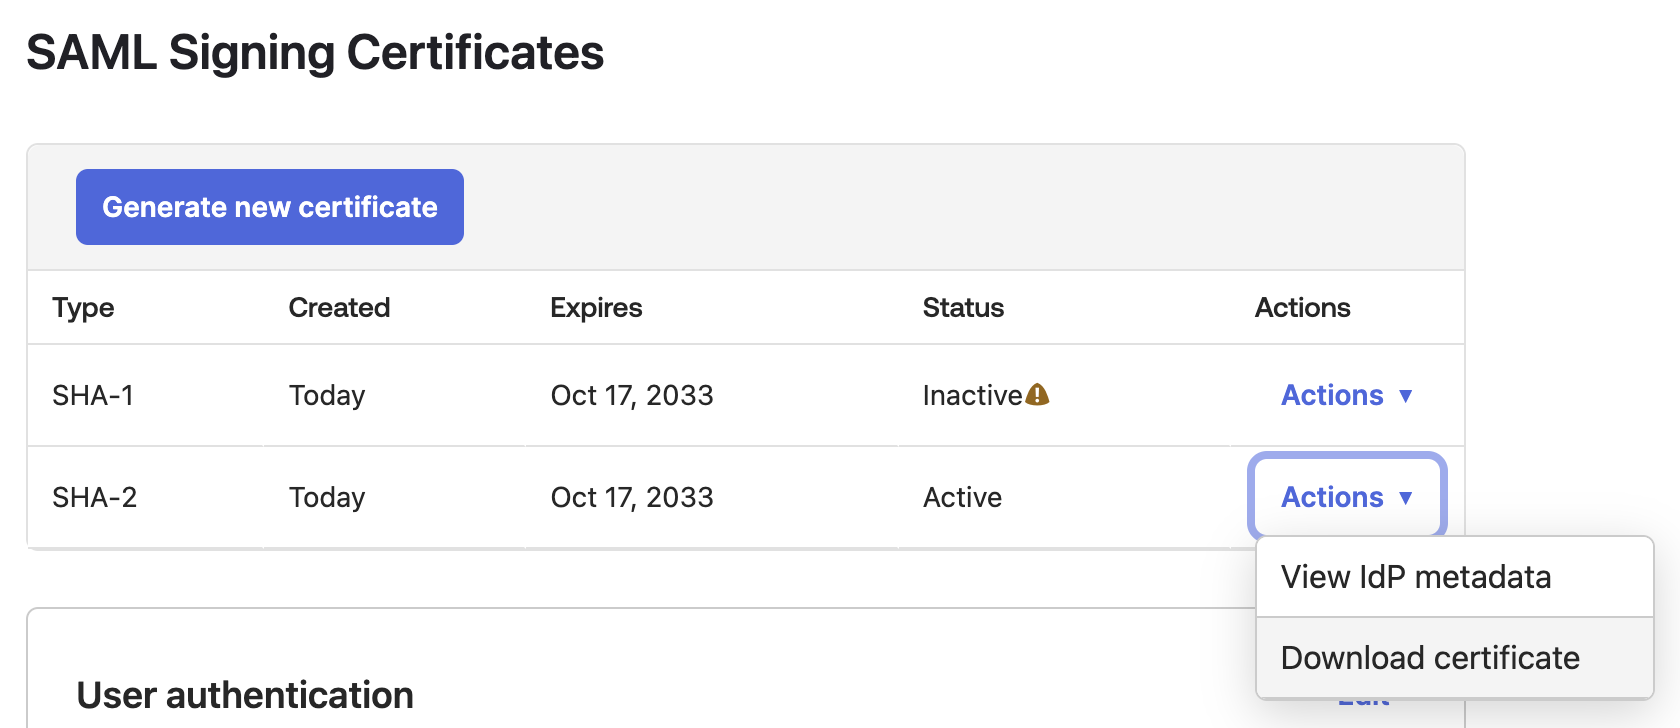
- Under the SAML Signing Certificates section, click on
Actionsdropdown and selectDownload certificate.
-
Open the downloaded Certificate using a text editor application, such as
TextEditon Mac orNotepadfor Windows. Copy the entire content of the certificate, as you'll be pasting it into Mosaic in a subsequent step.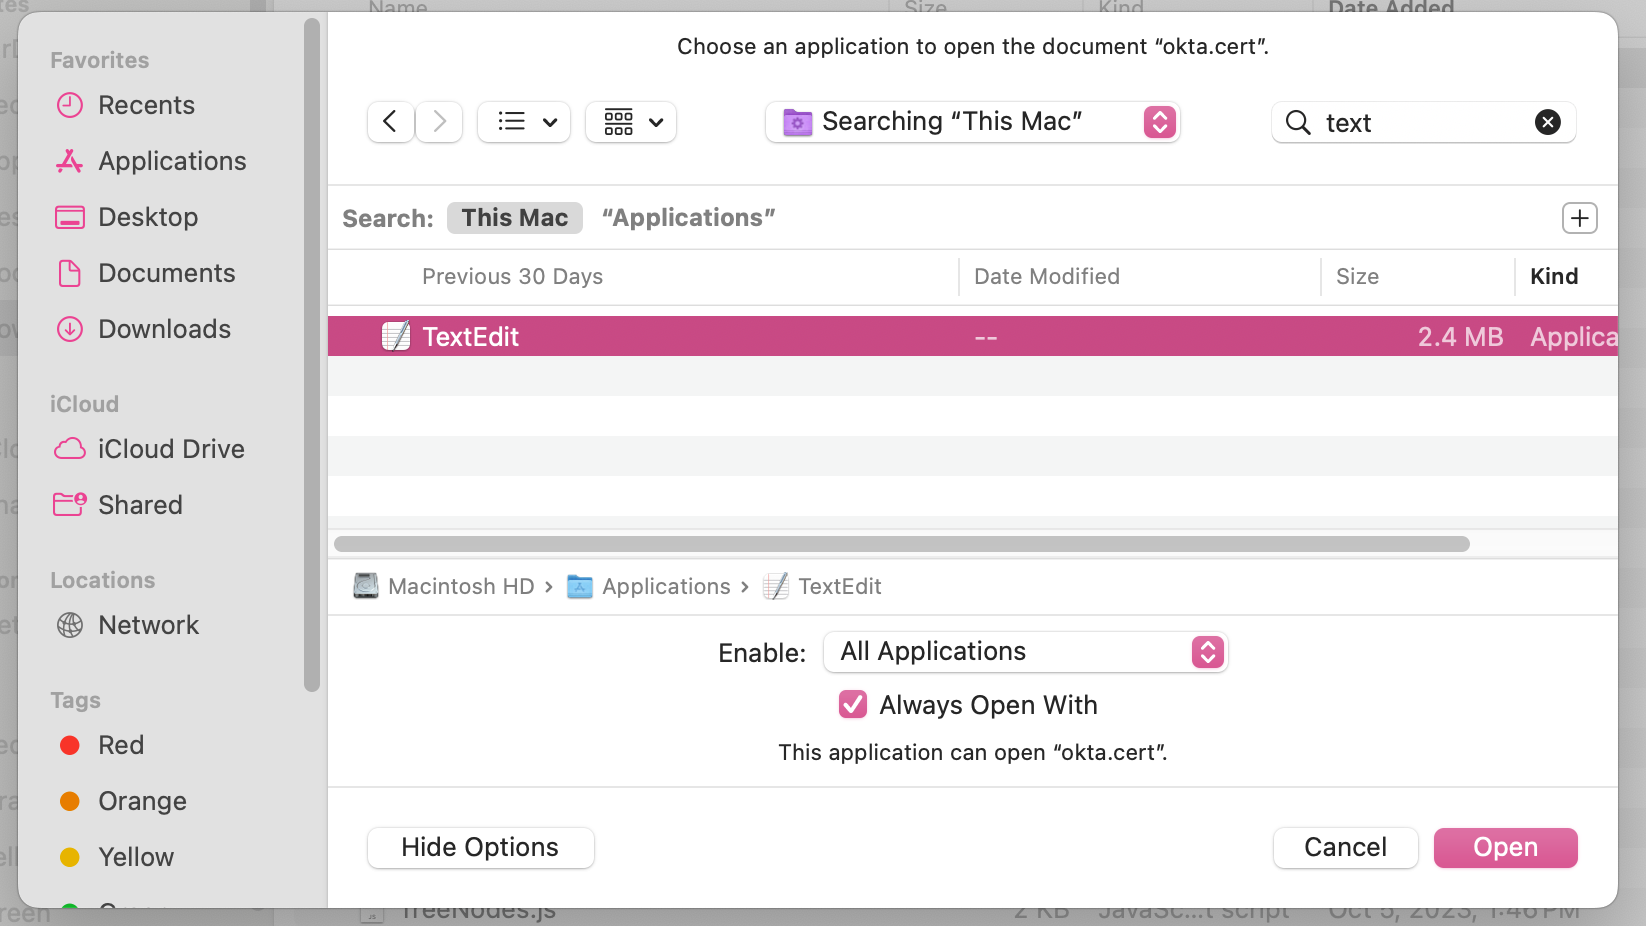
-
Create Group
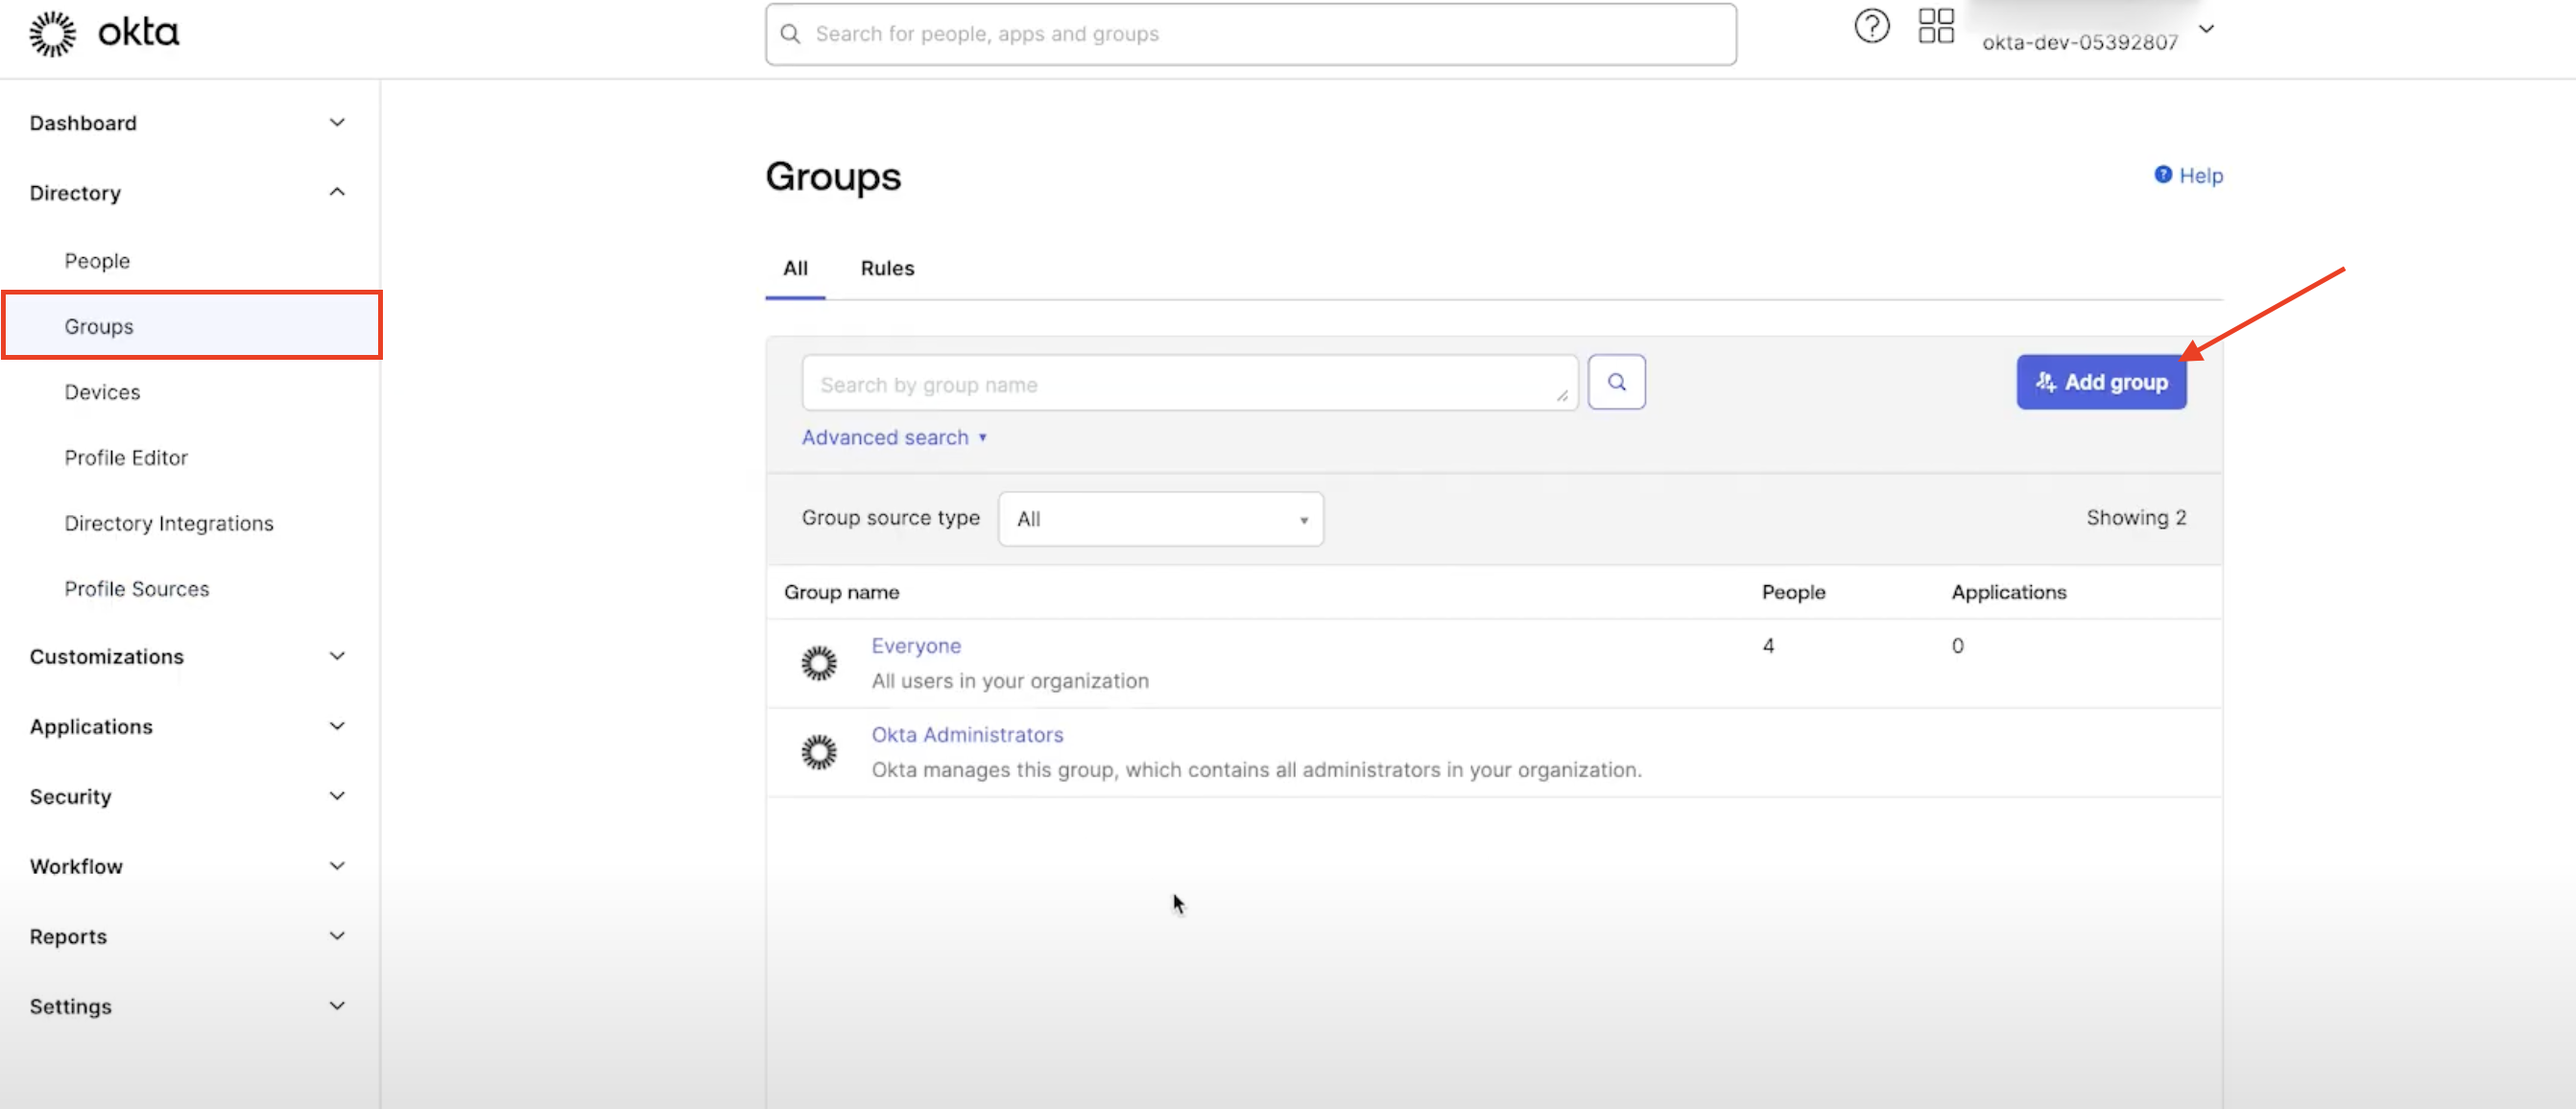
- Navigate to Groups page under Directory, click
Add groupbutton
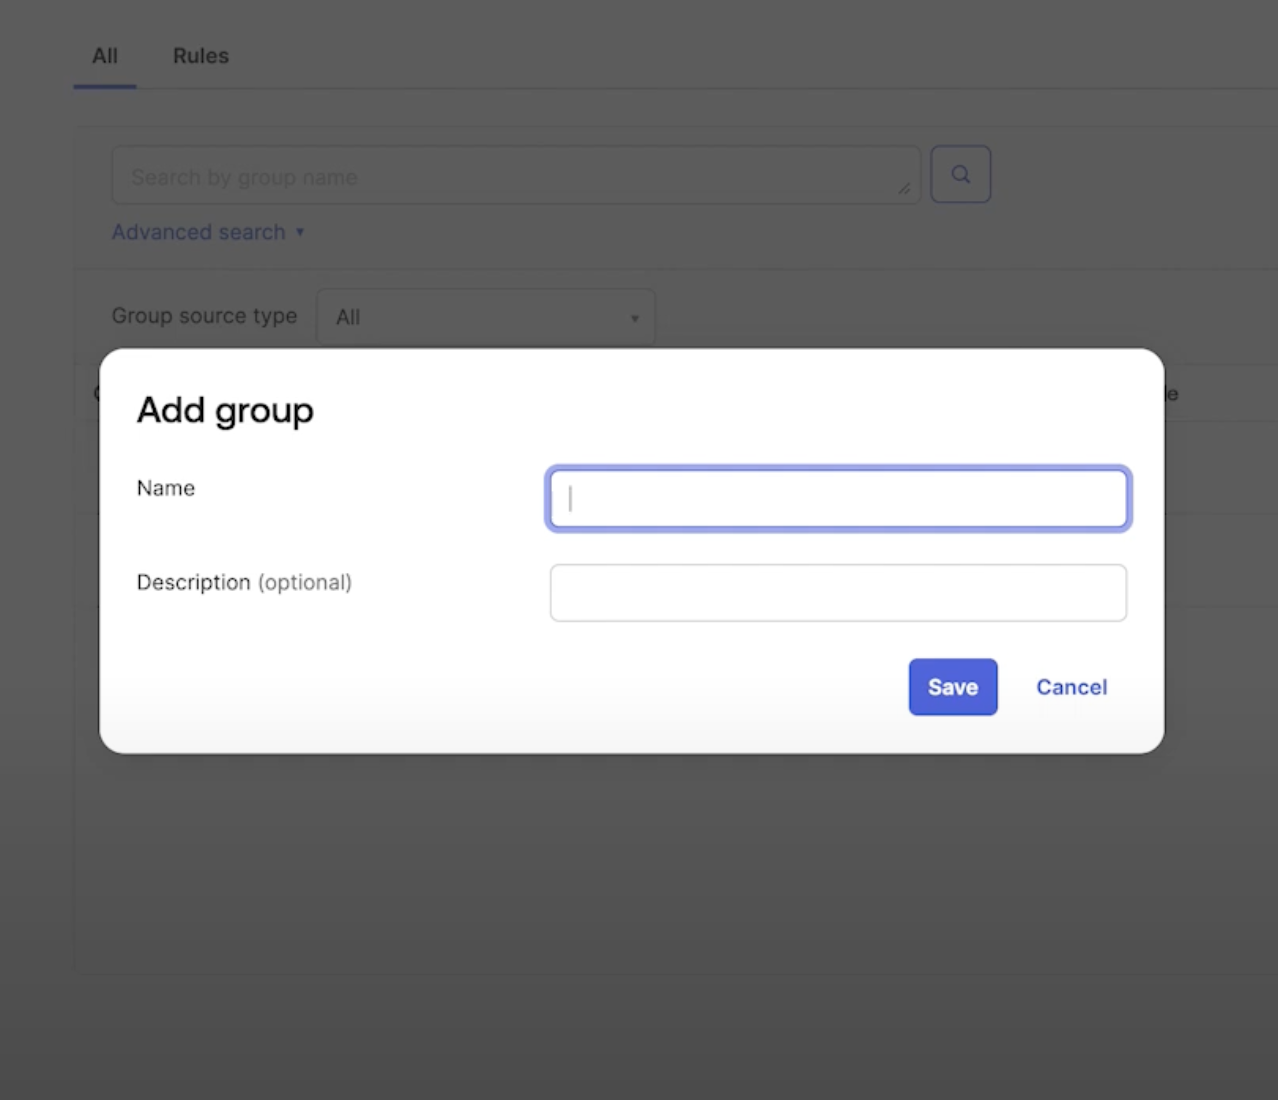
- Enter group name and click
Save
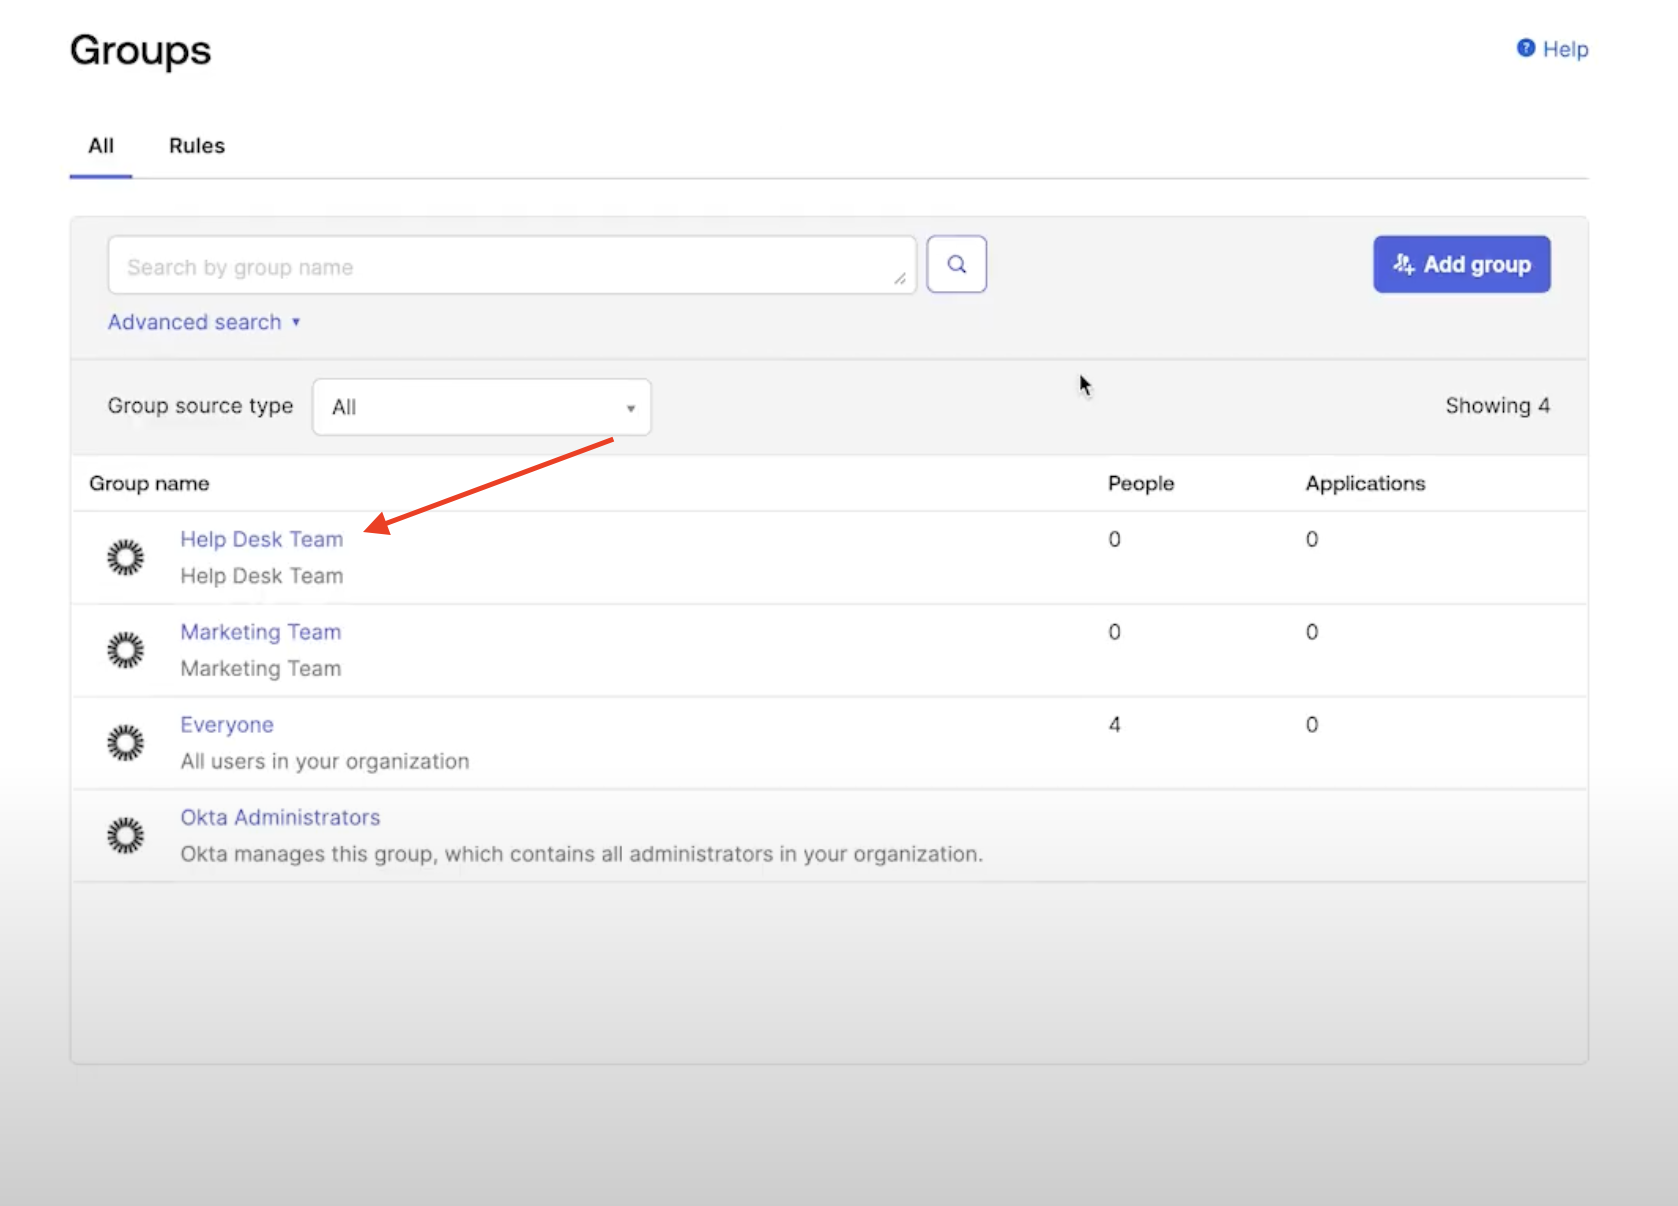
- Click on the group you just created
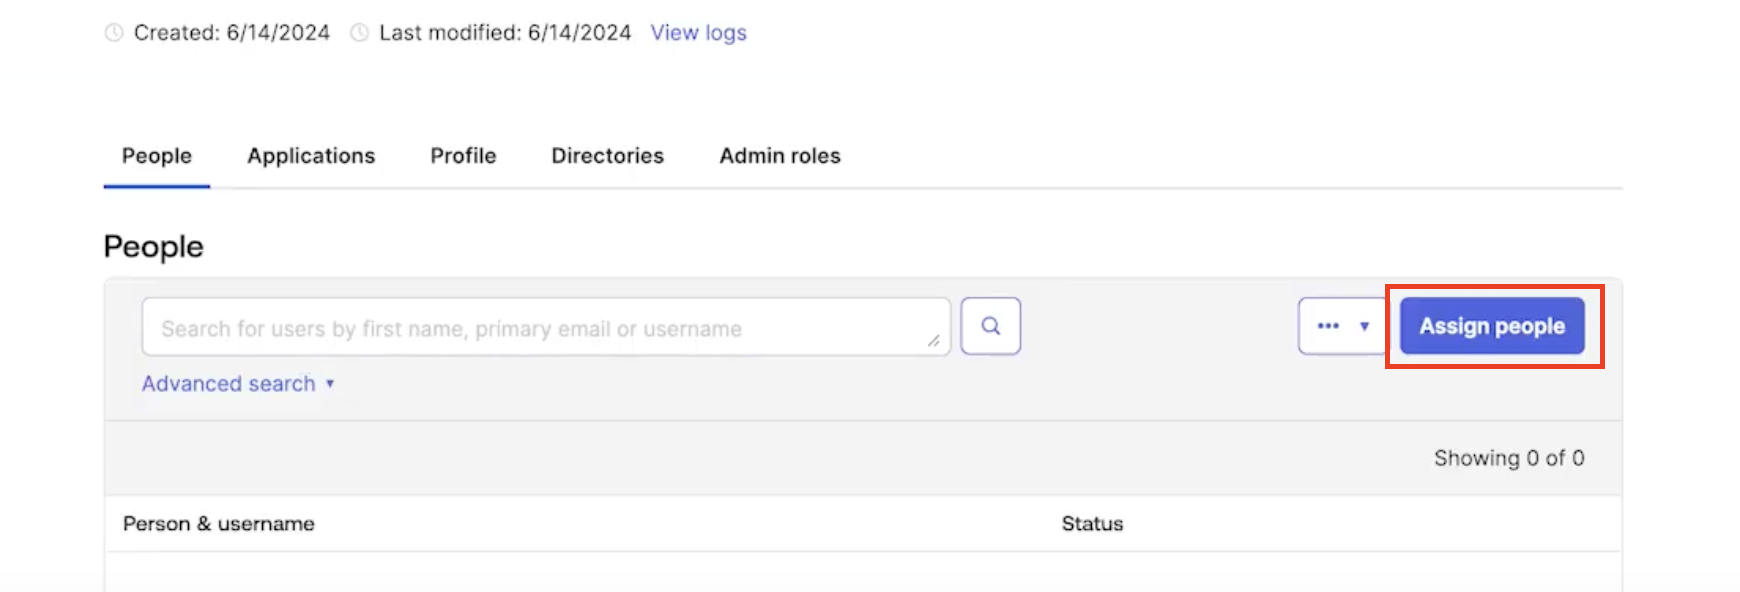
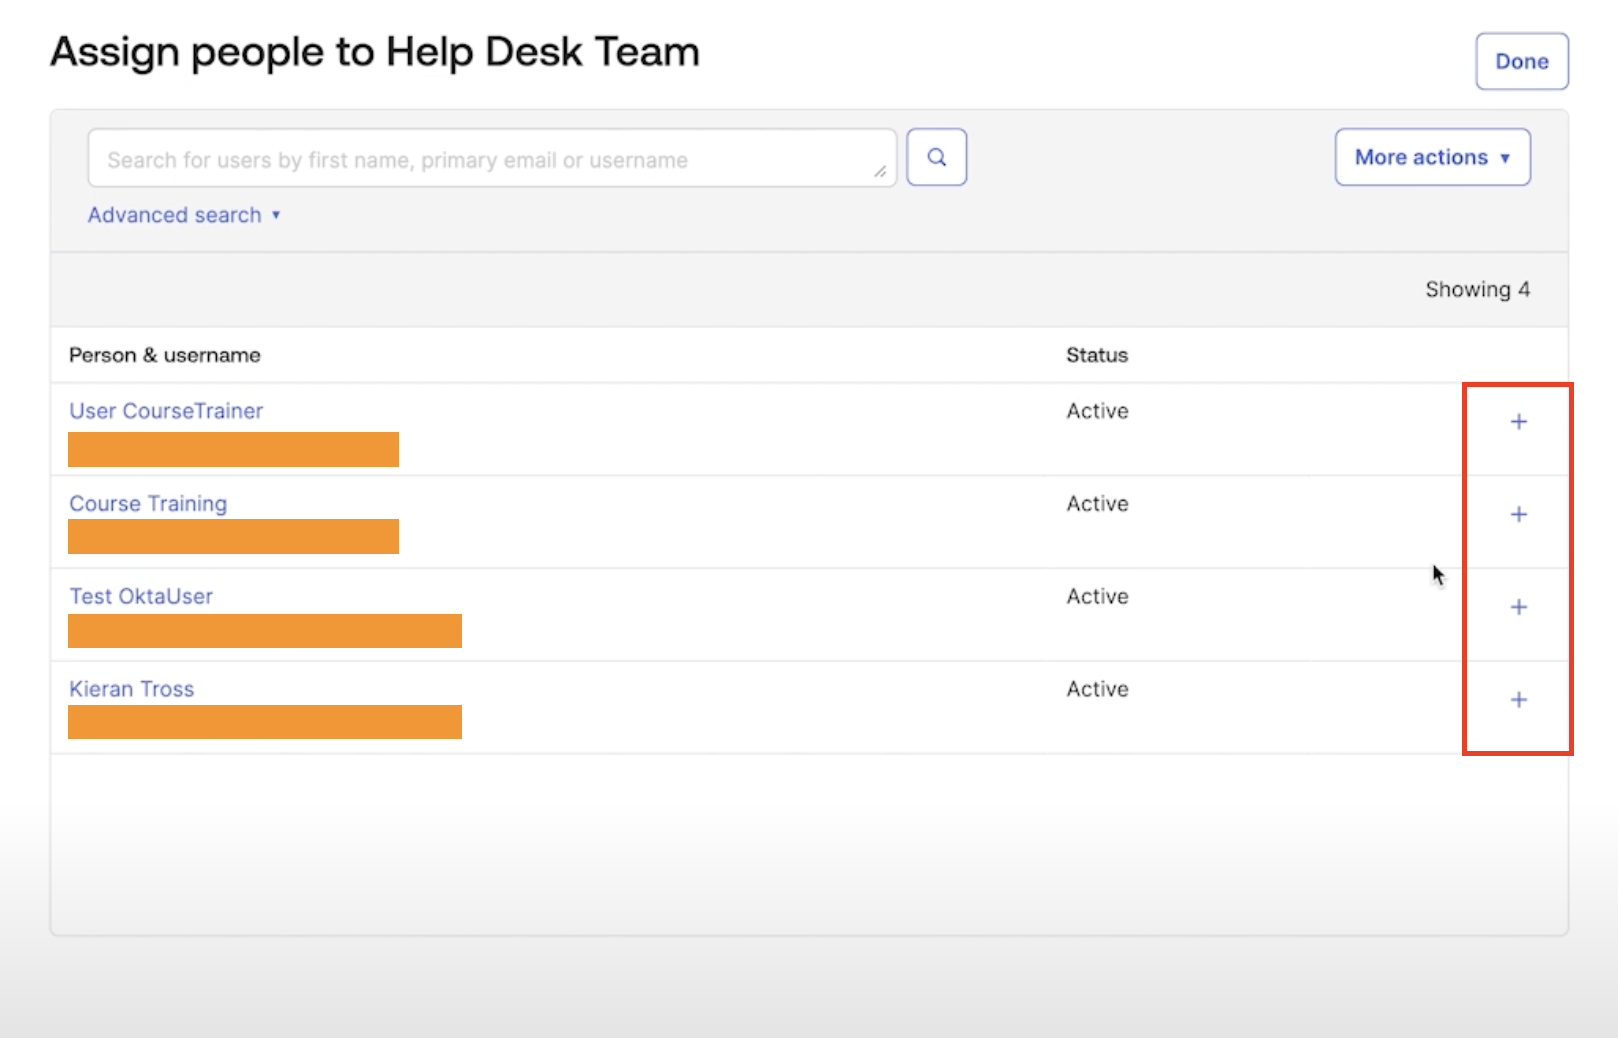
- Click
Assign Peopleon the page, then select users to add by clicking the + button on the right.
Back in the Mosaic SAML page:
- Back in Mosaic’s SAML 2.0 Single Sign On menu, fill in:
- SSO URL:
- SSO URL copied from Sign on URL in Step #10.
- Certificate:
- Certificate copied from Step #11.
Add Domain and Security Group on Mosaic page
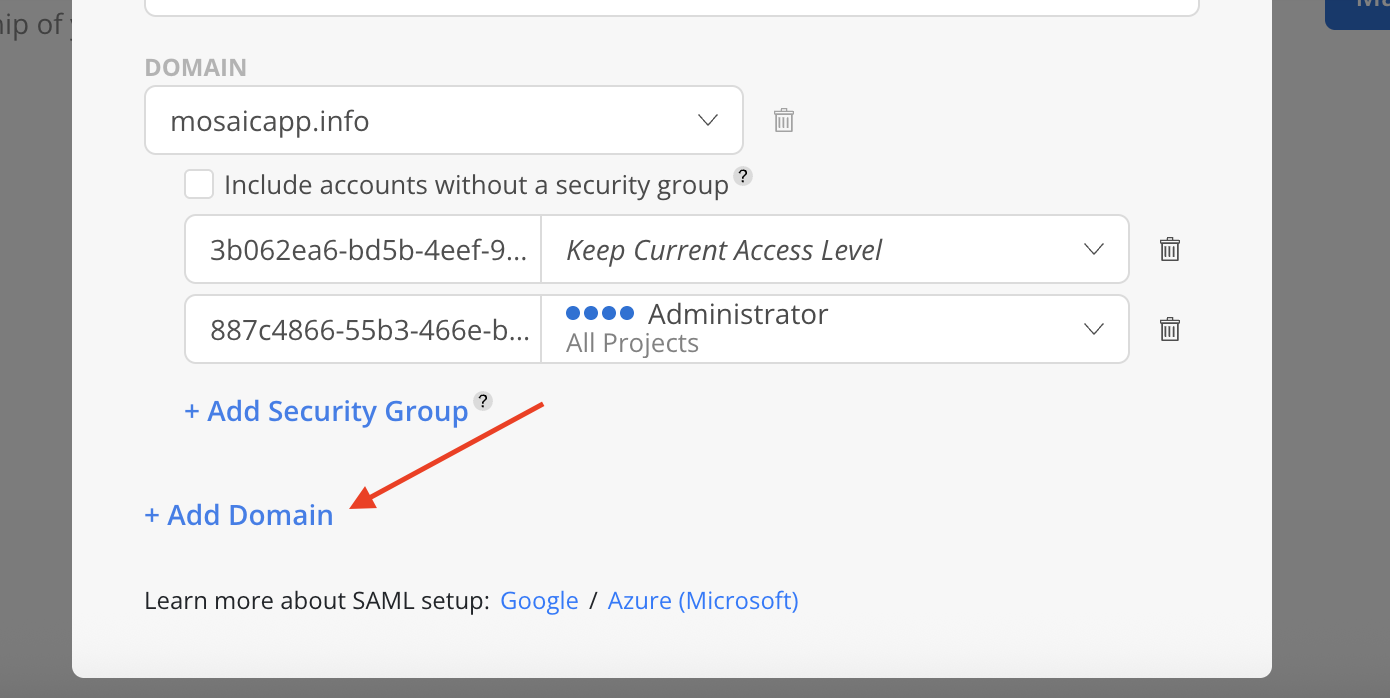
- Click
+Add Domainto select Domain for SAML set up. This will be the Domain associated with Google Workspace. For example,[email protected]has a domain ofthisisdomain.com.
Please Note:
The email associated with the admin (who is setting up the SAML) must have the same domain as the one being inputted.
- For example, if the admin uses an email
[email protected], the only domain the admin could input isthisisdomain.com.
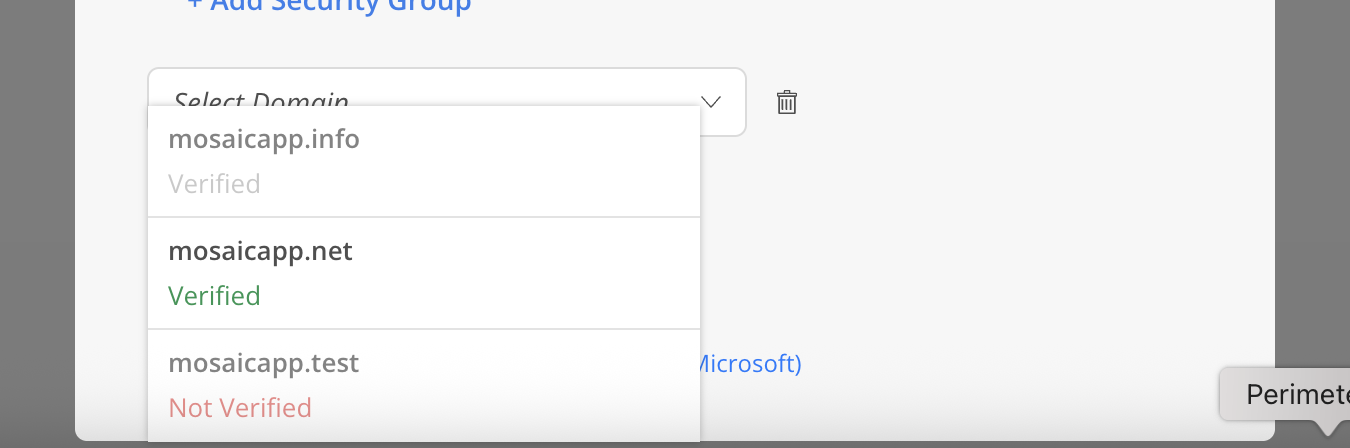
Both Verified and Unverified domains are displayed in the list. However, only Verified domains can be selected. Domains that are already added will appear greyed out.
- Configure the Security Group under the domain. Enter the security group name in the security group ID field. Choose the desired access level from the dropdown menu. Optional: Select
Include accounts without a security groupto allow accounts not assigned to any Security Group to log in while retaining their current access level.
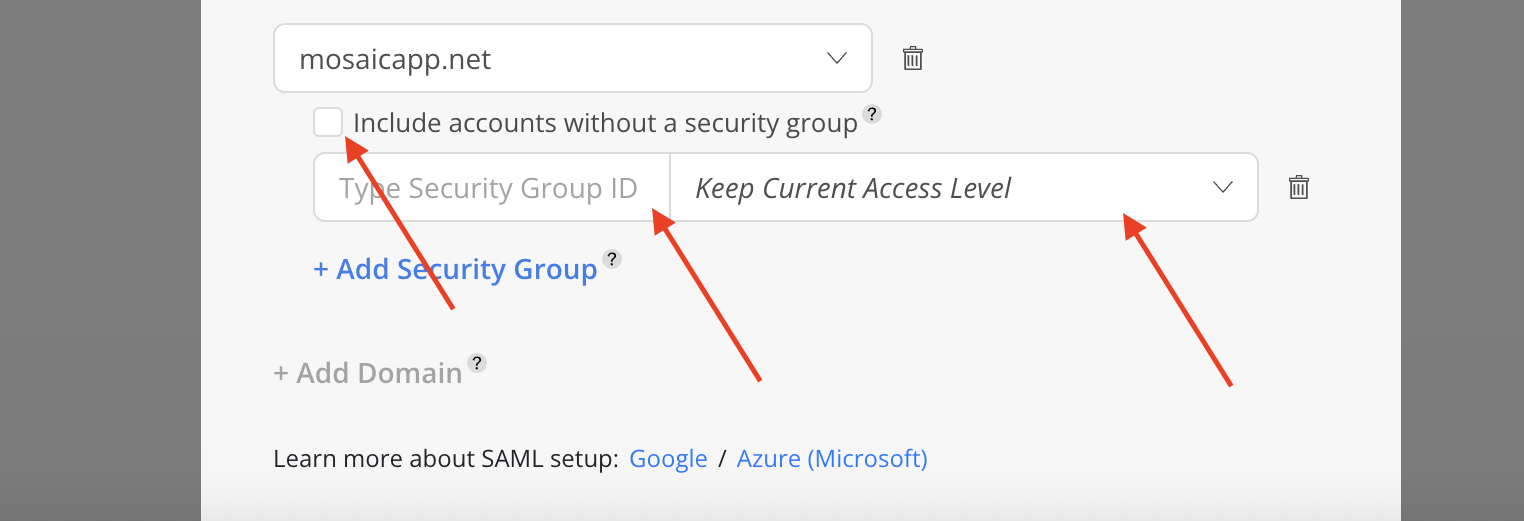
- Click Done on the top once all configuration is completed.
.png")
- Upon successful activation, SAML 2.0 Single Sign On will have the following options:
.png")
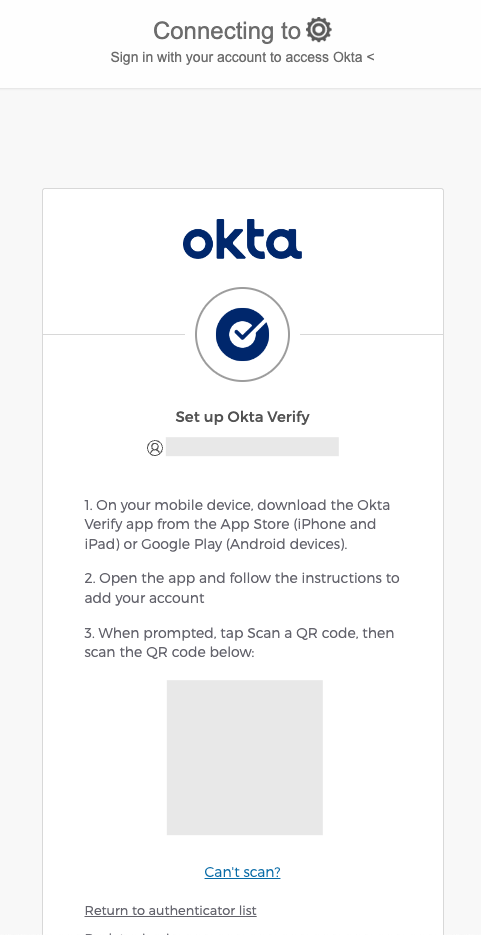
Next time a user with an email address belonging to the specified domain logs into Mosaic, they will be redirected to authenticate with Okta the moment they click Next after inputting their email.
- Follow the on-screen prompts to download the Okta Verify app onto your mobile device. Then, scan the displayed QR Code to link your account.