Salesforce Integration
| Direction | Est. Data Transfer Time | Vendor | Vendor Docs |
|---|---|---|---|
| 1-way from Salesforce to Mosaic. | Up to 4 hours. | Salesforce Product Website | Salesforce Trailhead |
Integration Setup
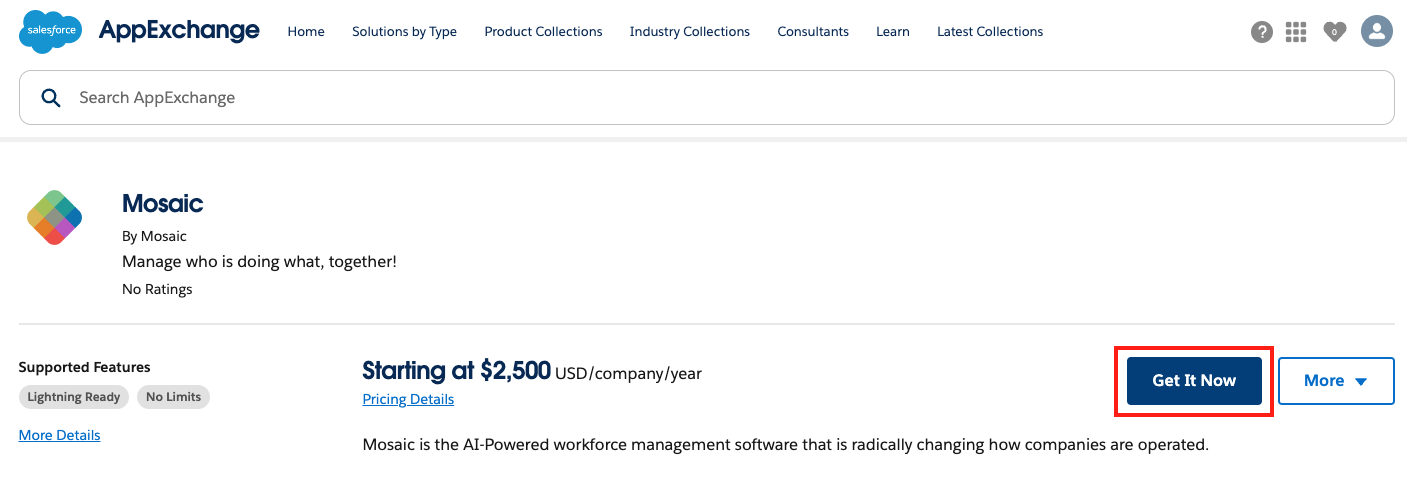
- Sign into Salesforce AppExchange to install the Mosaic application
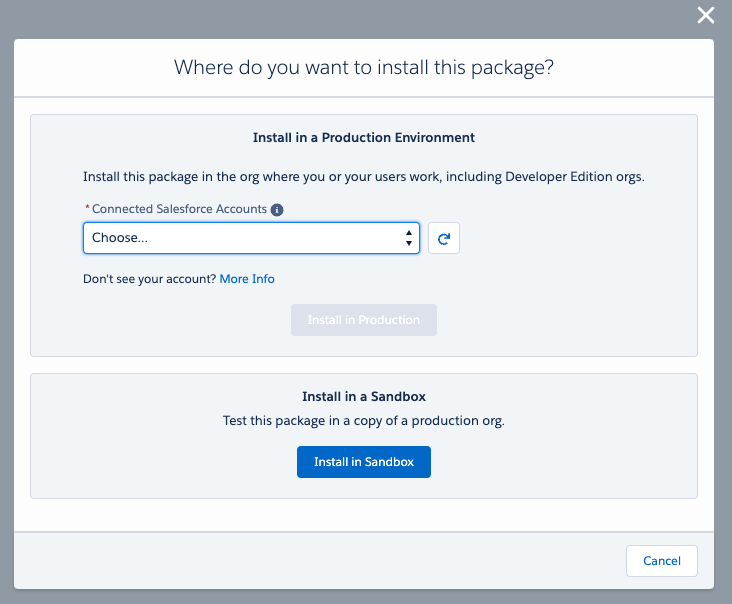
- Select a Salesforce Environment to install the package in
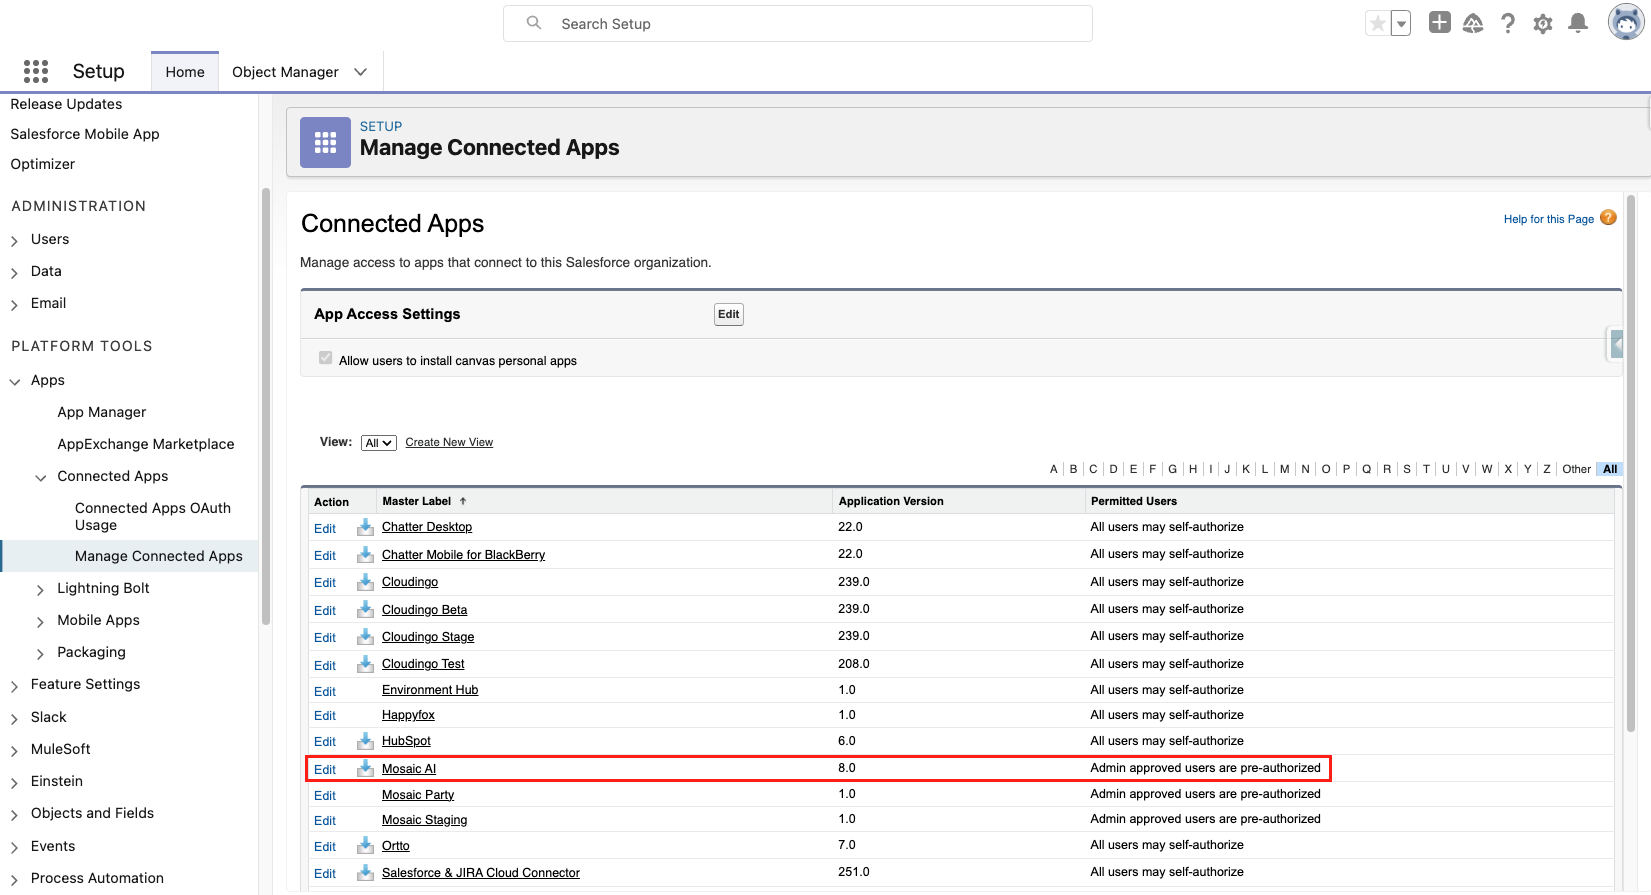
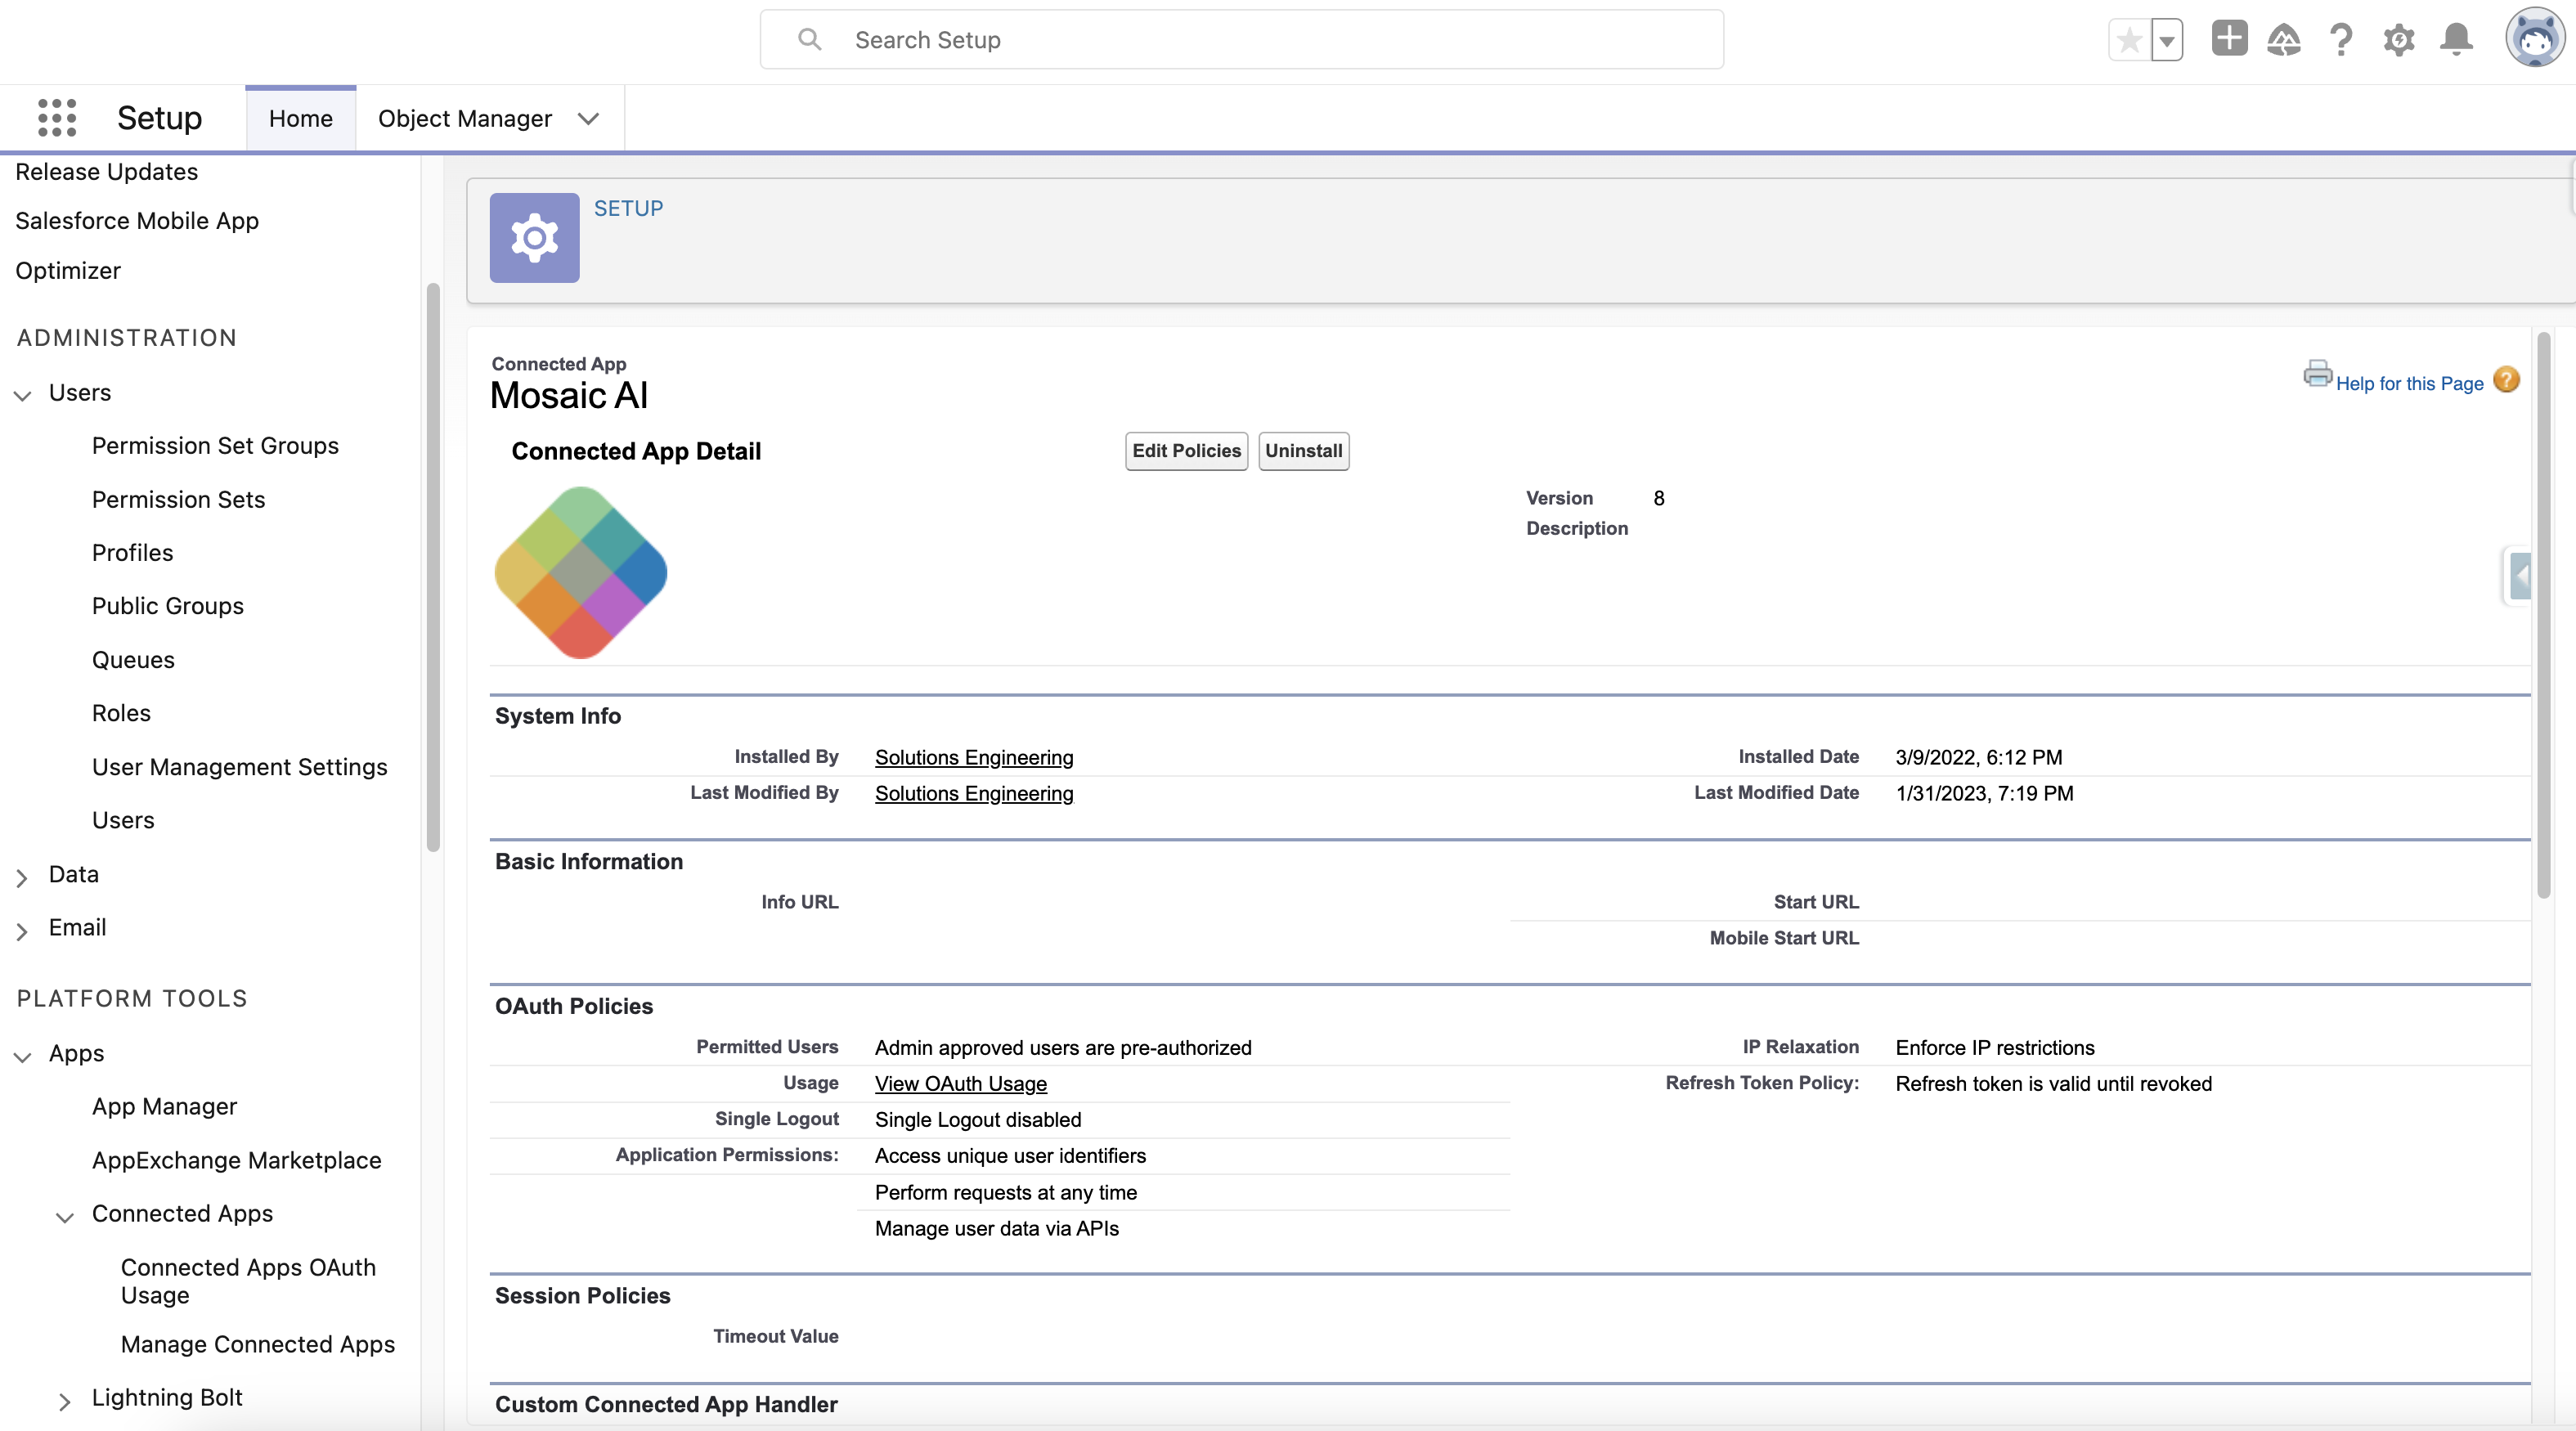
- Navigate to Setup → Apps → Connected Apps → Manage Connected Apps and locate the Mosaic AI Application. Click Edit to open the configuration page for the installed app.
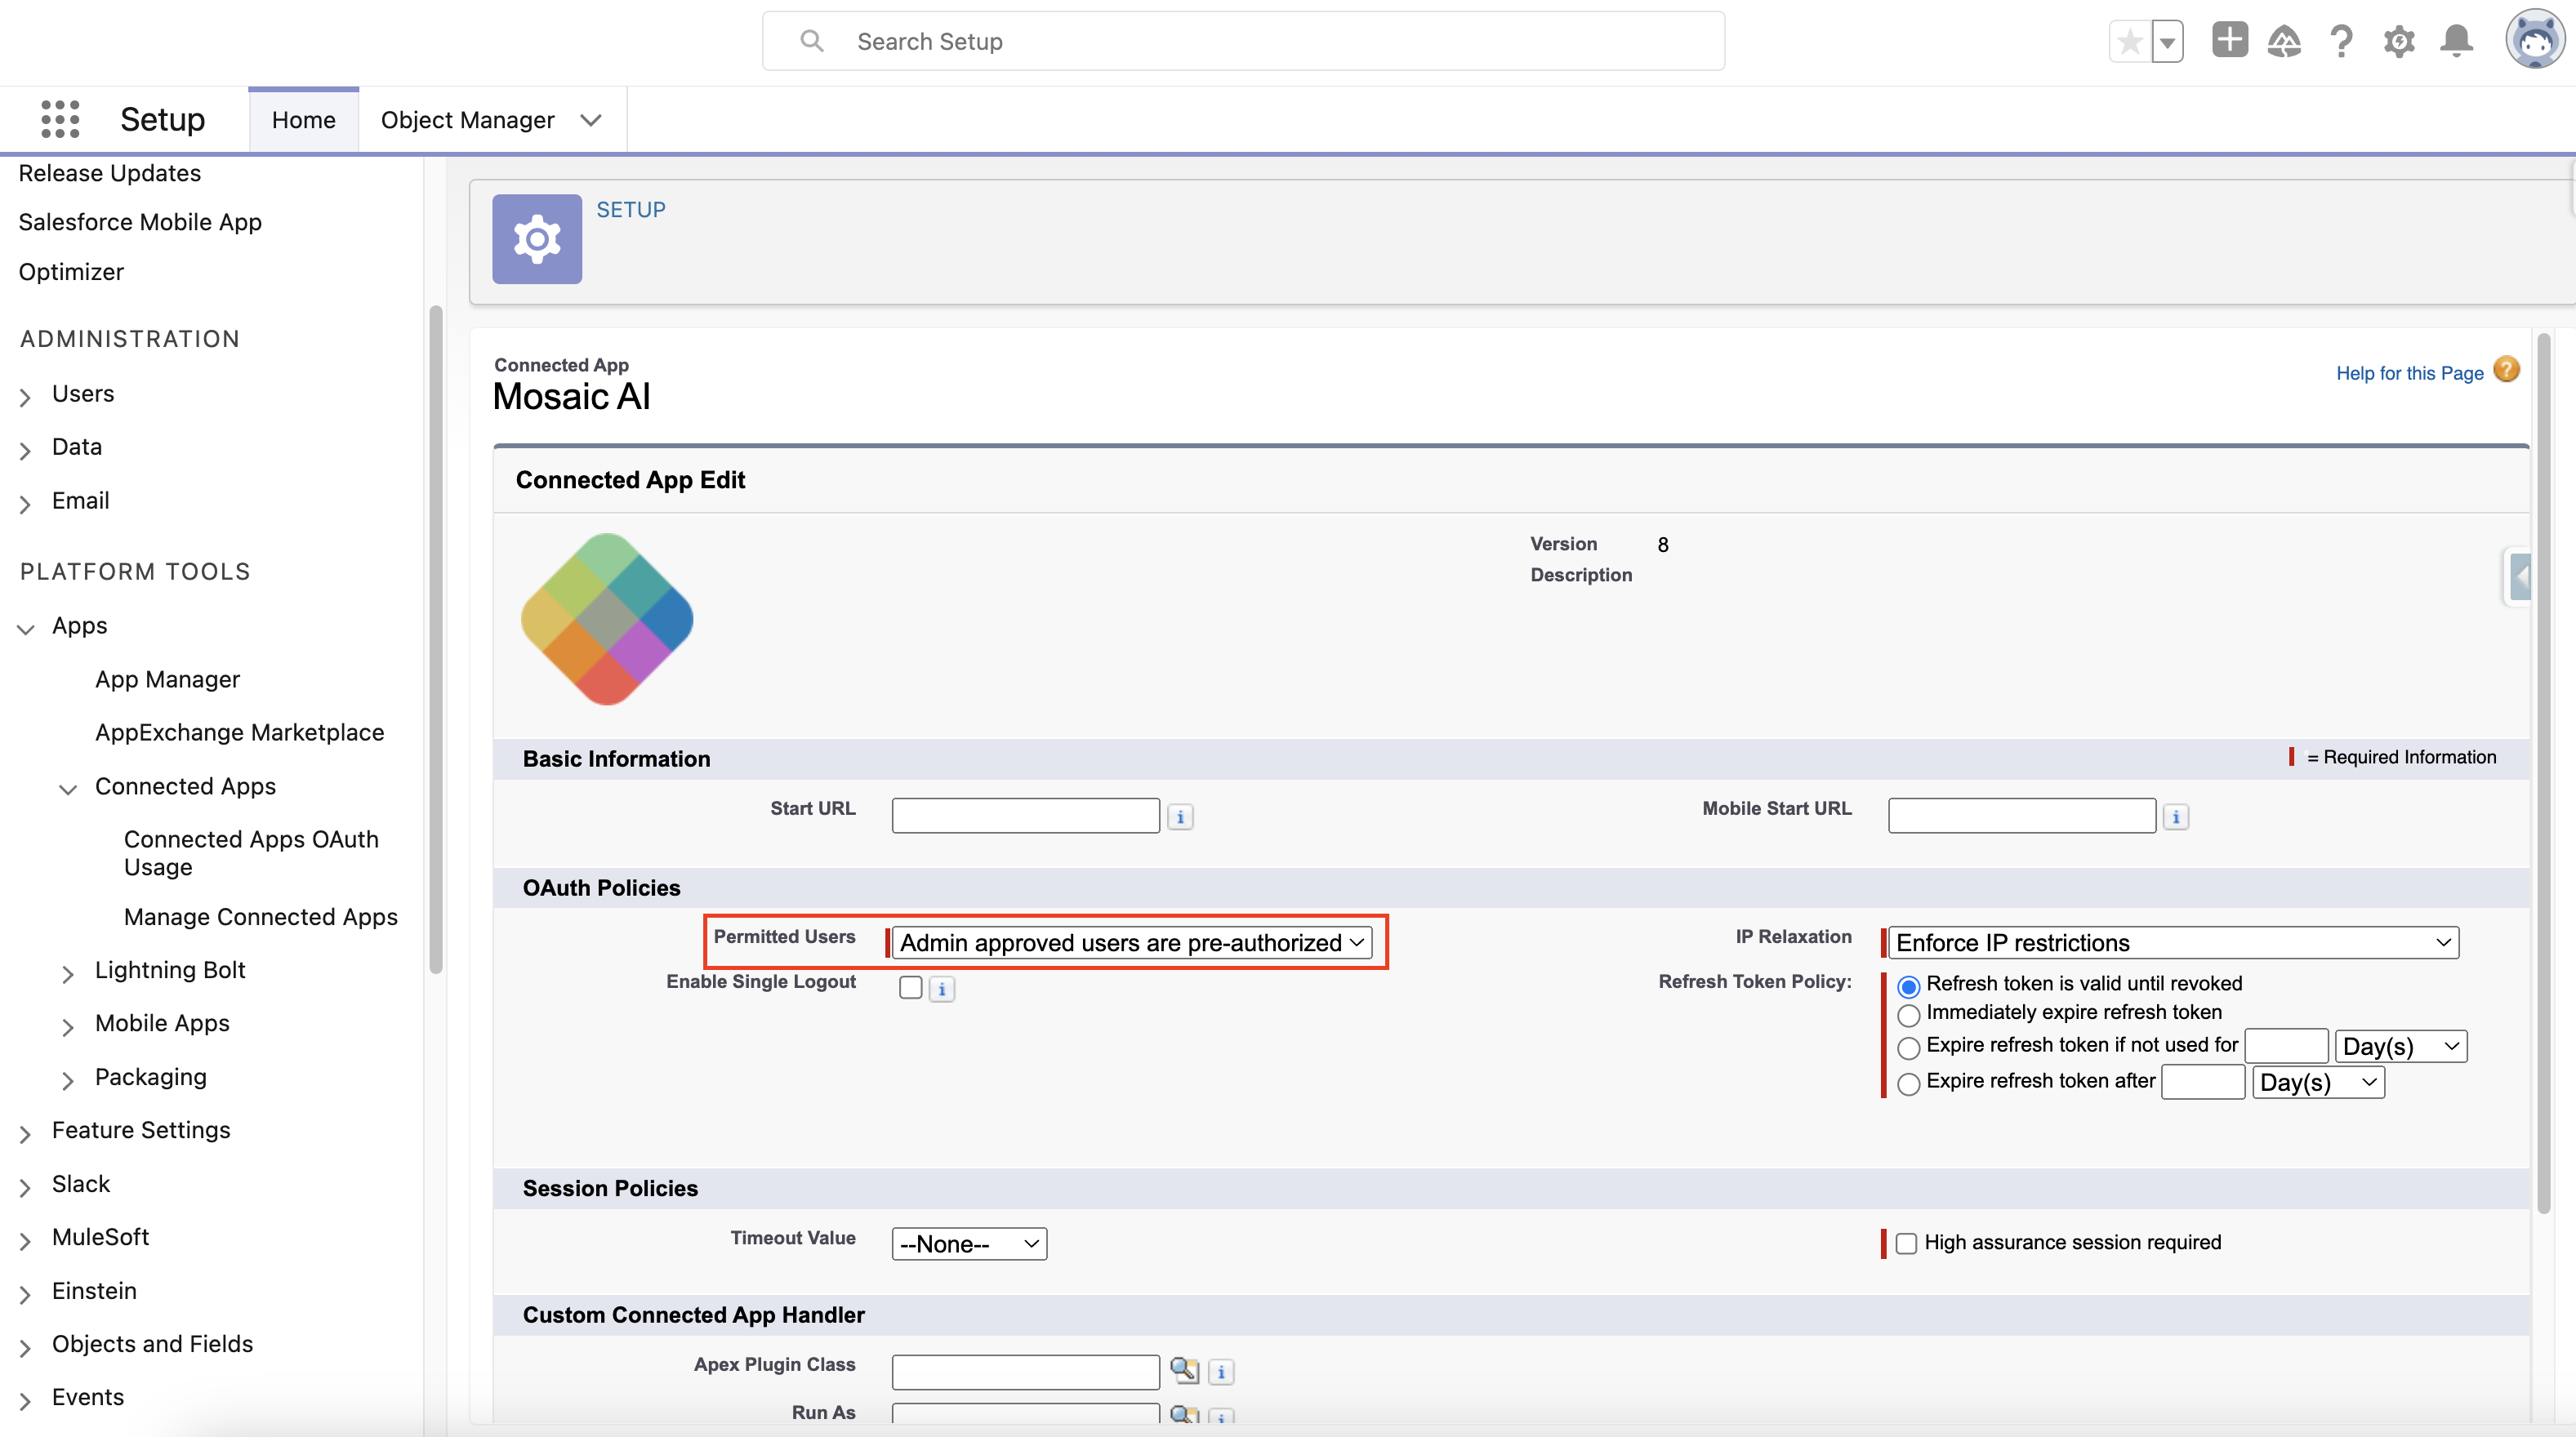
- Under OAuth Policies, for the Permitted Users option, set to Admin approved users are pre-authorized
- Go back to the Mosaic Connected App page by repeating Step #2
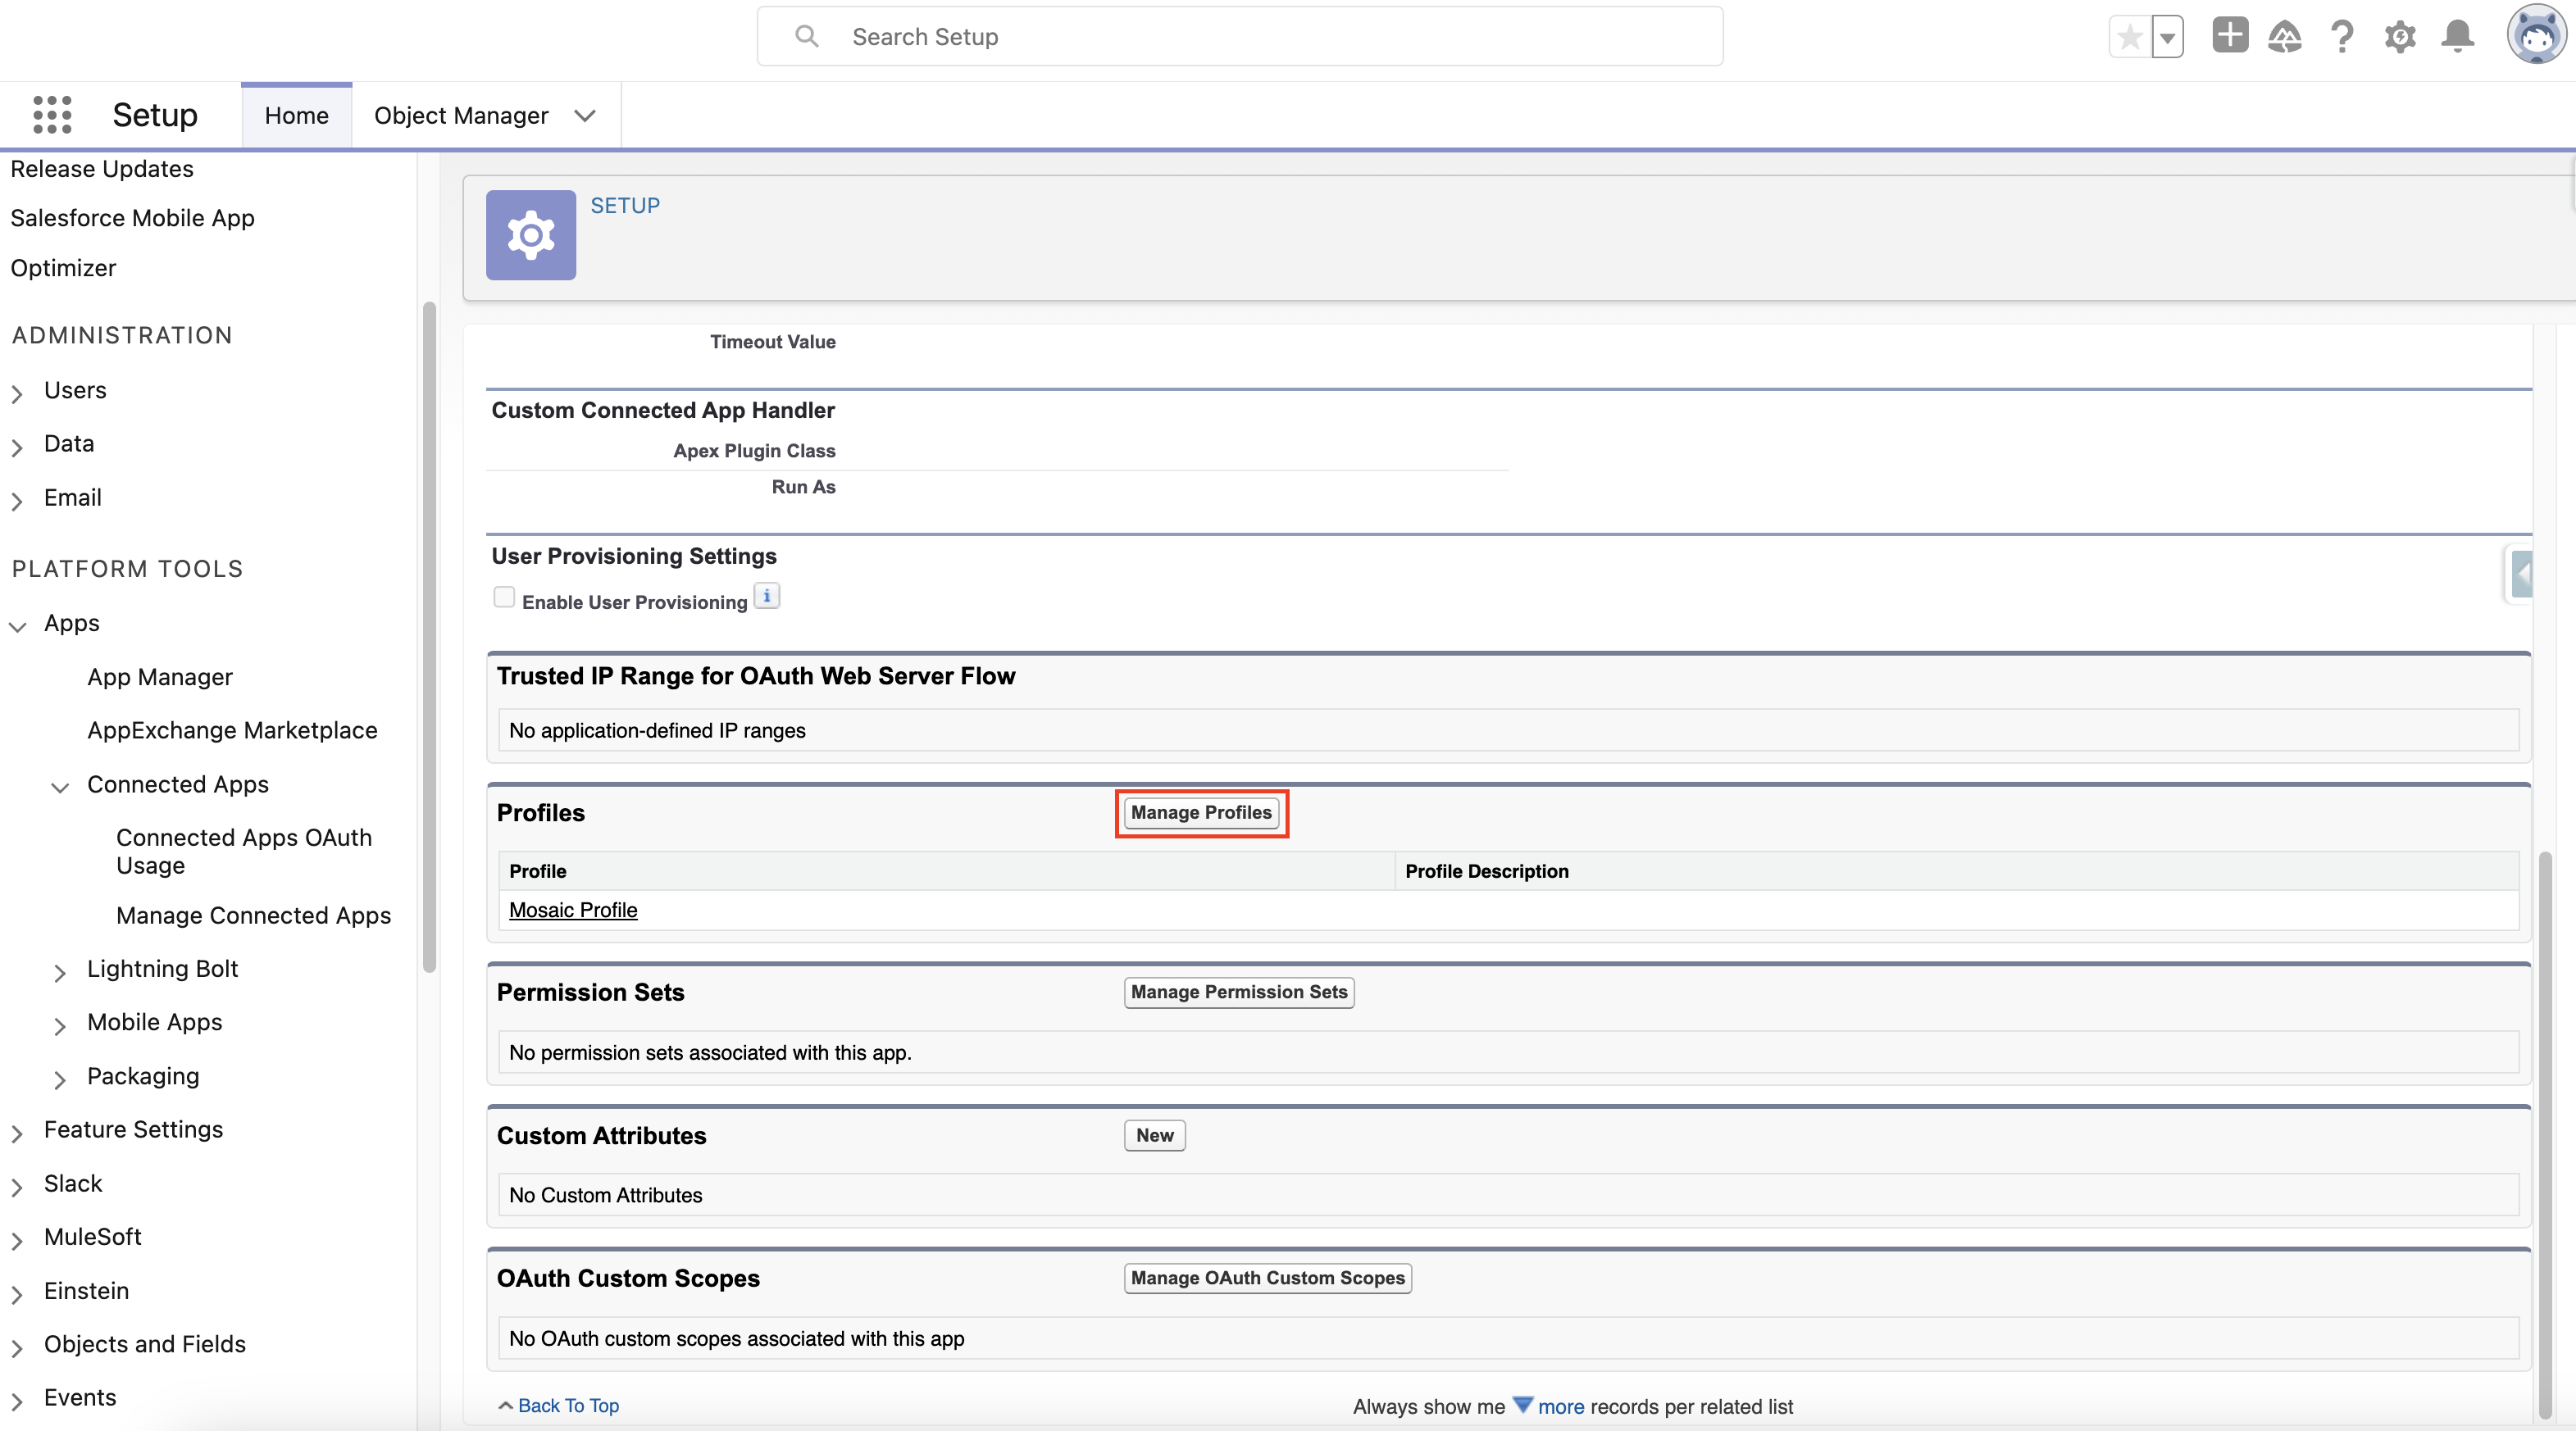
- Scroll down to the Profiles section, and select Manage Profiles. In the next step you will create a new Profile to use.
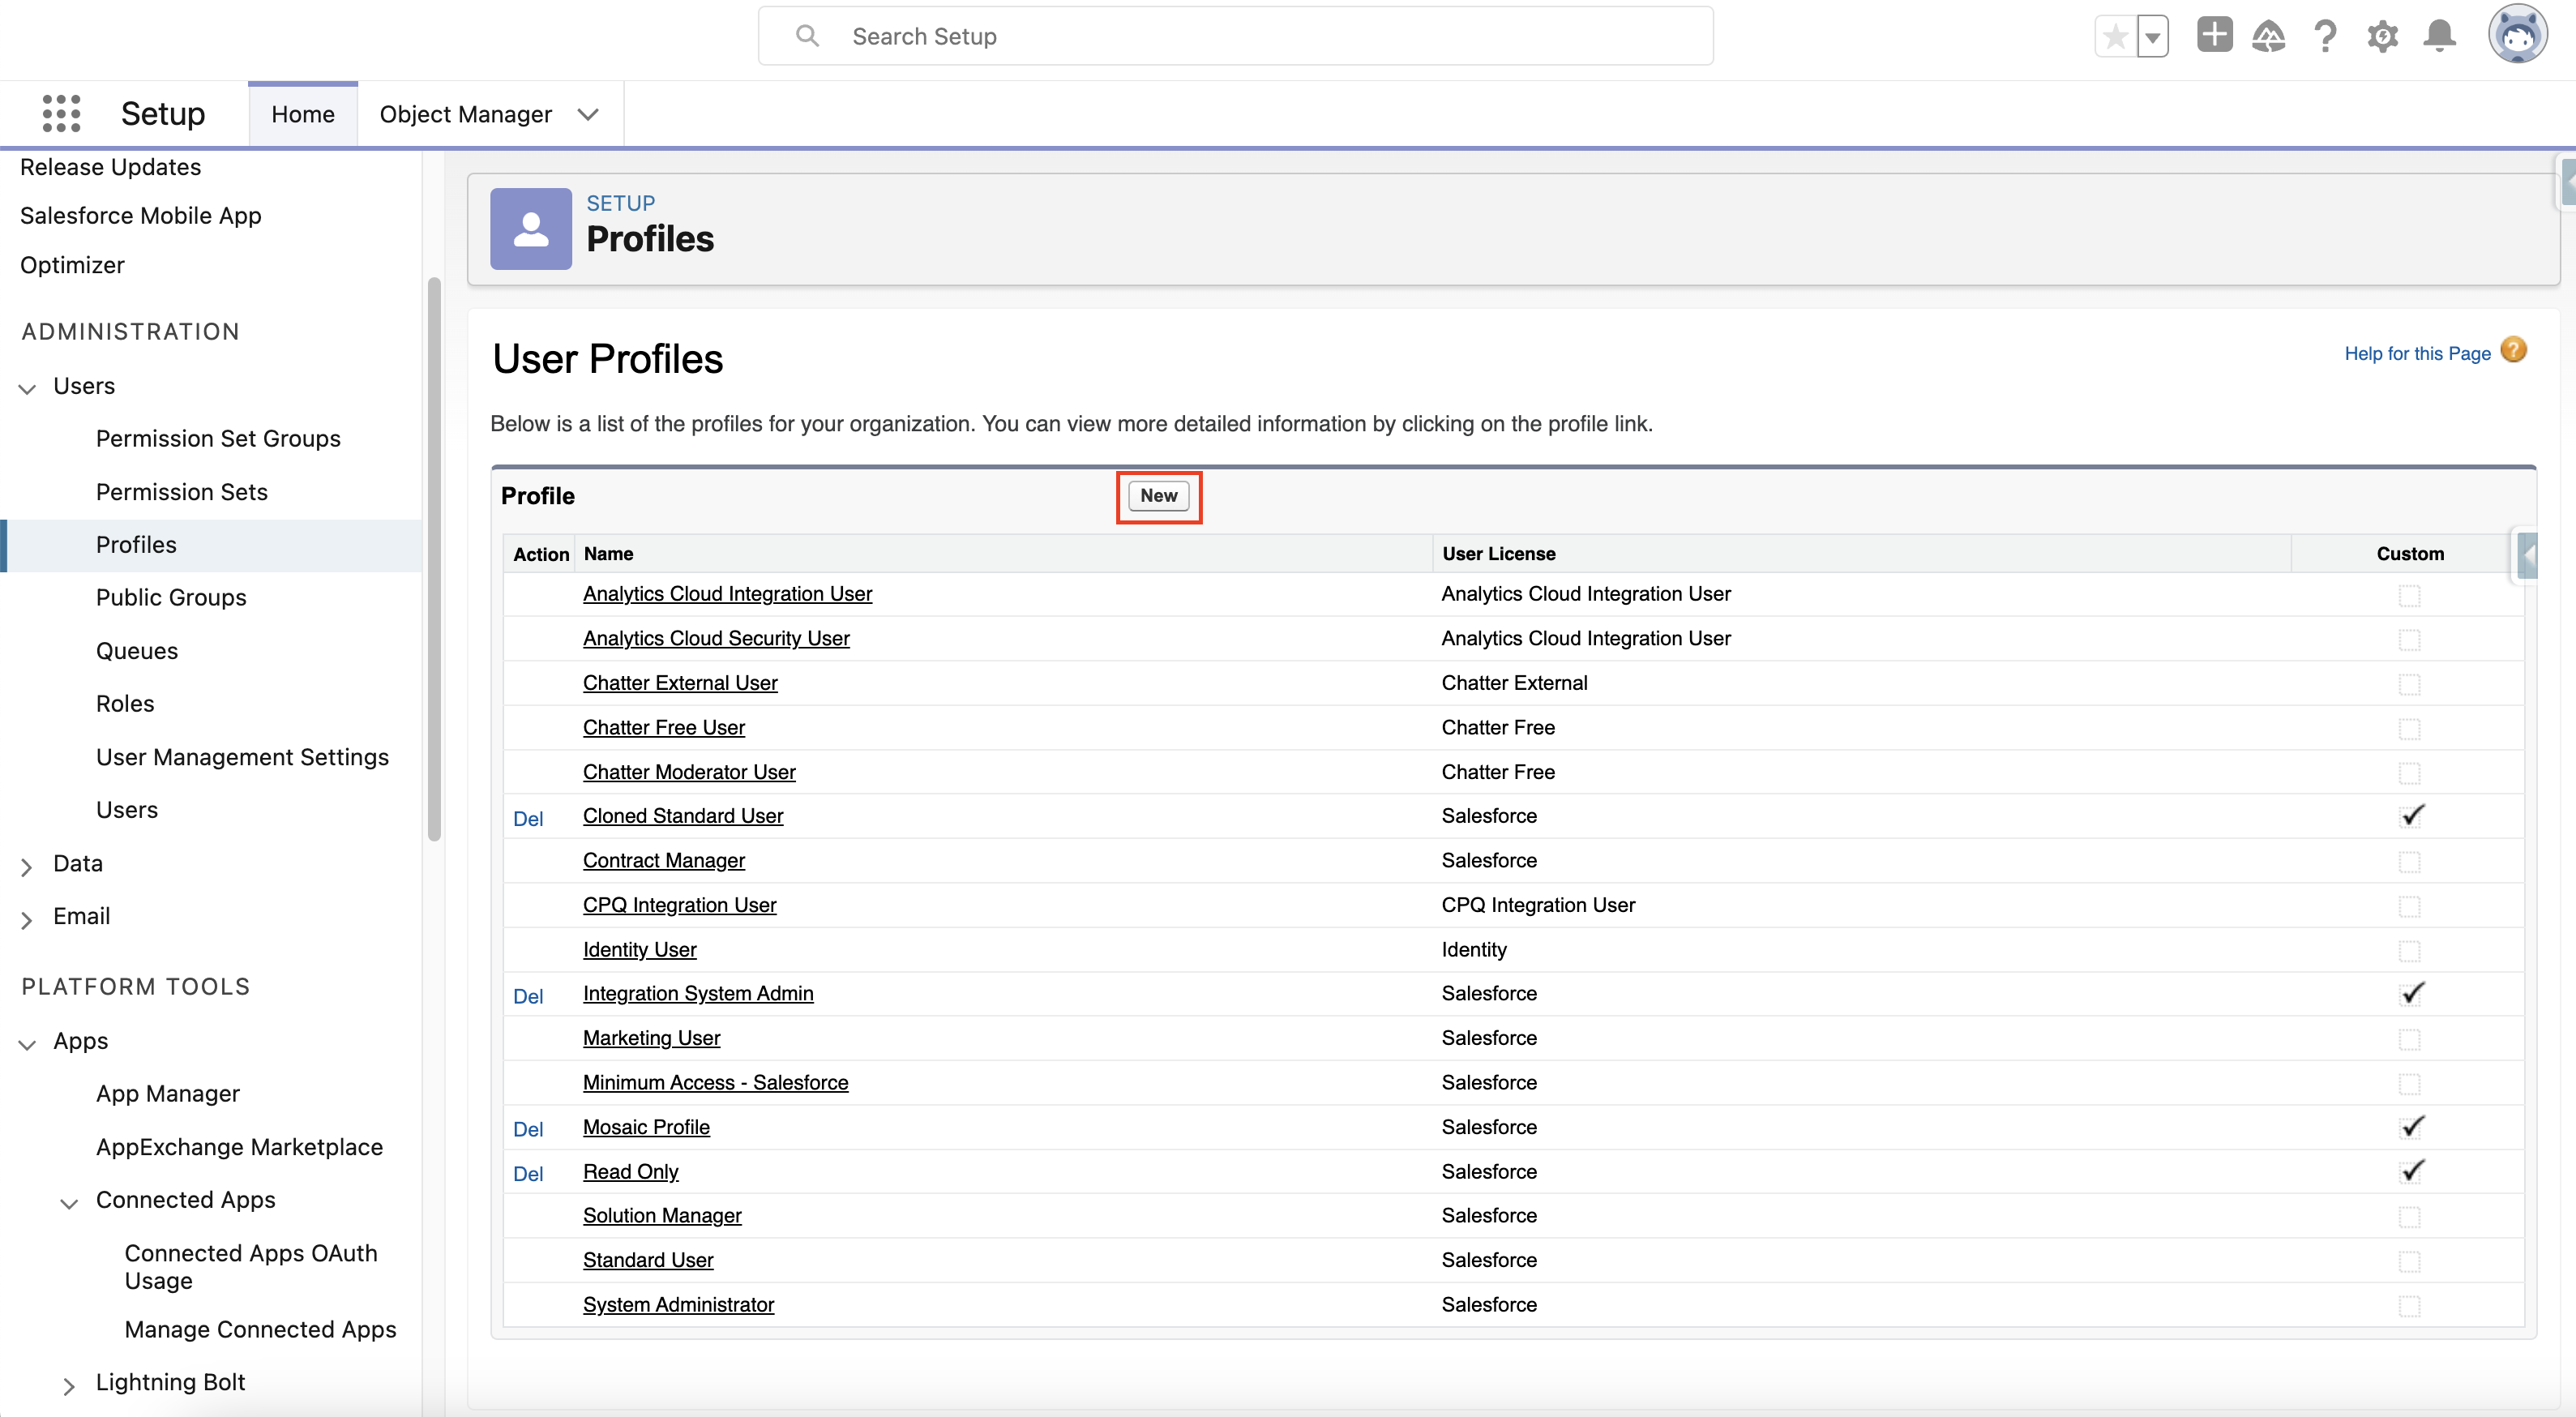
- Navigate to Setup → Users → Profiles and click on New.
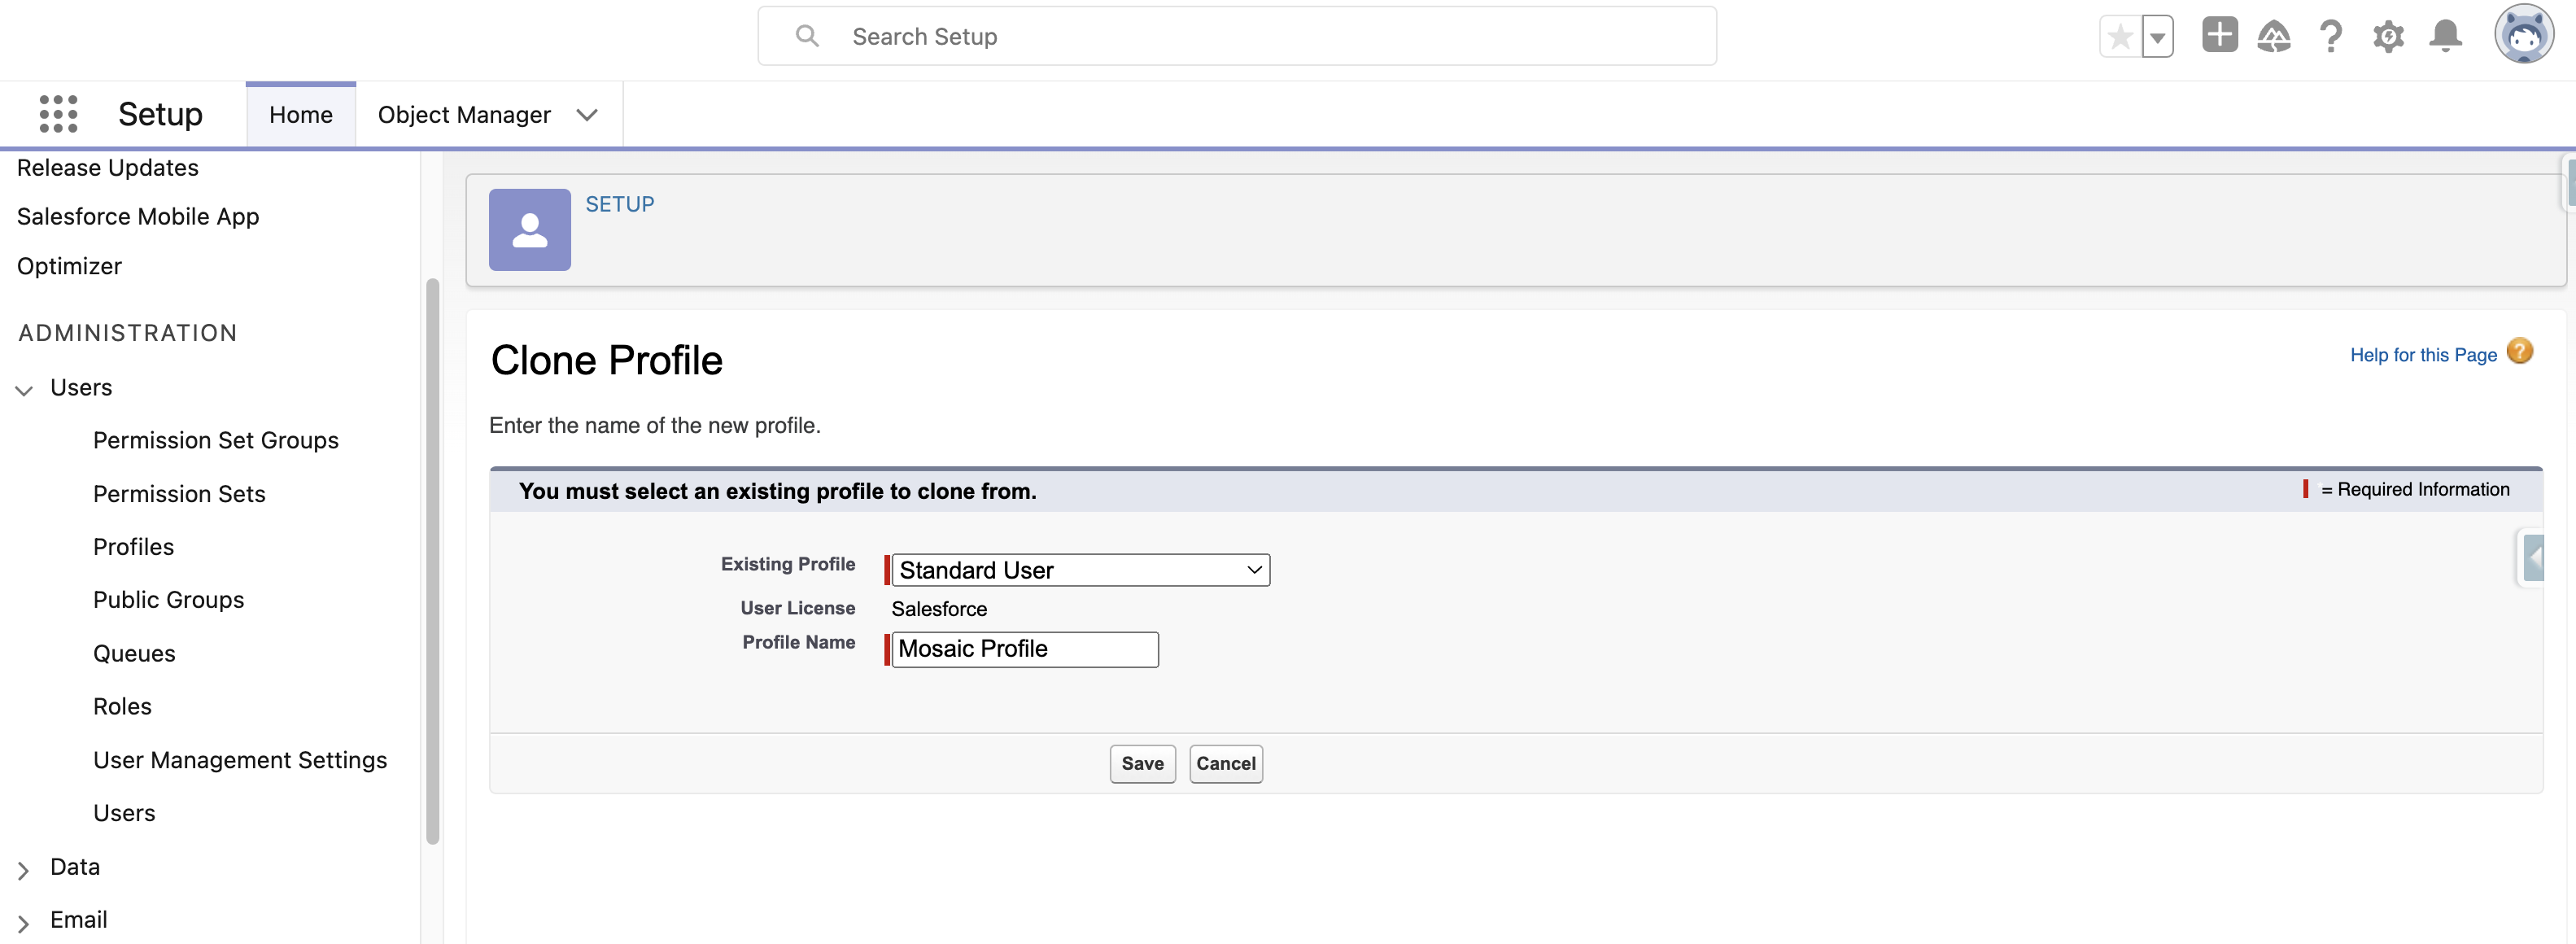
- Create a new Profile for the integration with Mosaic to use. Clone the Standard User profile.
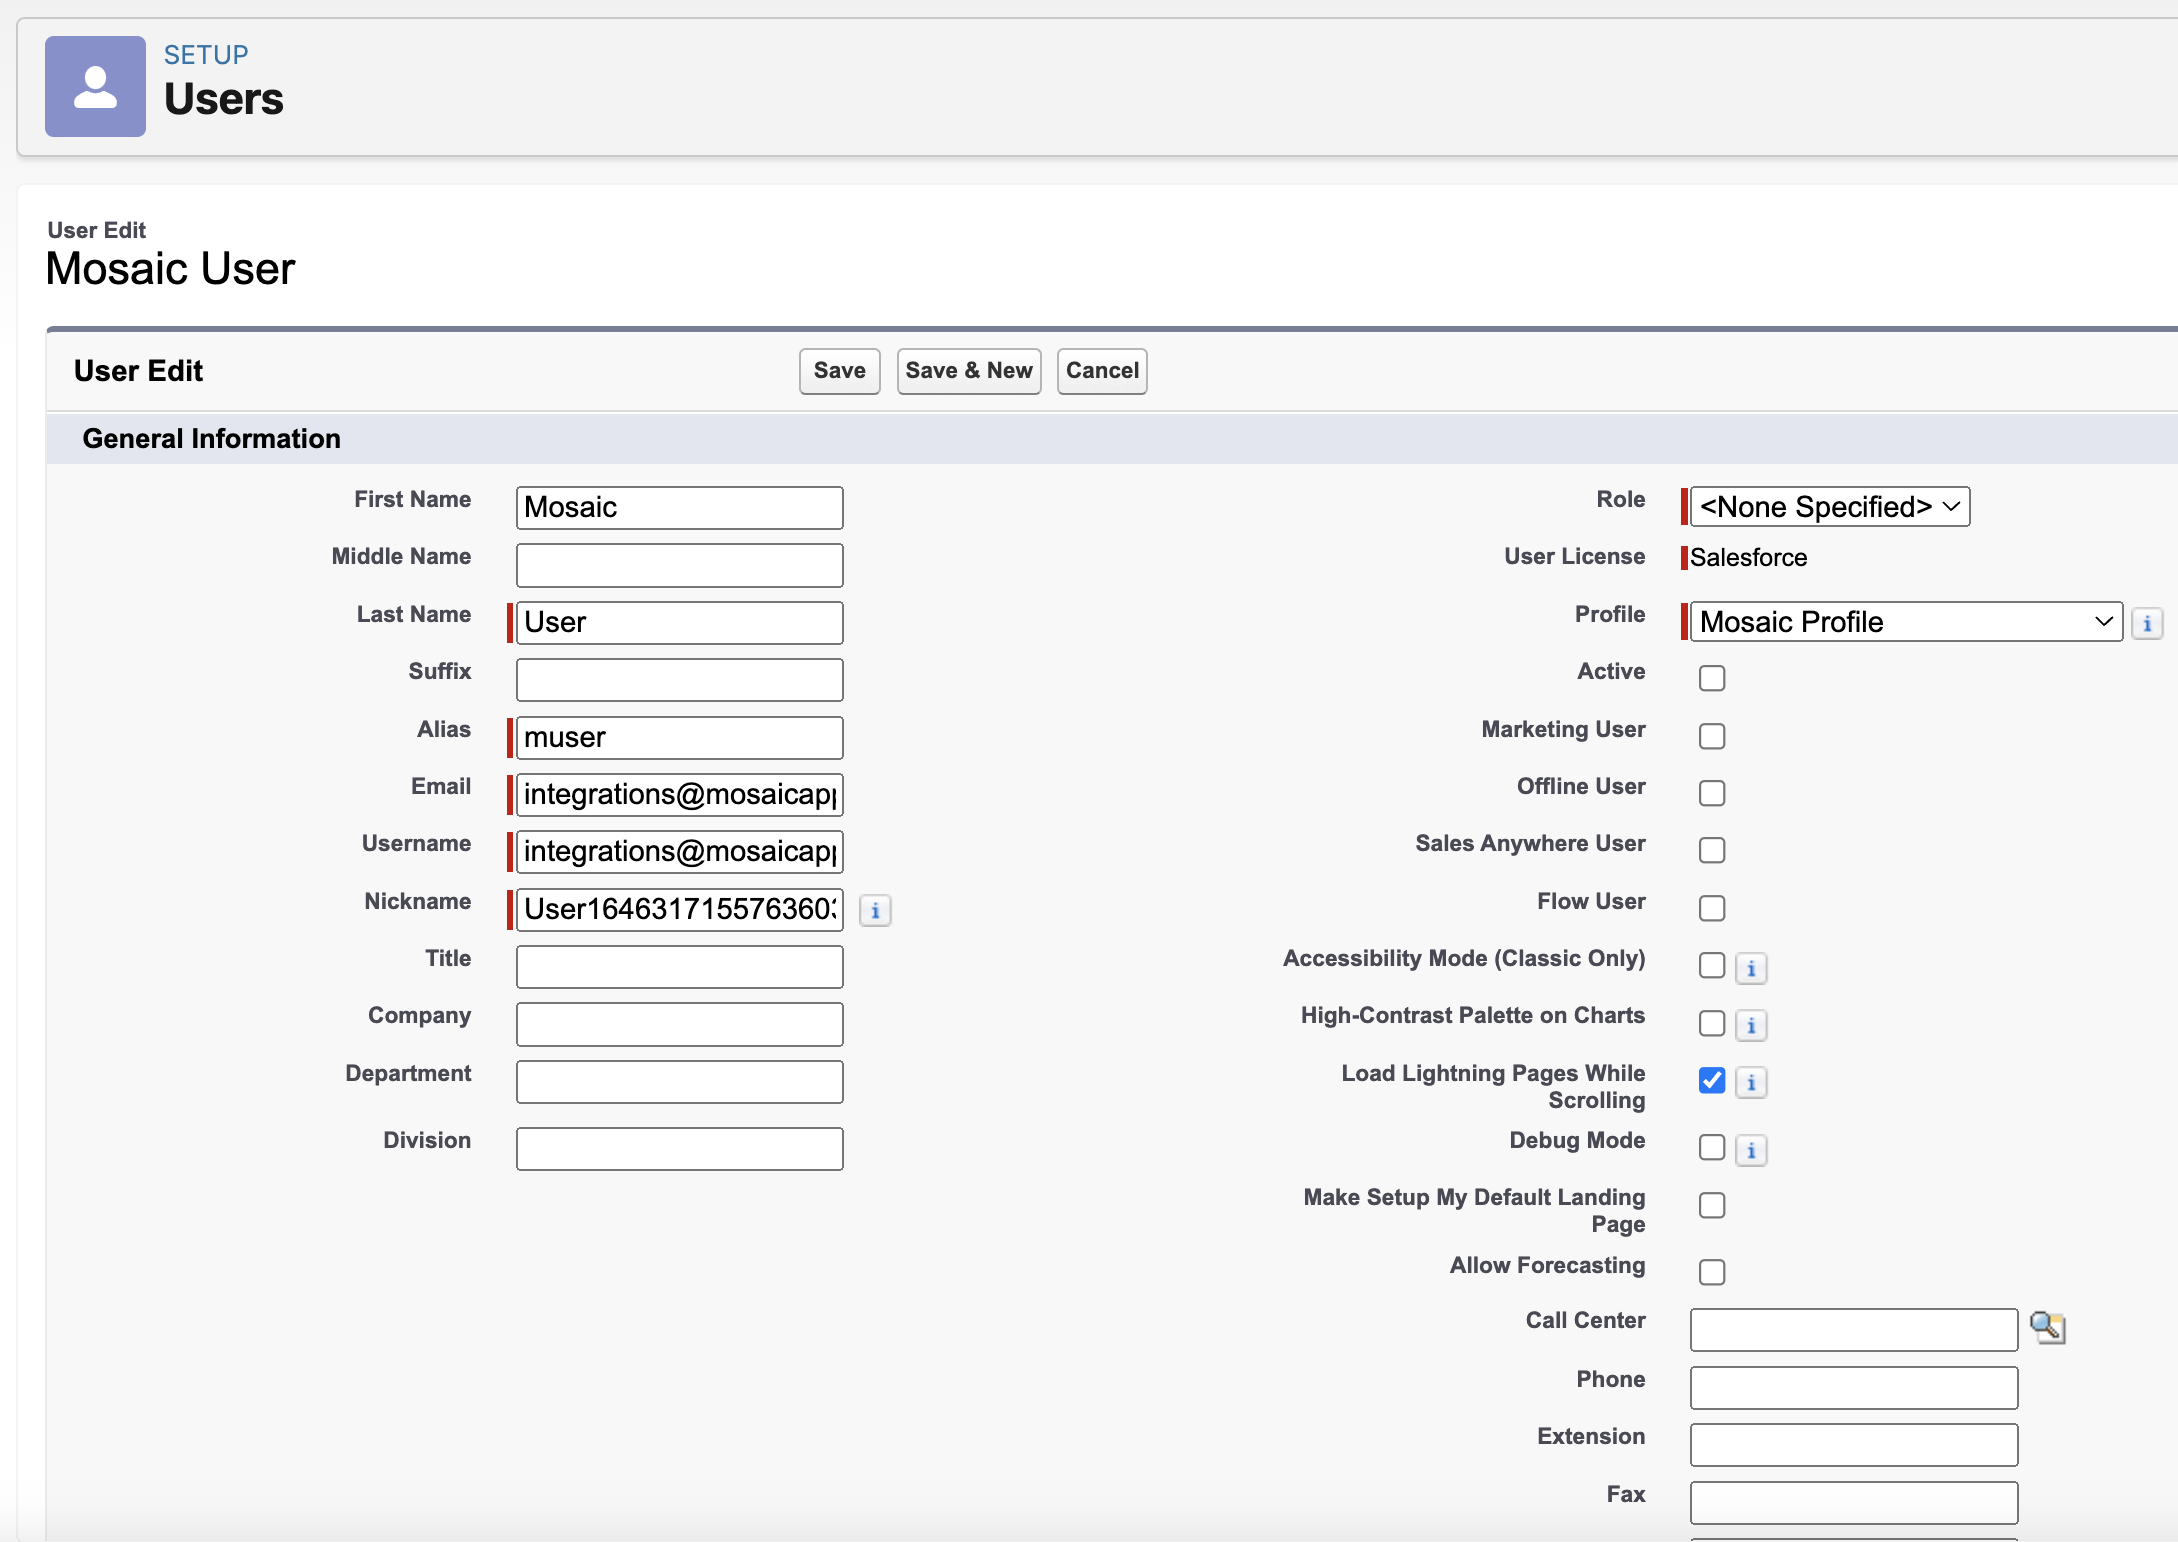
- Go to Setup -> Manage Users -> Users. Click New User to create a new user.

- Choose appropriate name and email. Set User License to Salesforce, and Profile to the profile you created in Step #7.
Please Note:Make sure that your new Profile is a licensed Salesforce user, not a Salesforce Platform user.
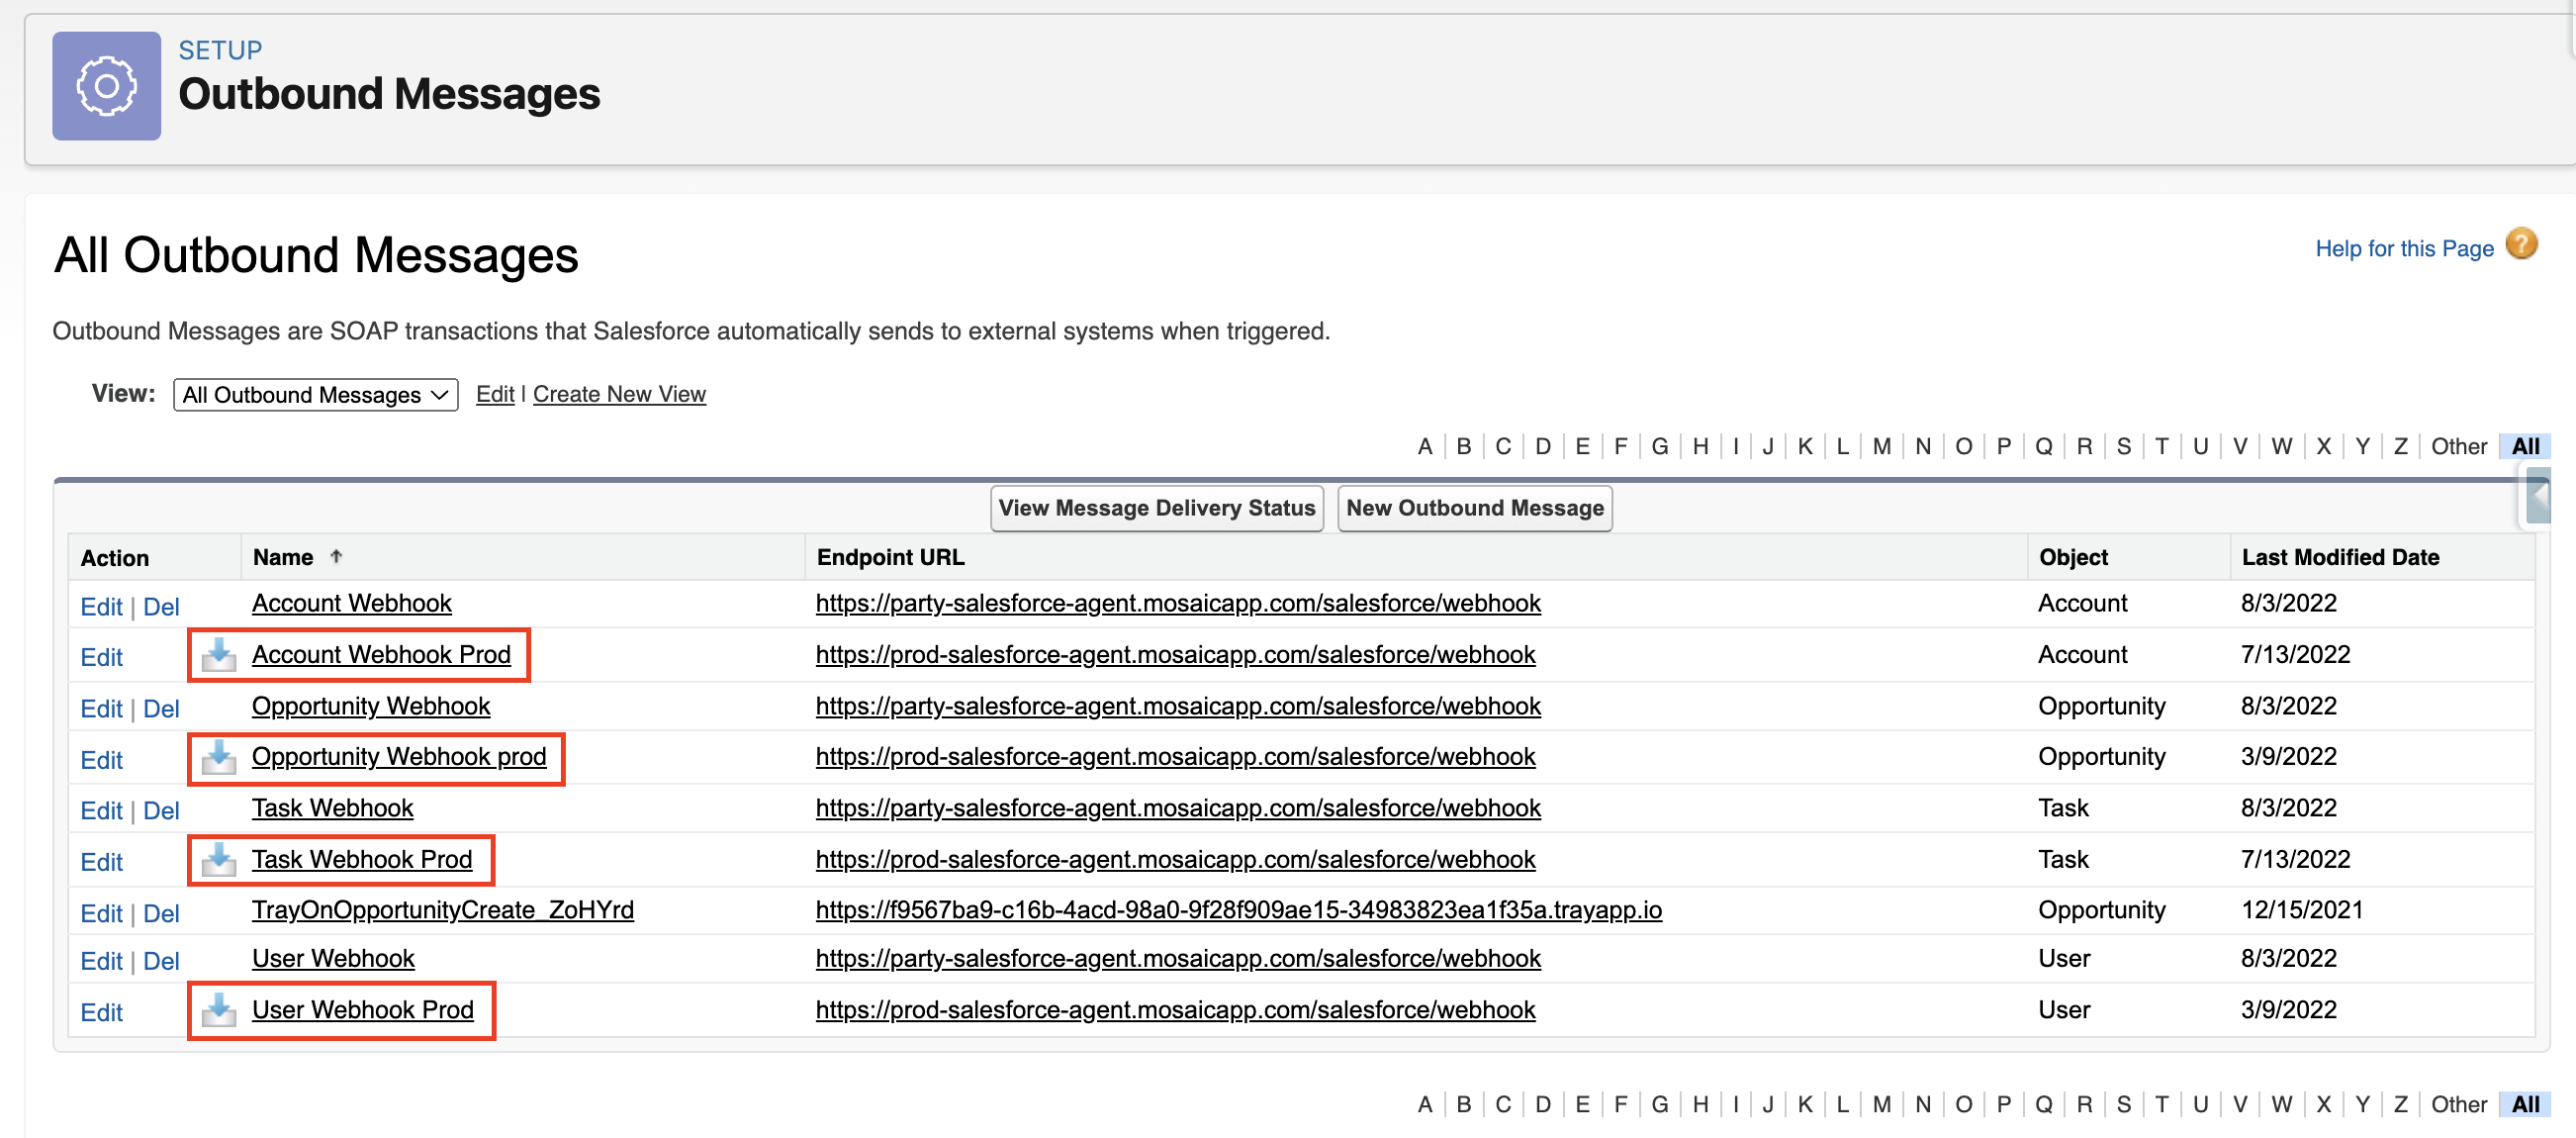
- Navigate to Process Automation → Workflow Actions → Outbound Messages. Find the 4 Outbound Messages that were installed with the Managed Package.
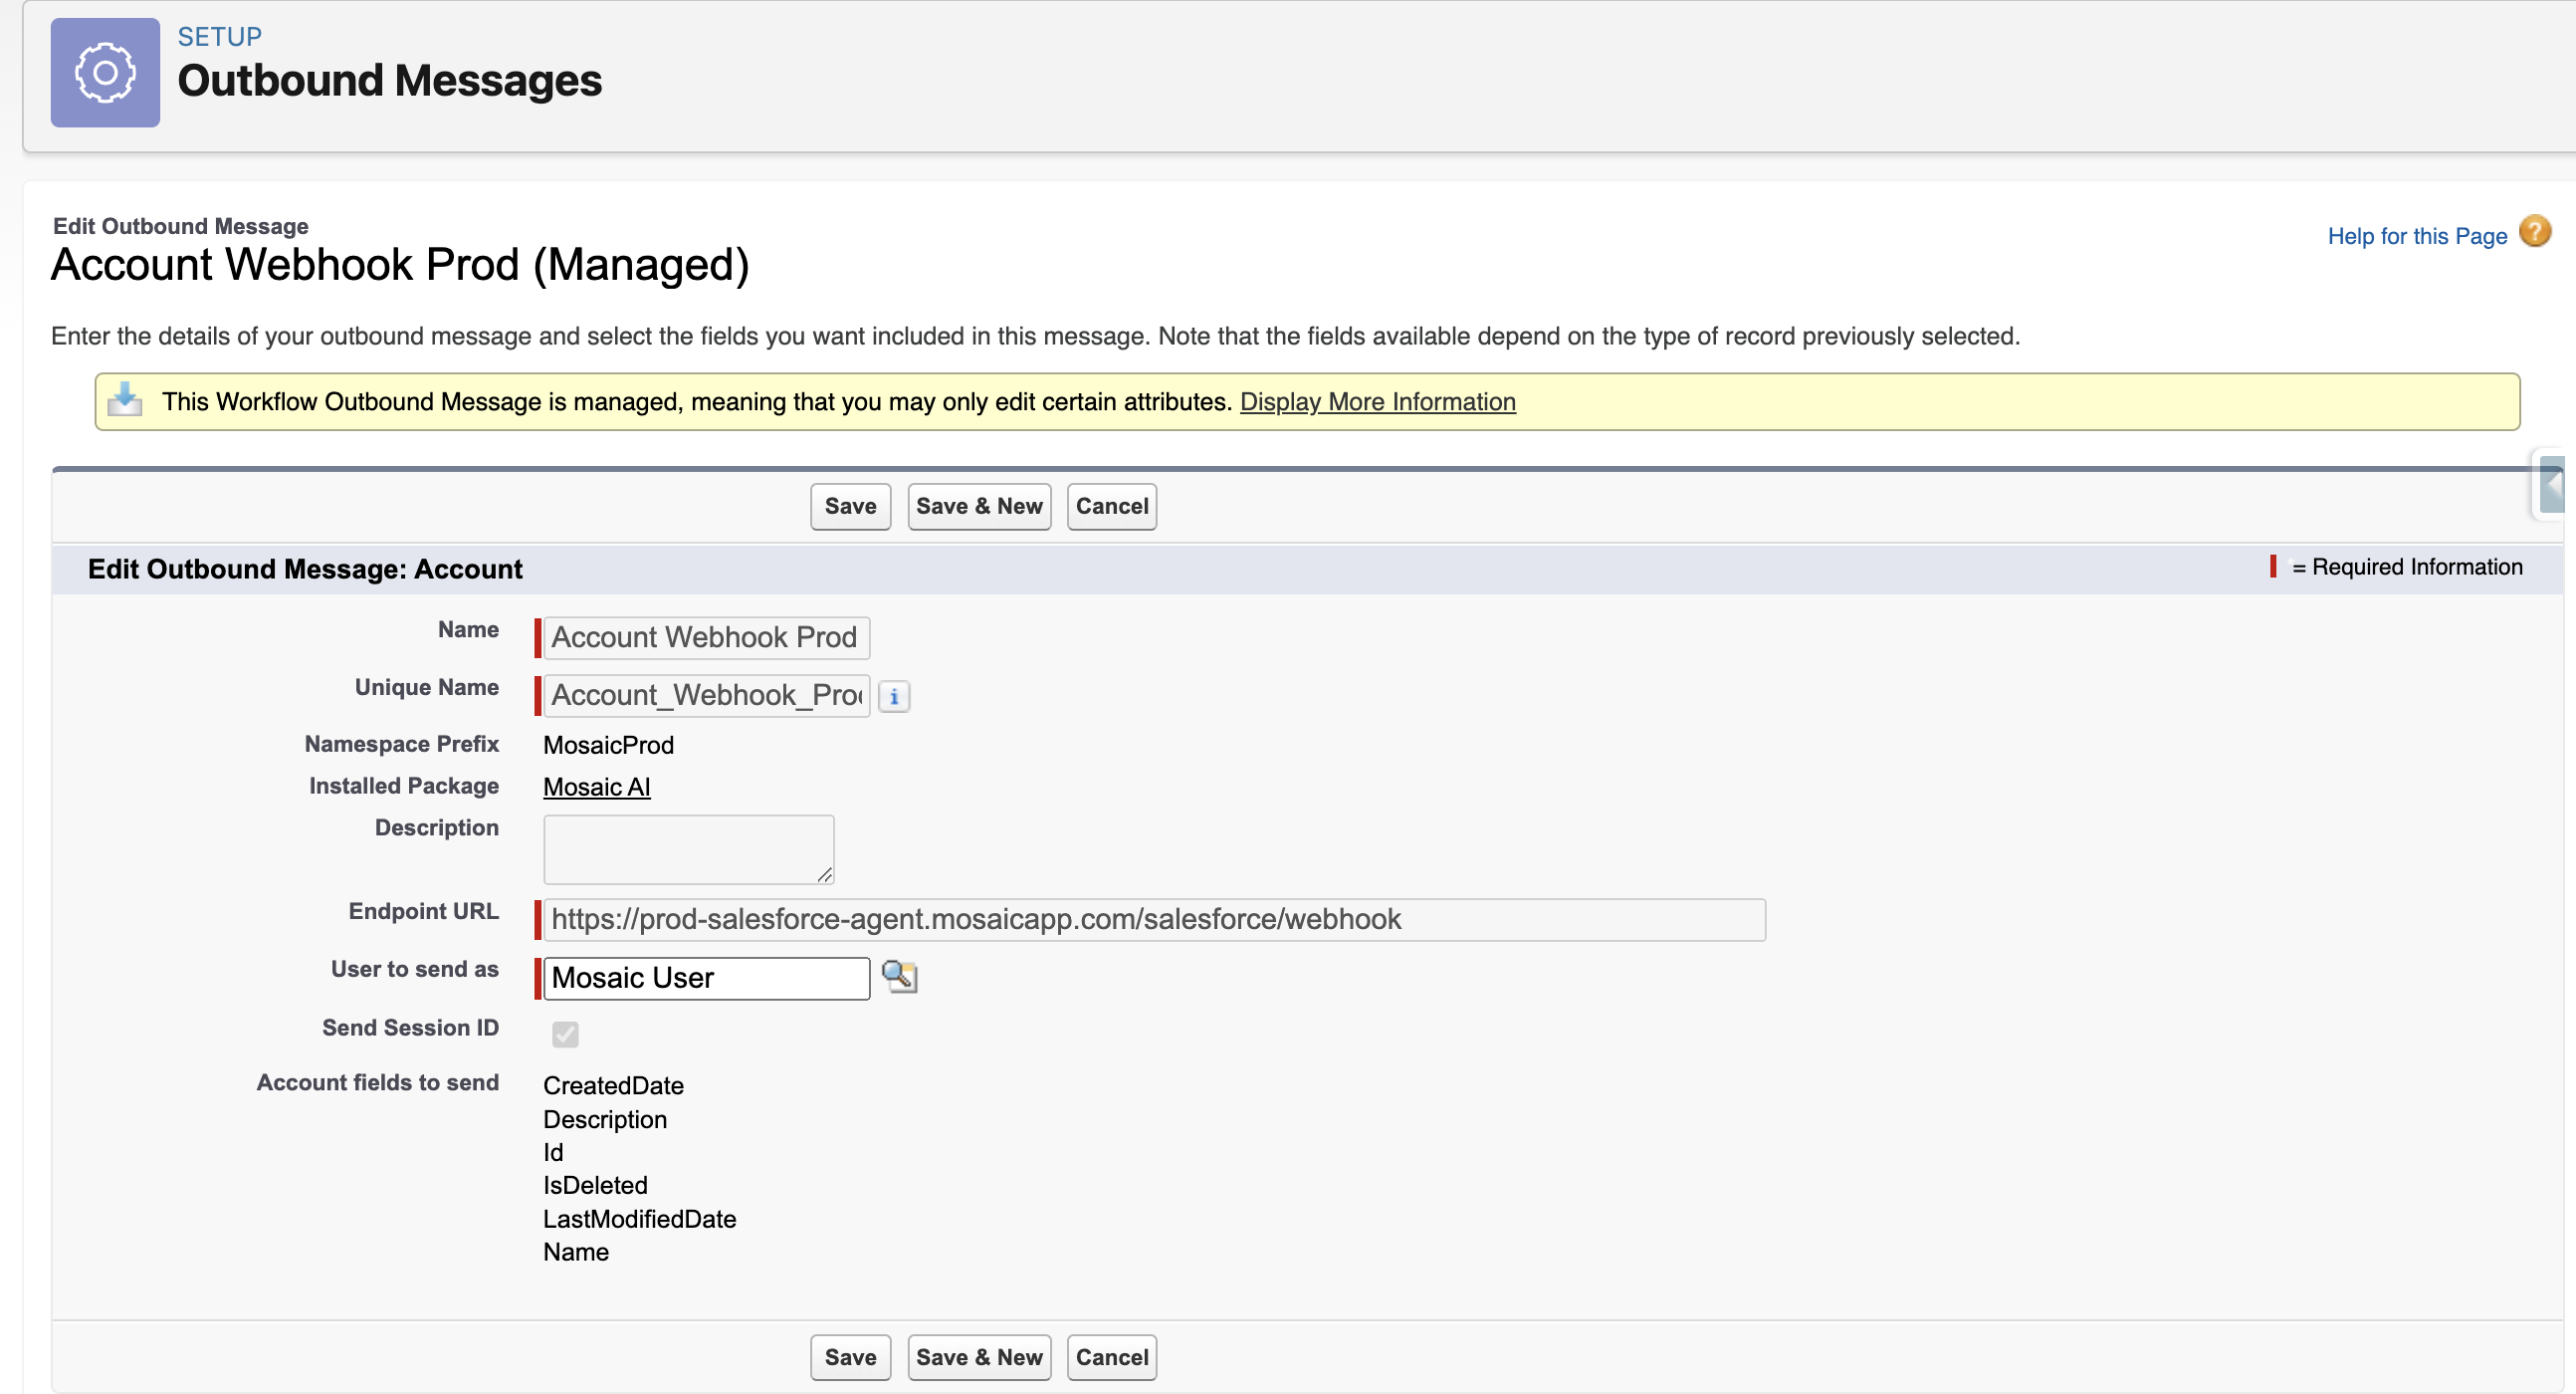
- Select Edit on each of the Outbound Messages, and change the value of the User to User to send as to the Mosaic Profile that you created in Step #7.
Integrate with Mosaic
-
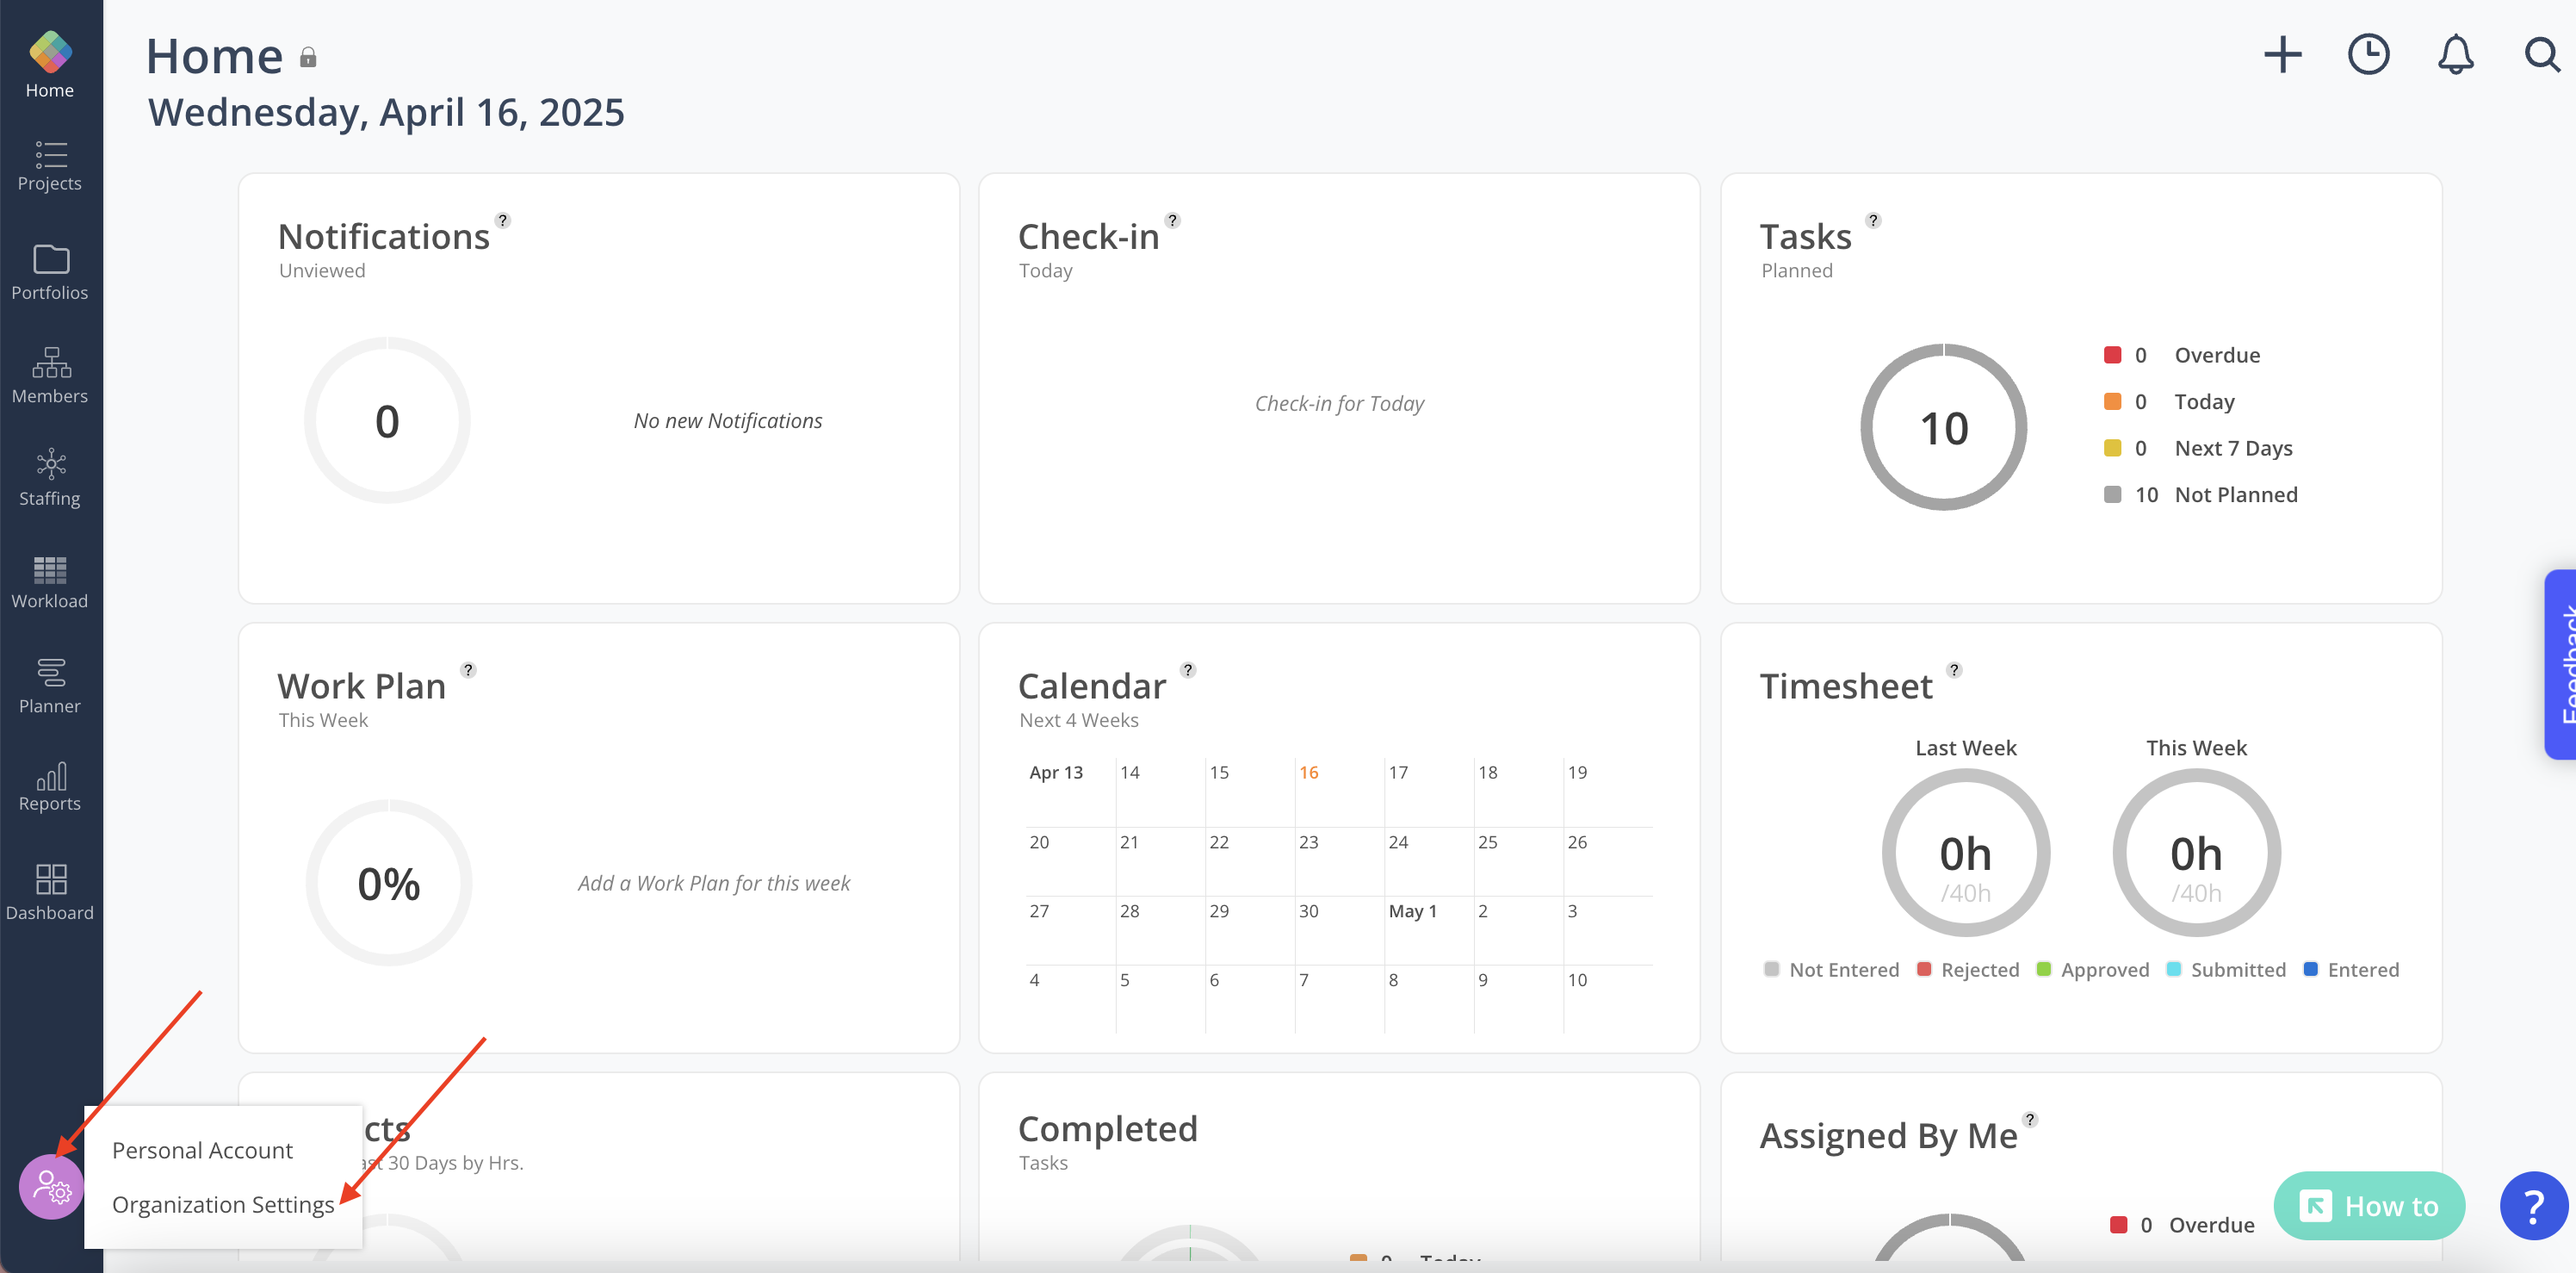
Login to Mosaic and navigate to the company settings from the Home screen
-
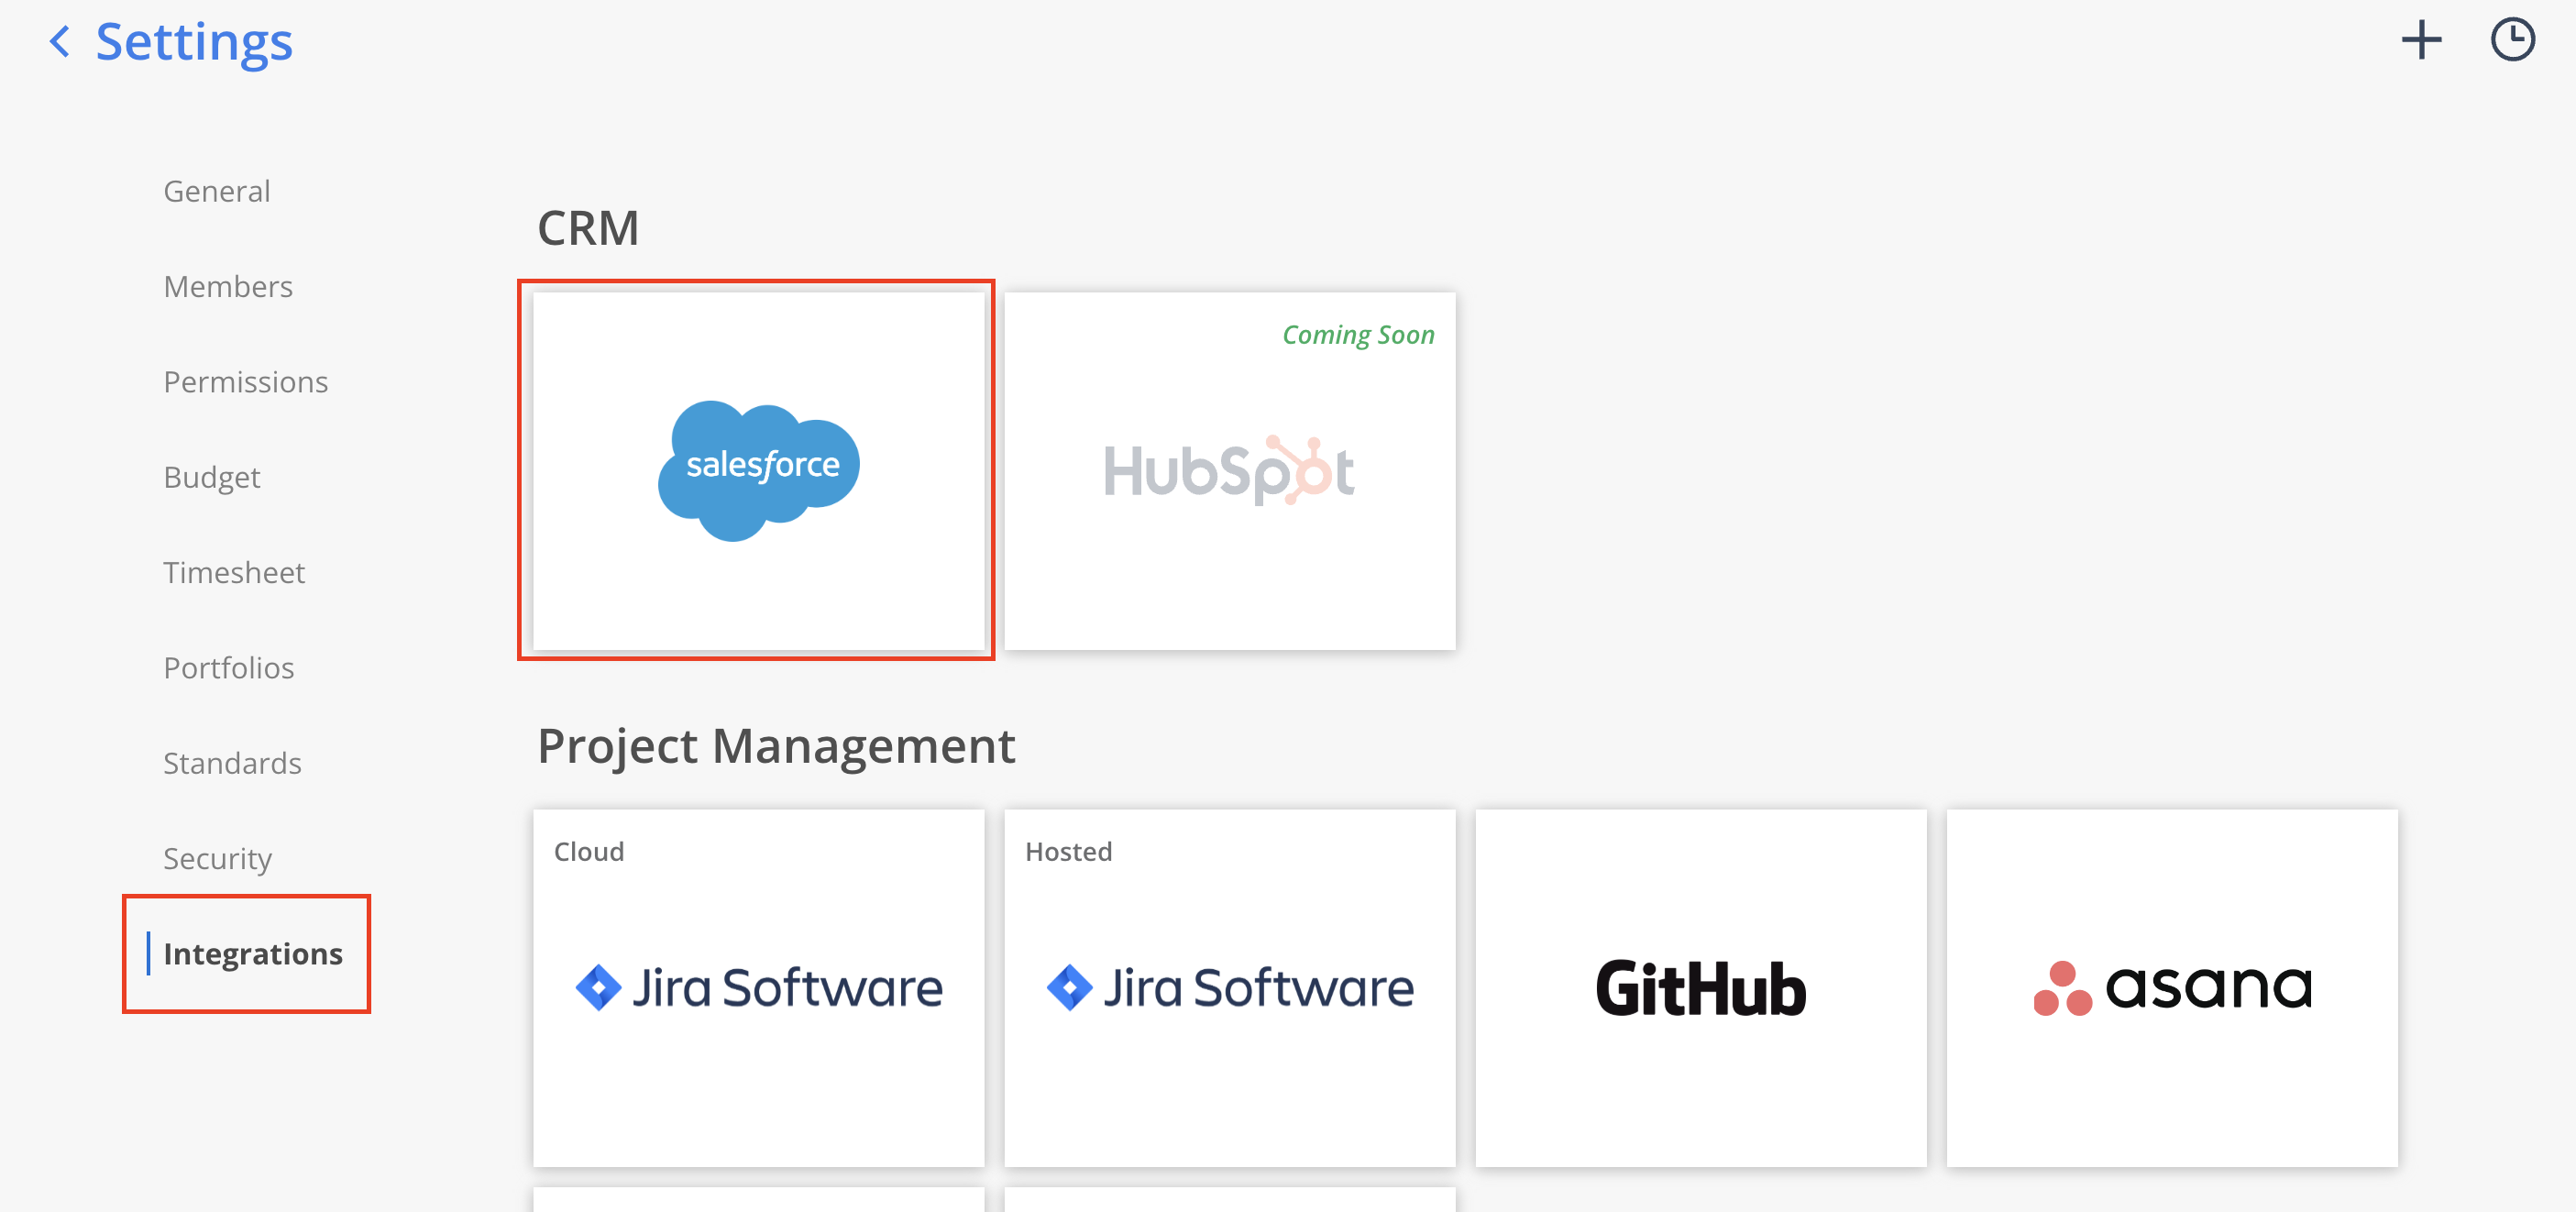
Select Integrations from the Settings menu. Select Salesforce from the CRM section.
-
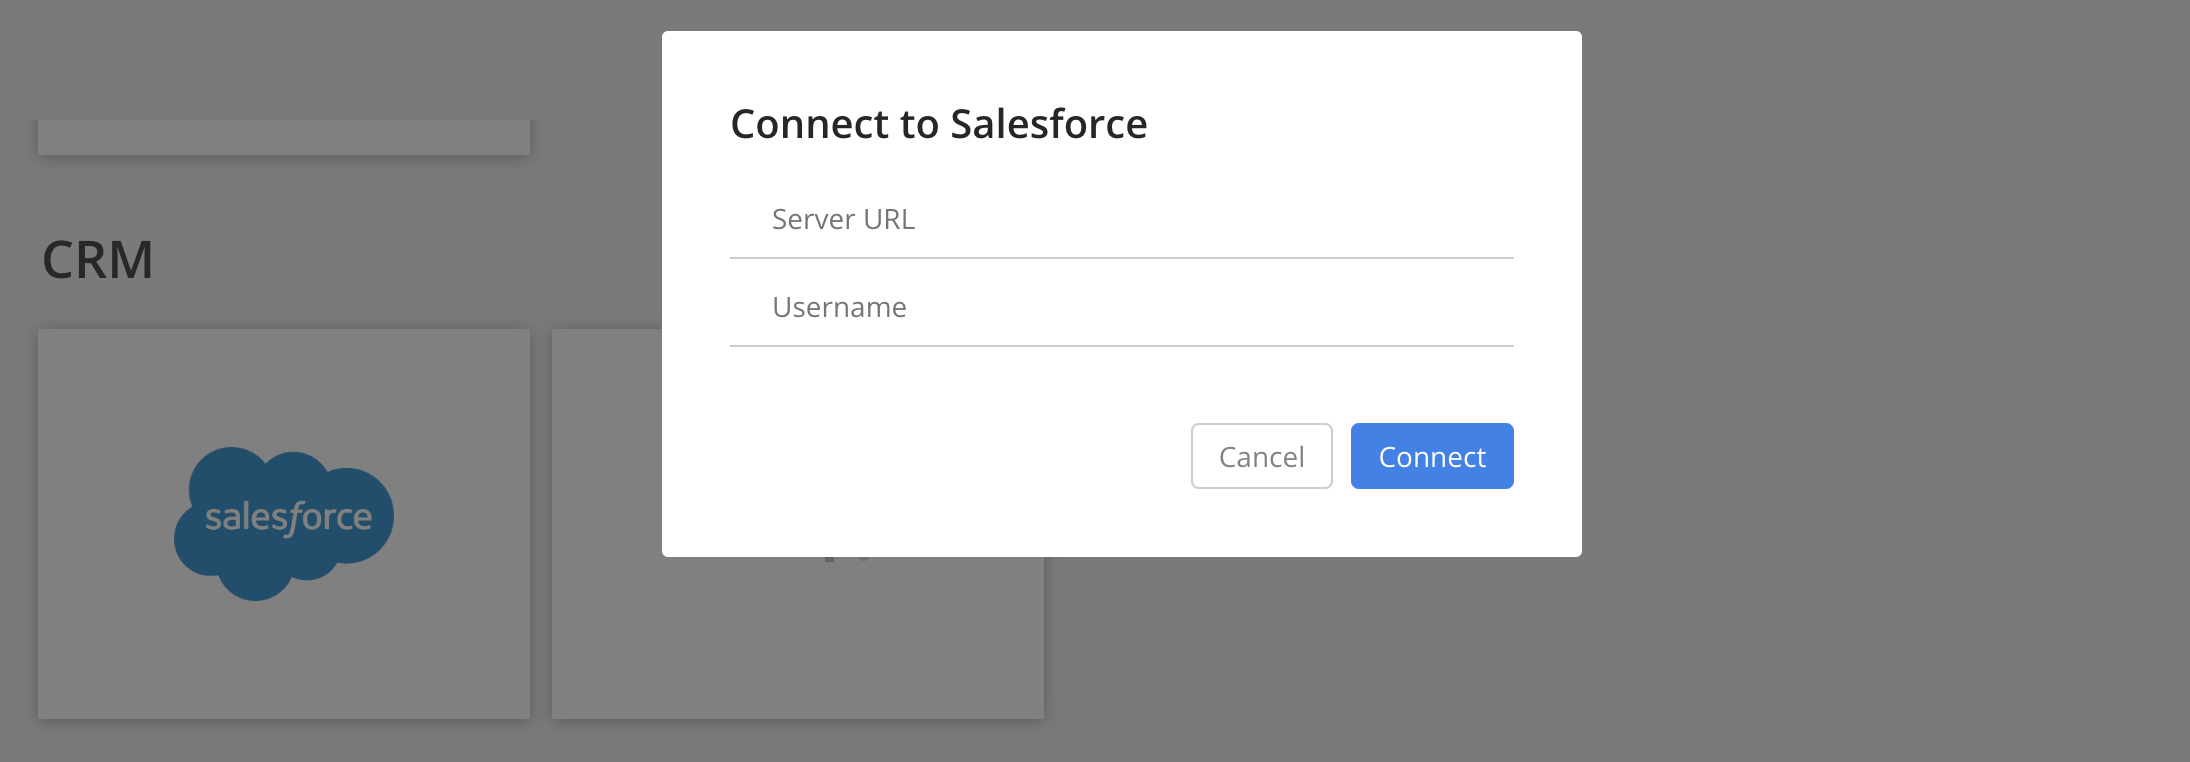
Enter the Server URL that you use to access Salesforce to connect your Salesforce instance to Mosaic.
The format will be:https://<your-company>.lightning.force.com/Enter the Username of the User that you created in Step #9 and click Connect.
If you trouble to connect to the Salesforce Integration, please contact your Customer Success Manager.
- That’s it! Once connected Mosaic’s team will confirm your data is populating correctly, and schedule a call to review.
Updated 3 months ago
